8
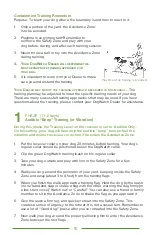
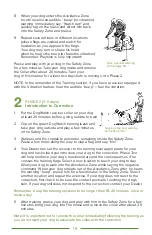
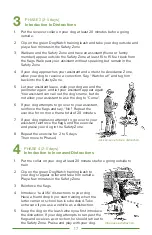
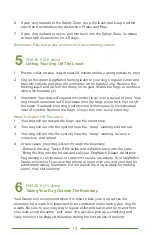
Using the Test Light
The R7m Status Light
The R9 Status Light
See page 9 for how to change your battery and reset your receiver.
■
Start-Up
When you first insert the battery, the status
light will flash red and green. This indicates that the
receiver has started properly. Once started, the status
light will continue to flash green once every 40 seconds
indicating normal operation. In the event that the light
does not flash, check the battery to be sure that it has
been inserted properly.
■
Training Level Indicator
When programming the
training level of your receiver (see page 10), the status
light will flash green in conjunction with audible beeps.
The number of flashes/beeps will equal the training level
you have chosen.
■
Signal Field Indicator
When testing the receiver in
the signal field, the status light will flash green when the
receiver is in the audible zone and will flash red and green
when the receiver is in the correction zone.
■
Correction Alert (TattleTale
™
)
You will be able to tell
if your pet has tested the boundary by looking at the
status light. The status light will double flash green every
40 seconds during the 24-hour period after the dog has
entered the boundary area.
■
Battery Indicator
This feature monitors the voltage
level of the battery. Once the receiver detects that the
battery has reached a low voltage level, the status light
will change from blinking green every 40 seconds to
blinking red every 10 seconds. This indicates that your
battery is close to the end of its useful life and you should
change the battery within the next 3-4 days.
Contact Posts:
The receiver comes with a set of stainless steel contact posts
(stainless steel or composite with stainless steel tips.) Your Dealer may prefer to use
Conductive plastic ‘GentleFit’™ contact posts. These may be purchased separately if
not provided by your Dealer.
Your DogWatch Dealer will determine the correct size based on your dog’s coat, neck
shape, and skin sensitivity.
The posts must make contact with the skin
in order for the
dog to feel the correction. In certain cases, your dealer may recommend clipping some
of the hair around the contact posts so that they can touch the skin more easily. Use
care if you find it necessary to tighten the contact posts with the collar wrench, as
over-tightening could cause damage to the receiver.
Antenna:
The receiver’s omni-directional antenna design assures optimal reception
from the signal field.
Test Light:
The test light allows you to test the receiver. Hold the test light over the
contact posts and carry the receiver into the signal field
a few feet from the ground. When the receiver picks up
the signal from the boundary wire, the audible or vibration
warning will activate and the test light will come on.
Status Light
The light continuously monitors your receiver
and provides these features.
Summary of Contents for ProFence
Page 1: ...Owner s Guide ProFence ...


