2
8. Step 8 does not apply to the expansion bearing location, or
the non-expansion bearing location in which integral thrust
collars are used (integral thrust collars are defined as collars
that are machined into the shaft). Use step 8 for split thrust
collars.
Thrust collars in a fixed unit should now be installed.
Remove both clamp screws, and separate both halves of
the split thrust collar (this can require some force). Thrust
collars are cracked, and the split line can be difficult to
identify. Back off set screws to clear inside of collar. Place
one collar half on shaft so that flinger groove is next to liner
base in the nonexpansion (fixed) bearing. Rotate collar half
around shaft and place other collar half in position. Bring
halves together at joint, making sure match at joint is perfect
and insert clamp screws. There should be no offset at collar
face. Tap halves together and tighten clamp screws. Repeat
above operation for opposite end of bearing. Assemble two
collars on one bearing only. Tap collar up to face of liner
allowing a total of .012” to .018” running clearance and
tighten set screws on both collars to recommended torque.
Collar should run parallel to end face of liner within .002”.
Apply oil to mating thrust faces on collar and bearing.
9. Apply oil to bearing surface of liner cap. Locate cap in place
on lower liner making sure oil rings are in their cavities and
are free to rotate. Install and torque liner cap screws given
in Table 2.
NOTE: If liner cap does not seem to fit properly, ensure
match marks are aligned and try again.
These Sleevoil liners have match marks permanently
stamped at the joint near one end. These match marks
permanently ensure parts stay paired and critical orientation
of assemblies is maintained.
10. Tighten housing base to pedestal. Torque bolts to value
given in Table 2.
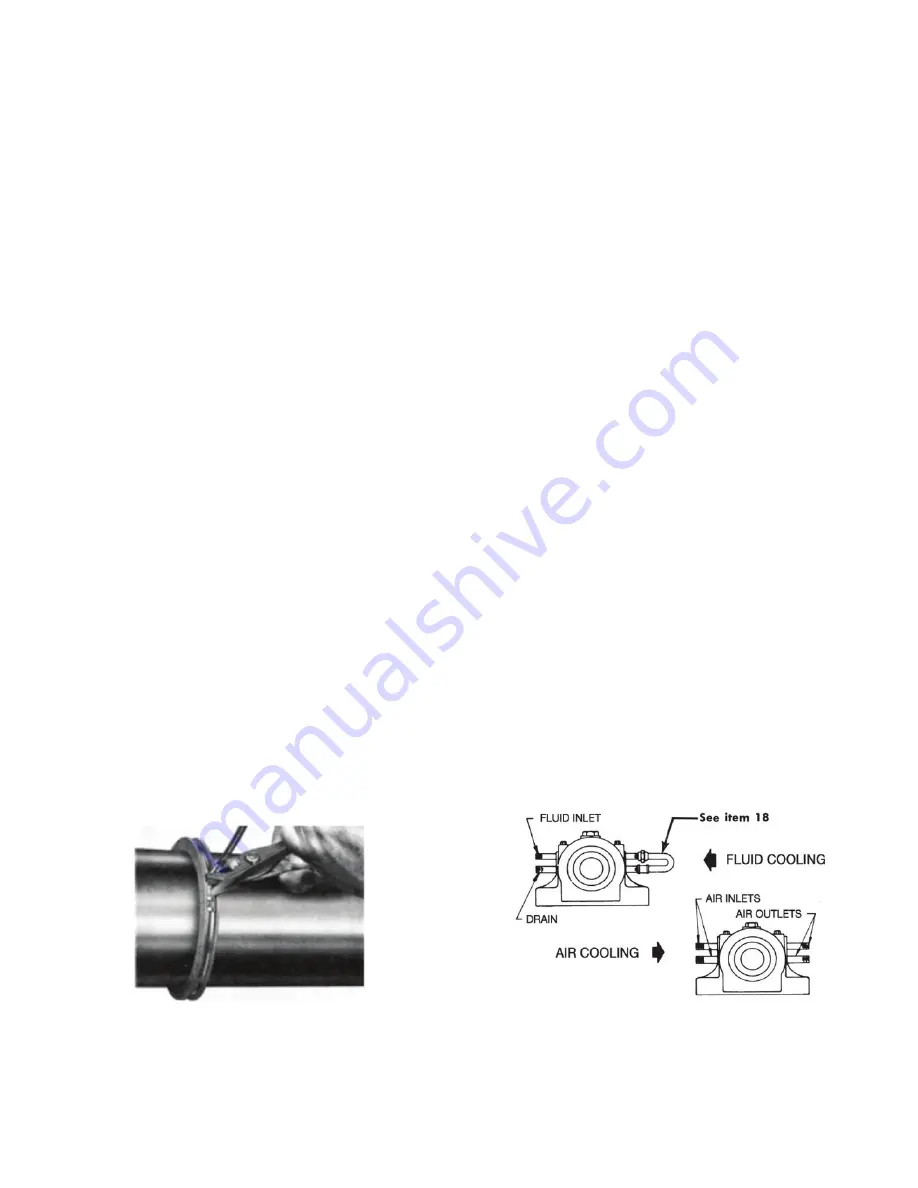
11. Thread dust seal and seal retainer into groove at end of
housing base and around shaft. Slide free end of seal retainer
thru clasp and pull tightly. Hold clasp with screwdriver and
pull free end of retainer as tightly as possible with pliers.
After tightening, it should be difficult to move seal from side
to side. Cut off excess material.
Dust Seals have been upgraded from a cork compound to
HNBR (2014). Cork compound seals have been discontinued.
Use HNBR Dust Seals.
Aluminum seals, when specified for the application by the
OEM, are packaged separately. When using aluminum
seals, discard standard seals and seal retainers packaged
with the housing. To install aluminum seals, wrap the O-ring
(rubber cord), around the shaft in the seal area and cut it
to fit the shaft. Disassemble one seal and place one half
on shaft. Locate O-ring in seal groove and rotate seal half
around shaft into housing base groove. For most effective
sealing the ends of the O-ring must meet. Cementing ends
together is recommended. Install other half of seal and
tighten screws. Install second seal in same manner.
If using End Closure, install neoprene disc(s) at this time.
Consult construction drawing for type of seal recommended.
12. Sleevoil housing gaskets have been replaced by 515 Gasket
Eliminator. Apply gasket eliminator to Sleevoil housing base
along outer contour of joint.
NOTE: Special care should be taken at grommet area.
Cap Loaded Bearings:
With shaft held down (Do not over-
tighten shaft hold-down as this can misalign the bearing)
and plunger screw completely loose, tighten cap bolts to
value shown in Table 2. Tighten plunger screw to torque
value in Table 2 with shaft held down. Mark position of
plunger screw. Loosen plunger screw one complete turn,
then slightly loosen shaft hold down. Tighten plunger screw
to the mark, tighten plunger screw locknut and remove shaft
hold down.
NOTE: Do not tighten plunger screw on accompanying
base loaded bearing until cap loaded bearing has been
installed and hold down removed.
Base Loaded Bearings:
Back off plunger screw completely
and locate housing cap on base taking care not to damage
dust seals or gasket material. Tighten housing bolts to
torque value in Table 2. To reduce chances for leakage a
non-hardening sealant may be used under cap bolts. The
plunger screw must be loose until the housing bolts have
been tightened. Tighten plunger screw to value given
in Table 2. These Sleevoil housings have match marks
permanently stamped near the joint area. These match
marks permanently ensure parts stay paired and critical
orientation of assemblies is maintained.
NOTE: Check and re-torque plunger screw to the
specified torque after 24 hours of initial start-up and
then check & re-torque periodically as required.
13. Plain Liner
: When using a Plain Liner (without coolant
pipes), install grommet and grommet plate over openings in
the sides of the housing. To reduce chances for oil leakage,
a non-hardening sealant may be used. Ensure pipe plugs
are installed in liner.
Externally Cooled Liner:
For XC (Water Cooled Liners with
coolant pipes), punch out 2 holes in each neoprene grommet
to match correct coolant pipe size in liner. Install grommet
and grommet plate over pipes and tighten screws.
Apply
a non-hardening sealant (not supplied) on the housing
grommet area and between the grommet and grommet
plate, and around coolant pipes.


