4:
Operating Instructions
51
6
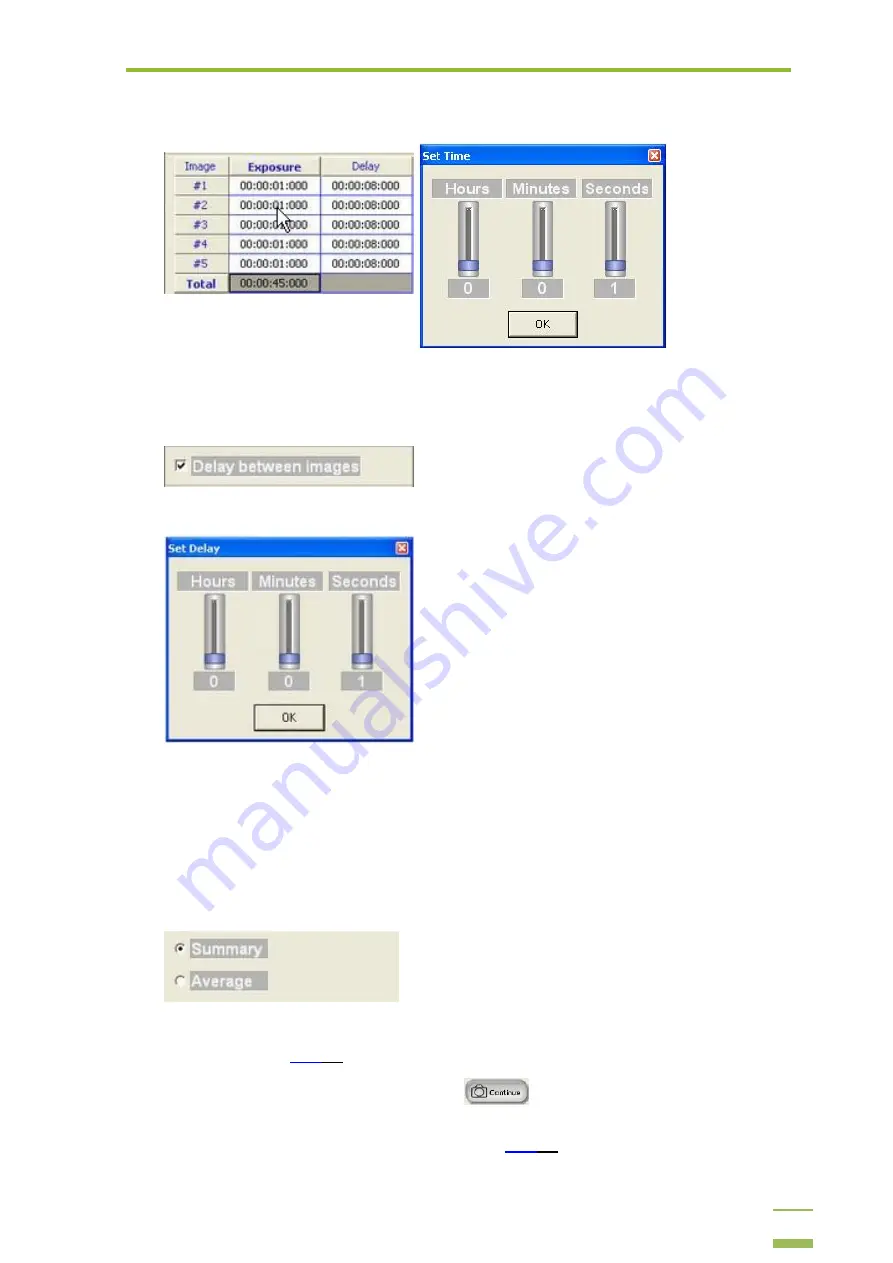
To change the Exposure time for a specific image, left click the required cell in the Exposure
column from the Process Summary table and a Set Time window will be displayed.
7
Add a time delay between images (optional).
7.1
Mark the Delay between images checkbox.
7.2
The Set Delay window will be displayed where you can set the value for the time delay.
7.3
Click OK to save the Time Delay and close the Set Delay window.
7.4
After you click OK, you can change the Delay value of a specific image by left clicking the cell
in the Delay column from the Process Summary table, which will open the Set Delay time
window.
8
Select the type of display you require by choosing either Summary or Average (these options are
only available in Software Integration capture type).
8.1
Summary:
the images are summarized by GelCapture (see the Software Integration example
a
Choose Summary and click the continue
button. In the DNR File Save dialog enter
the name and location for the Image Series, select any of the TIFF File Save Options and click
Save. Learn more about the Saving Options on


