background image

Scope of delivery

1. Remote control handset

1 x

2. Subwoofer / main unit

1 x

3. Centre speaker

1 x

4. Front speaker

2 x

5. Surround speaker

2 x

6. This manual

1 x

7. Speaker cable

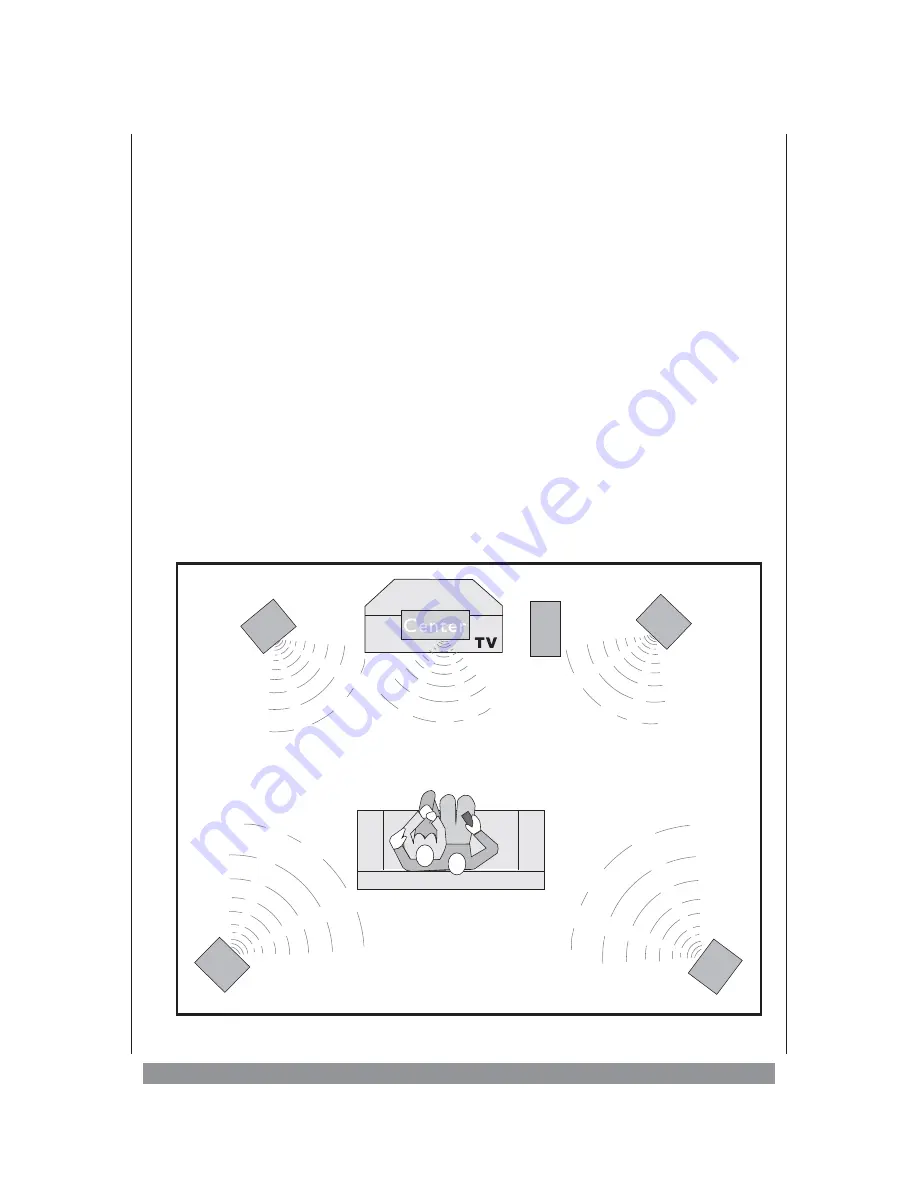
Mounting the system

You can mount the speakers of your new home cinema system on a plane and stable
surface. The centre box can, however, also be hung up at the wall as we have provided its
back side with a corresponding hanging possibility. The stand of the subwoofer should be
located close to a properly connected power socket. In order to ensure a sufficient
ventilation, the subwoofer must not be operated behind curtains or the like. Possible
ventilation openings of the devices must not be covered by newspapers, curtains etc. With
regard to the electrical and acoustic characteristics, the four front and surround speaker
columns are identical. However, only the centre speaker is magnetically protected. That is
why you should see to it that only that box is mounted close to the TV as otherwise this can
lead to slight colour distortions of the TV picture.

4

Summary of Contents for AS-120

Page 1: ...3...

Page 2: ...atre Systems For your own safety and in order to learn all about the functions available please read this manual and keep it for future reference And if you once sell the unit please include the manua...

Page 3: ...r touch a power cord with wet hands or use a damaged power cord Otherwise you face risk of life by electric shock If objects have fallen inside or liquid has been spilt onto the product disconnect the...

Page 4: ...stand of the subwoofer should be located close to a properly connected power socket In order to ensure a sufficient ventilation the subwoofer must not be operated behind curtains or the like Possible...

Page 5: ...input signal for the left surround speaker SR Please connect here the input signal for the right surround speaker CEN Please connect here the input signal for the centre speaker SW Please connect her...

Page 6: ...se the resulting short circuit will seriously damage the unit Before the connection please twist the strands Then open the speaker terminal and stick in the blank wire Then close the terminal 8 Power...

Page 7: ...woofer 6 CEN Press the or button if you want to increase or decrease the volume of the centre speaker 7 SUR Press the or button if you want to increase or decrease the volume of the rear surround spea...

Page 8: ...to the FR terminals at the subwoofer s rear panel 2 Connect the left front speaker to the FL terminals at the subwoofer s rear panel 3 Connect the right surround speaker to the SR terminals at the sub...

Page 9: ...in an angle of up to 45 of the front of the unit No obstacles may stand in the way between r c and infrared sensor If you won t use the r c for some time please remove the battery from the compartmen...

Page 10: ...e volume ration between the two front speakers using the BALANCE buttons 7 Press the button to silence the sound The display shows MU Press this button again to reactivate the sound 8 If you want to r...

Page 11: ...pecifications Output Power RMS P M P O Subwoofer 40 watts 100 watts Front 12 watts 30 watts per channel Centre 12 watts 30 watts Surround 12 watts 30 watts per channel Operating voltage AC230V 50 Hz 1...

Page 12: ...rrect errors and make technical alterations This manual is copyrighted All rights reserved Neither the manual as a whole nor excerpts may be reproduced without our prior written permission DK digital...

Reviews: