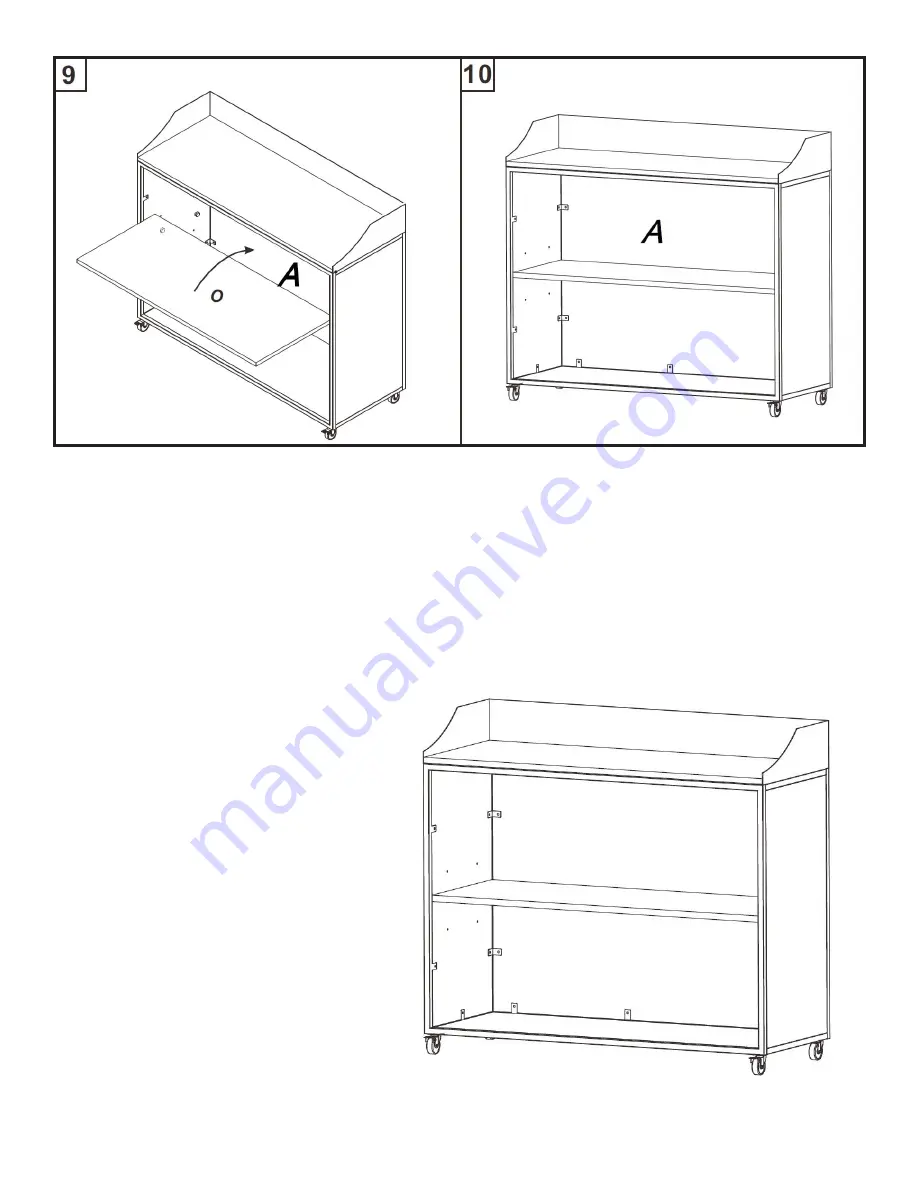
9. Slide shelf into the unit.
10. Ensure it is fitted into the unit so that the back of the shelf is flush with the
front panel (A), as shown.
Enjoy your new wood and
metal hostess stand!
Page 1: ...SKUs SMHSNATLG SMHSNATSM SKUs SMHSNATLG SMHSNATSM Assembly Instructions Assembly Instructions Wood and Metal Hostess Stand Wood and Metal Hostess Stand...
Page 2: ...Side Panel 2 G Bottom Panel 1 H Top Panel 1 O Shelf 1 K 1 Rear Castor 2 K 2 Front Castor 2 L Shelf Supports 4 M Screw 21 N Pointed Screw 10 P Top Screw 1 NOTE N SCREW HAS A QUANTITY OF 19 IN MODEL SMH...
Page 3: ...anel F with screw N as shown Repeat for both side panels 2 Connect front panel A and rear frame to sides using eight M screws 3 Insert eight N screws through brackets to secure side panels as shown 4...
Page 4: ...led holes NOTE Gently flip unit onto its side to perform step 6 Ensure unit is laid down softly to prevent damage 7 Attach castors to the bottom of the unit K 1 will be placed on either side of the ba...
Page 5: ...9 Slide shelf into the unit 10 Ensure it is fitted into the unit so that the back of the shelf is flush with the front panel A as shown Enjoy your new wood and metal hostess stand...