1
DRS21
BK/DRS21SV/DRS21BKCP/DRS21SVCP
Digital
Store
Shelving
Unit
Page 1: ...1 DRS21BK DRS21SV DRS21BKCP DRS21SVCP Digital Store Shelving Unit...
Page 2: ...4 Large Button Head Socket Cap Screw 1 4 20 x 1 2 24 1 4 20 Fender Washer 8 Extra Large Button Head Socket Cap Screw 1 4 20 x 1 3 4 8 Small M4 Button Head Phillips Cap Screw M4 0 7 x 10mm 4 Small Hex...
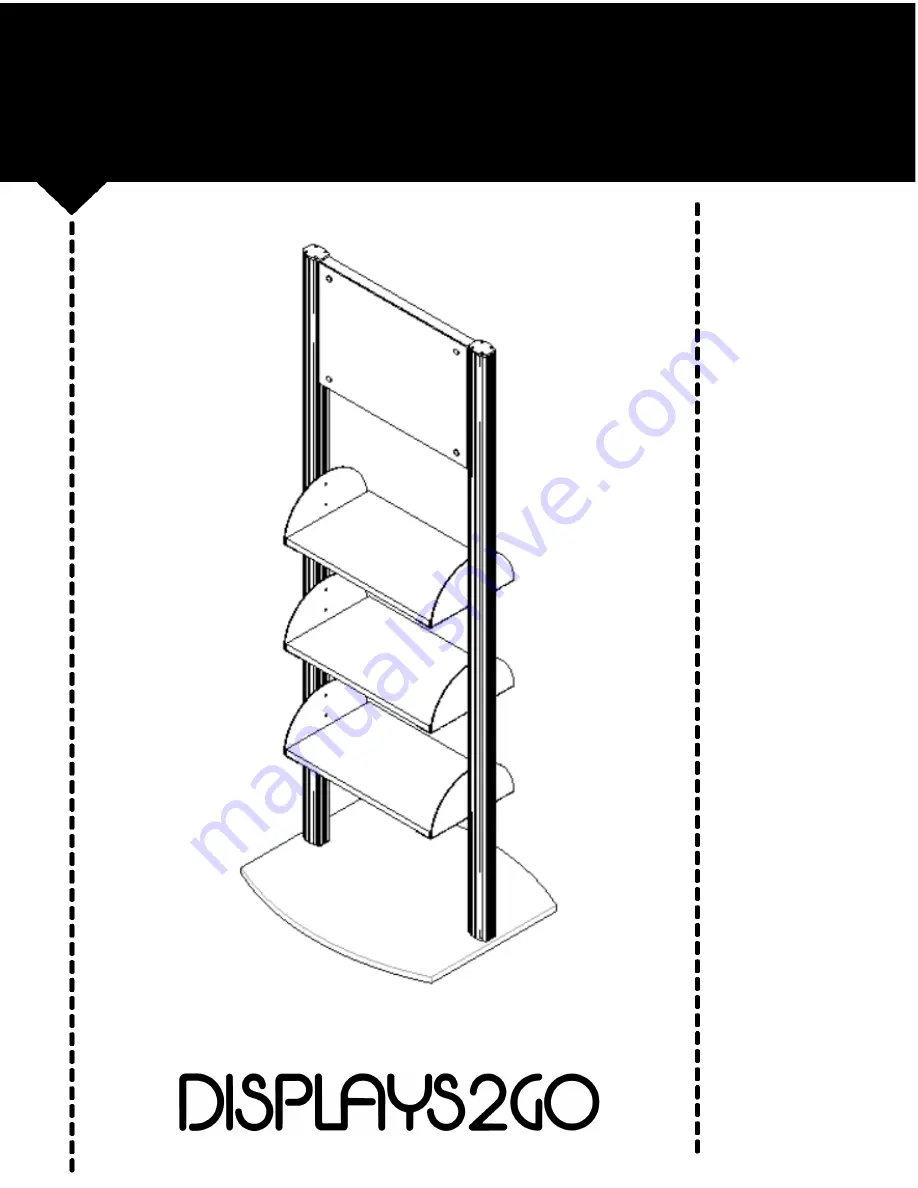
Page 3: ...3 IMAGE DESCRIPTON QTY 6 Side Pole 2 Screen Backing 1 Extrusion Top Cap 2 Printed Lens 1 Acrylic Faceplate 1 LCD Screen 1 Shelf Bracket 6 Shelf 3 Baseplate 1 COMPONENTS...
Page 4: ...aseplate Step 4 Tie the string that is sticking out the baseplate to the end of the 8 Power Cord Pull up from the other end of the string sticking out the 1 hole on the side pole until the 8 Power Cor...
Page 5: ...and fasten the Square Nuts onto the screw from the other side of the shelf bracket DO NOT completely tighten the nuts down leave enough gap so that they can slide into the T slot channels on the side...
Page 6: ...en screws so the shelf brackets are securely fastened to the pole Step 10 Repeat Step 9 for Screen Backing Be careful not to damage the 8 12V Power Cord while installing the Shelf Brackets and Screen...
Page 7: ...using 4 Small M4 Button Head Phillips Cap Screws Be careful not to strip the threads Step 13 Install the 4 Aluminum Standoffs in the Screen Backing using 4 Medium Button Head Socket Cap Screws Step 1...