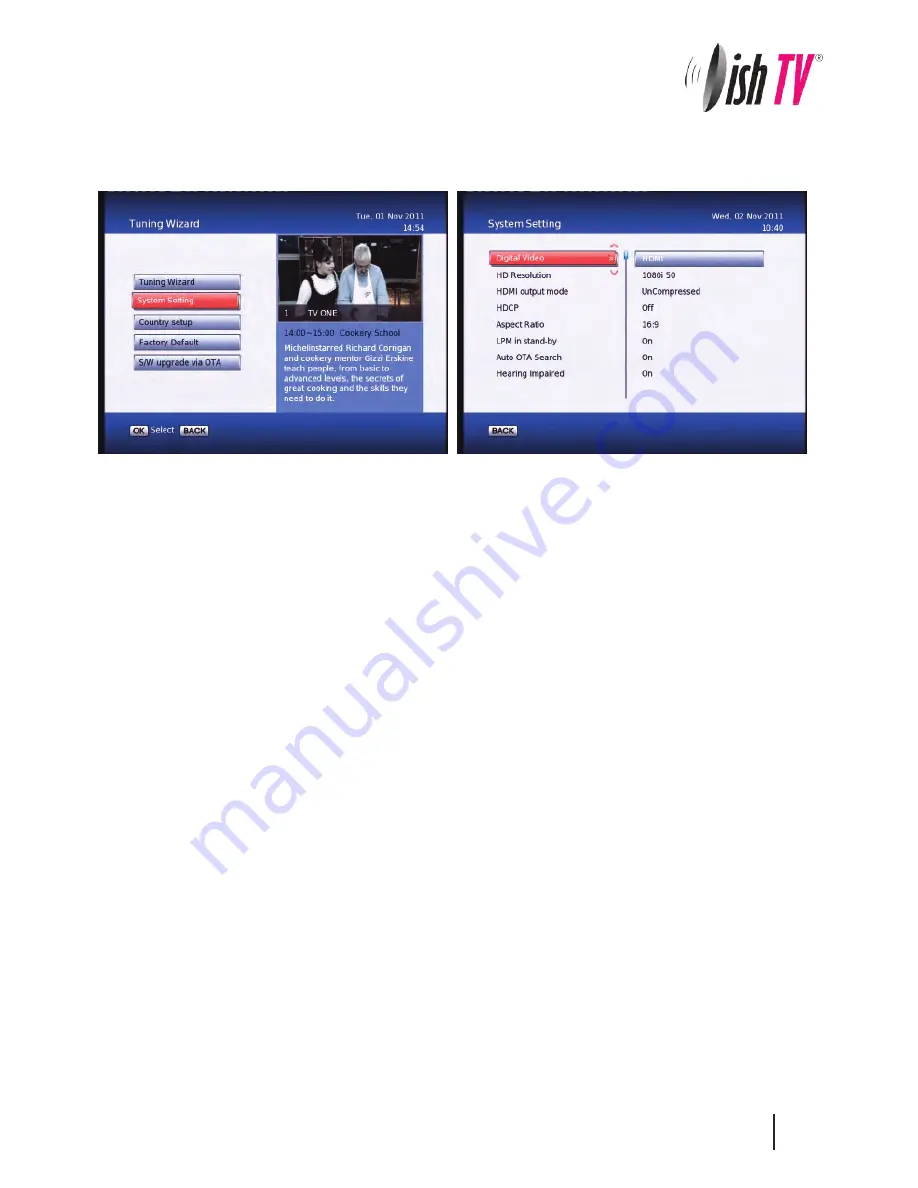
Main Menu - Installation -
System Setting
Note: To adjust a setting use the right arrow on your remote. To select a setting use the OK button
.
Digital Video
– Here you have the option of Auto, HDMI and DVI. DVI is HDMI video but no sound.
It is best to keep this setting to HDMI.
HD Resolution
– This is where you set the HDMI output resolution depending on what your TV can handle. Most
newer TVs have upscalers and so therefore you can sometimes get a better picture by lowering the output
resolution in this menu, It does however depend on the quality and type of upscaler your TV has. If you want the
very best picture possible, then you will need to experiment with these resolutions.
The
Native
option will mean the unit will output the broadcasted resolutions.
HDMI Output Mode
– Here you have the options of Compressed or Uncompressed. This option may be changed
to suit your HDMI receiver or surround sound unit depending on what it requires. Default is Uncompressed.
HDCP
or High-bandwidth Digital Content Protection. This can be turned on/off.
Aspect Ratio
– This is to set the output picture shape depending on your TV. If you have a modern LCD or Plasma
TV or a wide screen, then you most likely need to set it to 16:9. If you have an older square TV then 4:3 Panscan will
most likely suit.
LPM in stand-by
– This option turns Low Power mode on/off. When the LPM is on you unit will have a red light on
standby. If this option is off the unit will have a green light on standby.
Auto OTA search
– This option turns automatic Over The Air updating (or Auto Software updating) on/off.
Hearing Impaired
– This option is to turn subtitles on/off.
13


