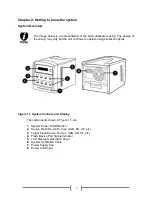
7
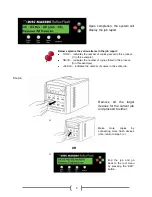
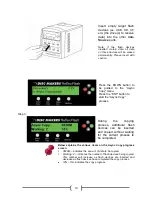
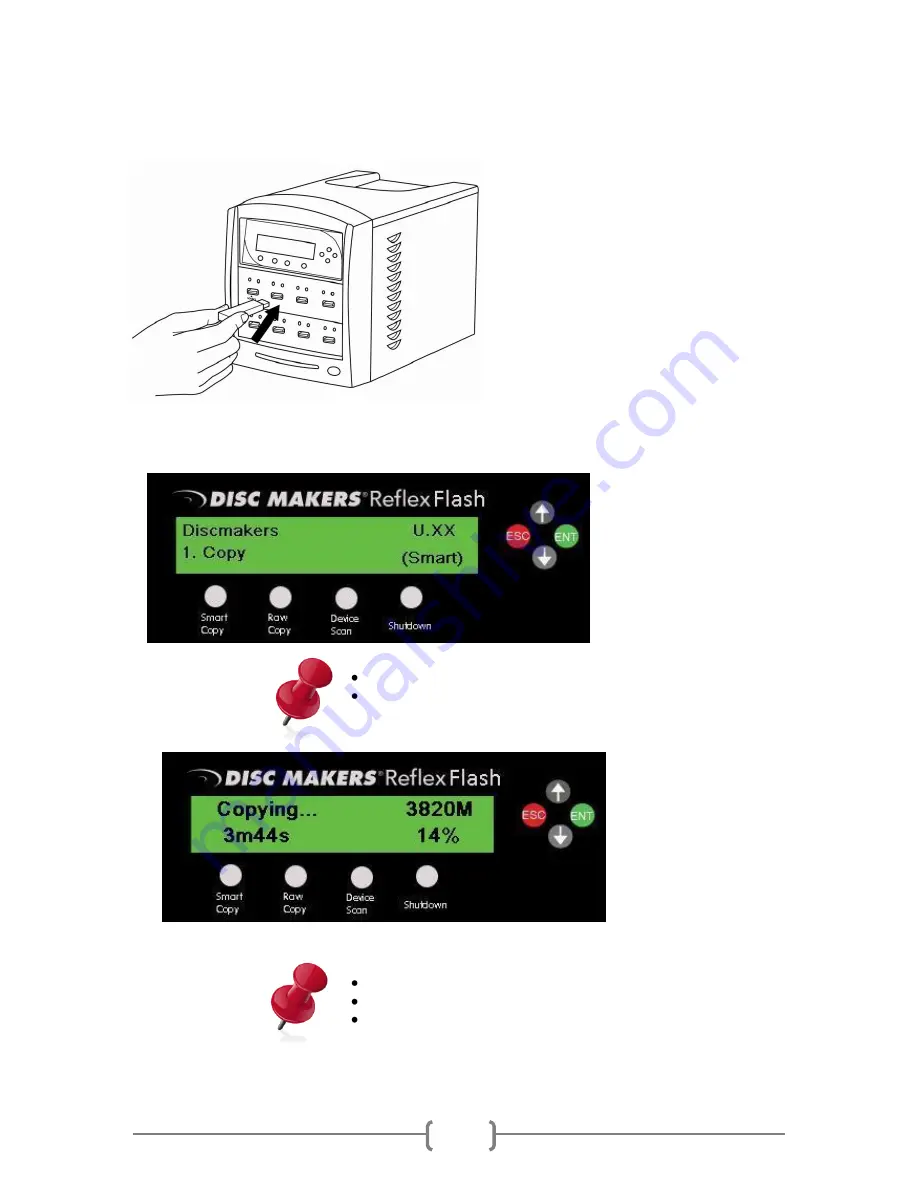
Insert empty target flash
devices
(ex. USB, SD, CF,
etc)
(the drive(s) to receive
data) into the other
non-
Source
ports.
Note: If the flash devices
inserted contain data, all data
on those devices will be erased
permanently. Please insert with
caution.
Step 2.
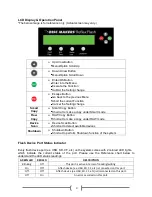
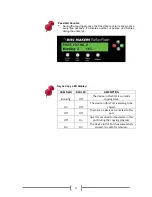
After it has booted up, the
screen on the left should
appear
signifying
the
system is ready.
Pre
ss the “F1 Smart Copy”
button to initiate the copying
process.
Step 3.
Any new devices detected will reset the countdown period.
If the system detects all the available ports have been occupied
or the
“ENT” button is pressed, then the system will execute the
Copy process immediately.
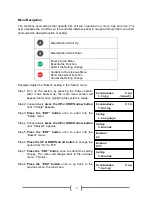
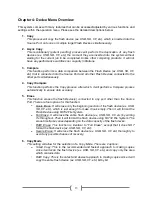
The system will scan
the Source flash device
and proceed with the
Copy
process
immediately. (Shown on
the left)
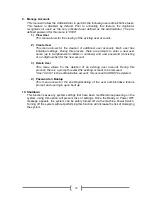
Below explains the various items on the copy progress screen:
3820M, this indicates the amount of data to be copied.
3m44s, this indicates the time left for the copy operation.
14%, this indicates the progress of the copy operation.

