Dino Digital Microscope User’s Manual
43
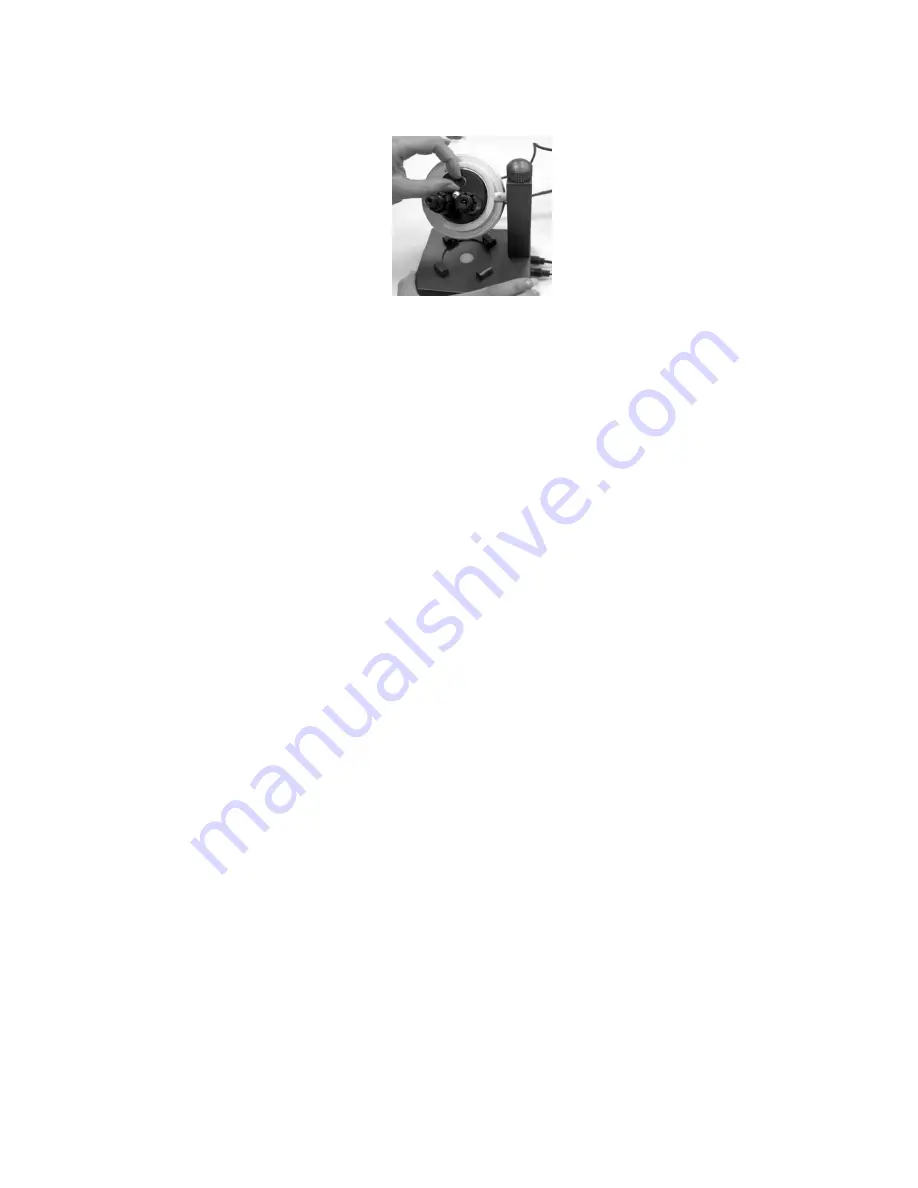
Step.4 Adjust the focus by rotating the normal lens.
Caution: Please do not remove the lens from the lens assembly, otherwise the
dirt may enter the microscope device which might cause the defect on
the image.
Q&A
Q1. Why the object cannot be found on the display of digital microscope?
A: a. Please check all the connection of all necessary cable and adapter.
b. When connecting to TV, make sure the TV’s channel is correct.
c. Try to switch on LEDs.
d. Check whether the lens assembly is on the right position. If the lens
assembly can be freely turned without pulling the lens assembly downward,
it means the lens assembly is not on the right position.
e. Recommend to inspect the object from lower power lens.
Q2. Why cannot work, when connect to PC?
A: a. Check driver installation is completed.
b. The USB cable is connected to Dino Microscope and PC USB port.
Q3. How to install driver?
A: a. Do not connect USB cable to Dino Microscope before driver installation.
b. Place installation CD into CD-Rom driver, select “driver installation”.
Q4. If USB cable connected to Dino Digital Microscope before driver installation?
A: Remove USB cable from Dino Digital Microscope for 5 sec., and then plug it
back to Dino Digital Microscope.
Q5. How to connect “DinoCapture” ?
A: Complete driver installation, connect USB cable to Dino Digital Microscope,
and then Execute “DinoCapture” application procedure.
Summary of Contents for AM-351
Page 14: ...Dino Digital Microscope User s Manual 14 3 Click Next to continue as shown...
Page 17: ...Dino Digital Microscope User s Manual 17...
Page 19: ...Dino Digital Microscope User s Manual 19...
Page 22: ...Dino Digital Microscope User s Manual 22 3 Click Next to continue as shown...
Page 24: ...Dino Digital Microscope User s Manual 24...


