10
9
1) Release the HOLD switch and press the
REC/STOP button for recording.
2) The unit starts recording when the red
LED lights ON.
(The unit displays the recording number, level
and time on the LCD.)
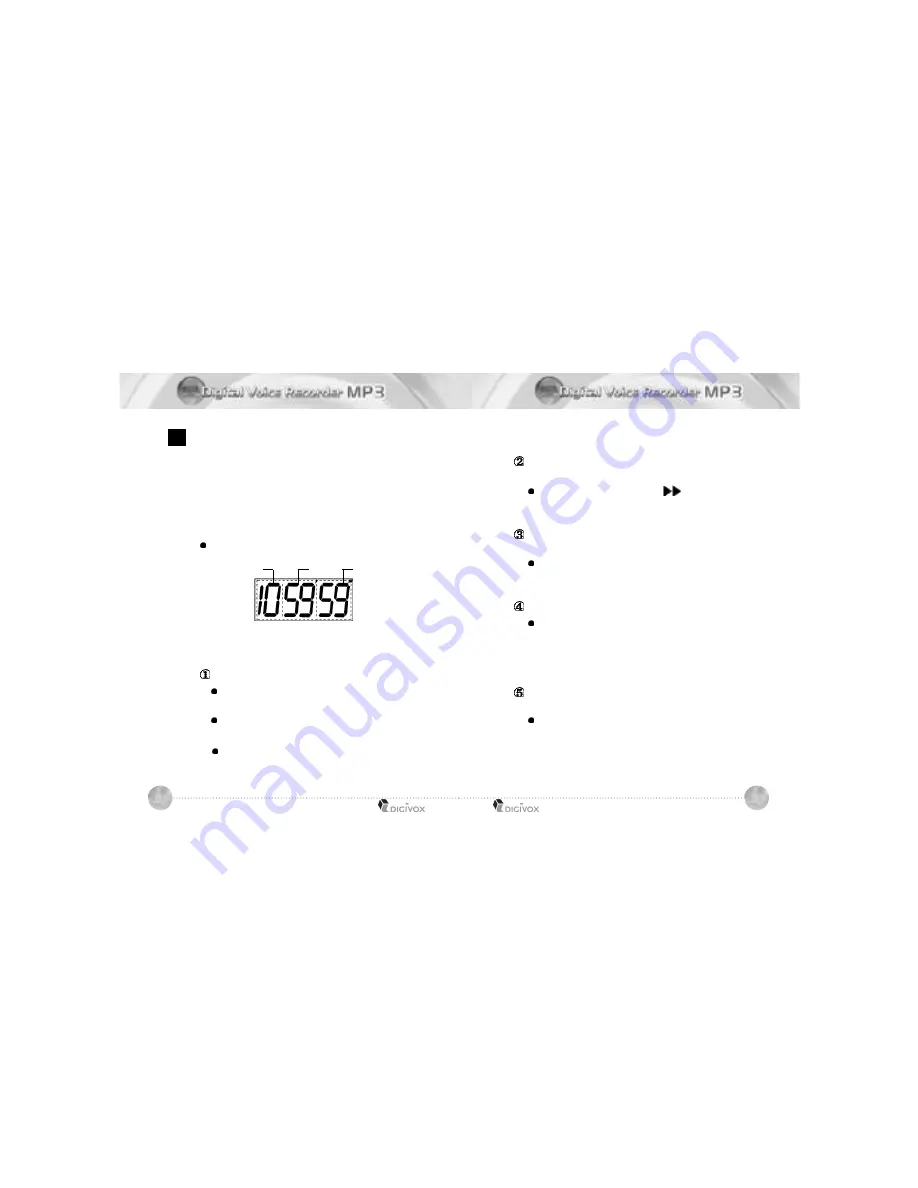
Recording Time Indicaton on the LCD
hour
minute
second
To record on the following number
during recording
During recording, move the button
upwards and then, you can continue
to record on the following number.
Indication of the remaining
recording time
If you press the FOLD/REPEAT button
during recording, the LCD indicates
the remaining time.
Monitoring of recording
You can listen to the recorded messages
by connecting earphone to EAR jack during
recording.
(During monitoring, the volume level can
not be controlled.)
Using an external pin microphone
(Optional)
Record after connecting an external
microphone to MIC jack located on the left side
of unit.
3) To stop recording, press the REC/STOP
button again.
Pause function
Press the MODE/PAUSE button
during recording.
The "PAUSE" letter blinks in LCD display,
which means pause function is operated.
To release the pause function, press
the MODE/PAUSE button one more time.
2
R e c o r d i n g


