9
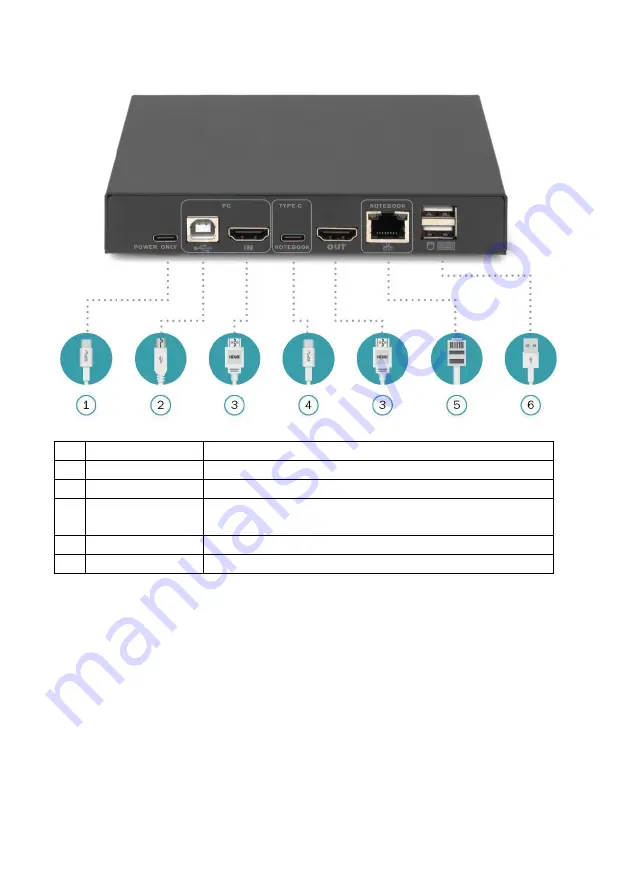
Rear View
1 USB Type-C™
USB Type-C™ power input (Power Only)
2 USB 2.0 Type B
The USB connection interface for that compute side
3 HDMI
HDMI Video Interface for monitor
4 USB Type-C™
Connecting port for USB USB Type-C™ Notebook PC
(Note: Do not connect to power charging adapter)
5 RJ45
Network connection
6 USB 2.0 Type A
Mouse input interface for local USB keyboard
Chapter 2 Hardware Installation
Connection and Installation of Cables
The KVM switch can be placed on any suitable plane and is sufficient to safely
support the device with the weight of additional connecting wires. Please make sure
that the plane is clean and there are no other sundries that will affect the ventilation
and normal operation of the switch.


