


CASSETTE DECK BASIC OPERATION
Before operation, make sure Function Selector is in the Tape mode.
PLAYBACK
Set Function Selector to Tape mode.
Press Eject button to open the cassette door.
Place the cassette tape into Deck, with the side to be played facing the window.
Close cassette door and Press Play button to start playback.
Playback stops when the tape reaches the end.
Press Stop button if you want to stop playback before the end of the tape.
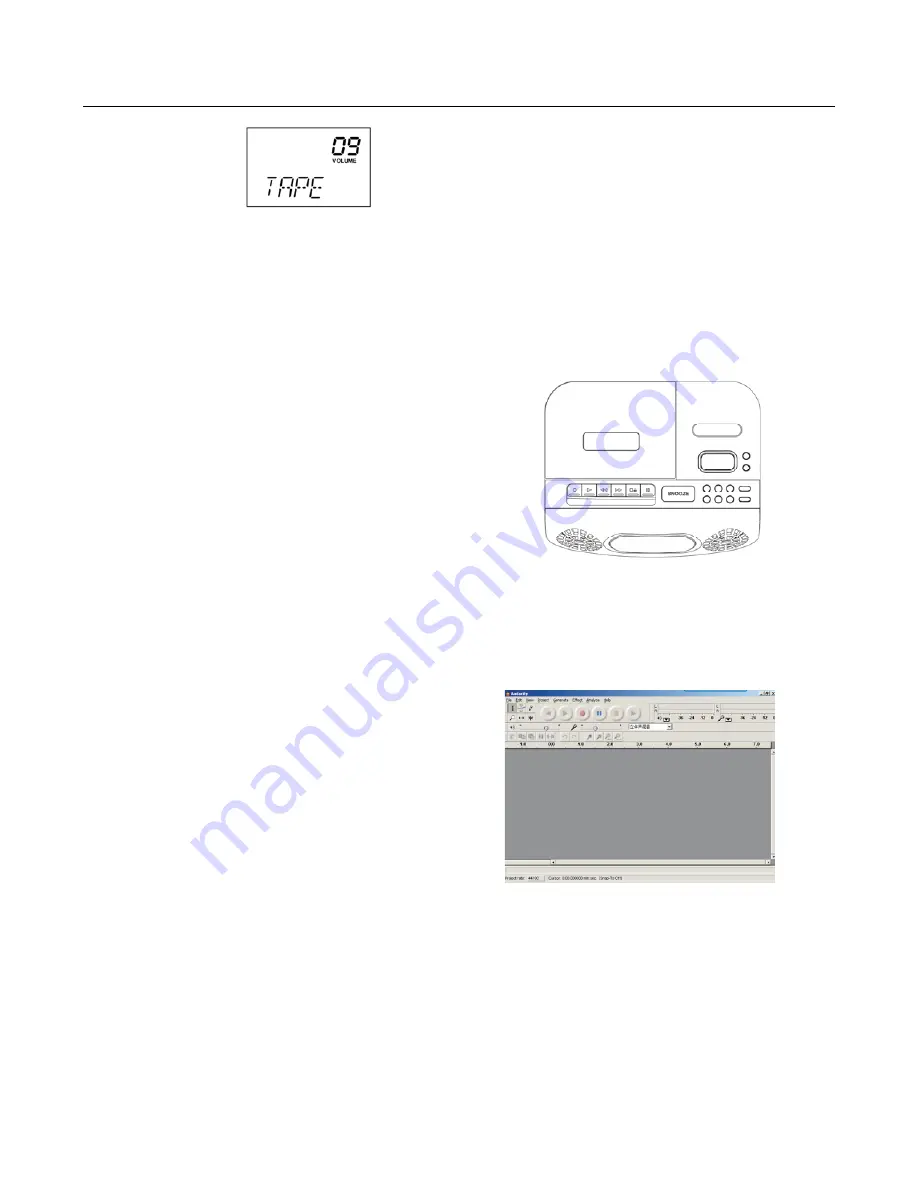
PLAY DECK CONTROLS
1. RECORD : to start recording to cassette tape.
2. PLAY : to start cassette playback.
3. REWIND : to fast rewind the cassette tape
4. F.FWD : to fast forward the cassette tape
5. STOP/ EJECT: to stop or eject cassette tape
6. PAUSE : to interrupt recording or playback
ENCODING (VIA USB CABLE TO COMPUTER)
Running the Software
Installing Audacity Software
1.
Double-click the Audacity software showing red
and orange “balls” wearing blue headphone, and
go to the following interface:
Install the Audacity software in your Computer
(supplied disc matches with the device):
-
Insert the Audacity disc into CD drive of your
computer.
-
Click “My Computer” on the desktop.
-
Double-click “CD drive” to view contents of the
Audacity disc.
-
Double-click “Audacity Set Up” & follow the
instruction to install the software.
Install USB Driver
-
Make sure the Audacity disc remains in your
CD drive.
-
Use supplied USB cable to connect the device
to your computer.
2. Use the attribute controls button at top of the
screen, go to beginning, Play, Record, Pause,
Stop and go to end. Use the File, Edit, View,
Project, Generate, Effect and Analyze menu to
Save, Export and edit the music.
-
Follow screen instruction to install the USB
driver.
3. Select preference at bottom of the menu which
will open up Audacity Preference. You can set
the Audio I/O, Quality, File Formats,
Spectrograms, Directories, Interface, Keyboard
and Mouse in the Audacity preference Interface.
5


