Digitana SYNTHI VCS3 Poly MIDI-CV Manual Download Page 8


Using the Windows Configuration Program to change Play Modes


The different play modes of the Poly (and Quad) Midi-CV units are accessed via sysex messages 

sent to the unit through a midi cable connected to e.g. a USB or other midi interface running on a 

Windows/Mac PC/laptop. The programme (and any future updates) is available from Marc 

Bareiile’s website:- 

http://m.bareille.free.fr/mcv876/mcv876.html 

Make sure you download version 3 

 of the programme. 

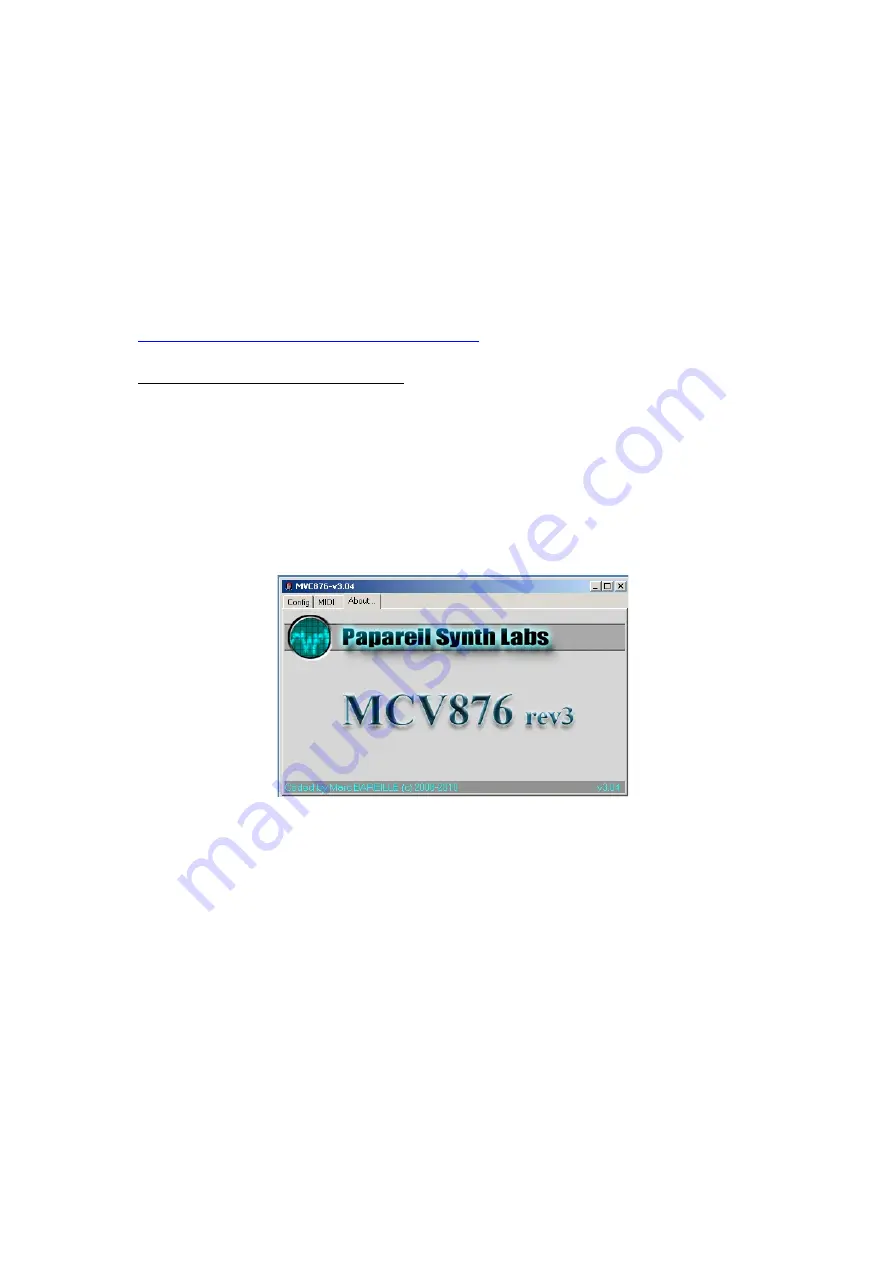
On running the programme the following screen appears:- 


There are just 3 main tabs. Click on ‘Midi’ tab to setup the midi out port on your PC :- 


Summary of Contents for SYNTHI VCS3 Poly MIDI-CV

Page 1: ...idi CV control CV1 CV3 Scaling Potentiometers return VCS3 mk2 Poly MIDI CV Midi clock output Midi Start stop output Midi Learn Switch Normally OFF Cable to rear of the Dk1 or DK2 Keyboard with 8 pin f...

Page 2: ...all incoming recognised MIDI status bytes The led also blinks 3 long blinks if the interface receives the Write To Flash sysex message When this message is received all MCV876 parameters are written i...

Page 3: ...e By default the poly midi is configured in Poly Mode 2 with modulation wheel as the midi CC generating CV3 V3 06 Firmware and different Play Modes The Poly Midi unit can be configured in these differ...

Page 4: ...CV1 it is necessary to switch the toggle switch to the 0 32V Oct setting and scale knob set to maximum value 10 This will produce correct chromatic scales on Osc1 and Osc2 For CV2 and CV3 you can eit...

Page 5: ...e pot to 10 on the Poly Midi CV Unit and the toggle switch to 0 32V Oct range Set the lower toggle switch to the CV1 setting and the gate setting to G1 Plug in a Midi Keyboard or software sequencer pl...

Page 6: ...4 For changing play modes on the unit see later on in this guide Note Osc3 in the Synthi is not by design tracking at 0 32V Oct but at 0 26V Oct so you will need to adjust the third trimmer on the rea...

Page 7: ...2 It s best to have the Input Ch1 and Input Ch2 pots on the VCS3 set to their maximum value 10 Locate the joystick vertical control scaling pot on the VCS3 lower panel and turn it to the seq setting m...

Page 8: ...connected to e g a USB or other midi interface running on a Windows Mac PC laptop The programme and any future updates is available from Marc Bareiile s website http m bareille free fr mcv876 mcv876 h...

Page 9: ...send parameters in real time button as this speeds up the process of changing play modes There are other options to the right concerning midi inputs that you dont need worry about for basic operation...

Page 10: ...is means CV1 corresponds to Midi note 1 and gate G1 is triggered by Midi note 1 on message CV2 corresponds to Midi note 2 and Gate 2 is triggered when Midi note 2 on message is received Meanwhile CV3...

Page 11: ...ssign a Midi CC Similarly looking at the Gate CC s assigned G1 and G2 are greyed out because they are automatically assigned to Midi note1 and note 2 on events This leaves G3 and G4 assignable to a Mi...

Reviews: