Digital Video Lab DejaVu User Manual Download Page 15


15 


6. Operation 
 

6.1. Recording modes 
 

“DejaVu“ Instant Replay System can be configured to use several recording modes to better suit 
different applications. Please carefully choose recording mode for your situation before you begin 
working with the unit. 
 
After powering up, recording position is always set after the last frame recorded in previous session. 
Next action depends on recording modes set: 
 

Recording Mode 

State 

Description 

LOOP 

ON* 

When SSD capacity is reached, recording will continue from the 
start of SSD, deleting older video. Last recorded 7+ hours of video 
(for 512GB SSD) will always be available for replays. 

OFF 

When SSD capacity is reached, recording will stop. 
 
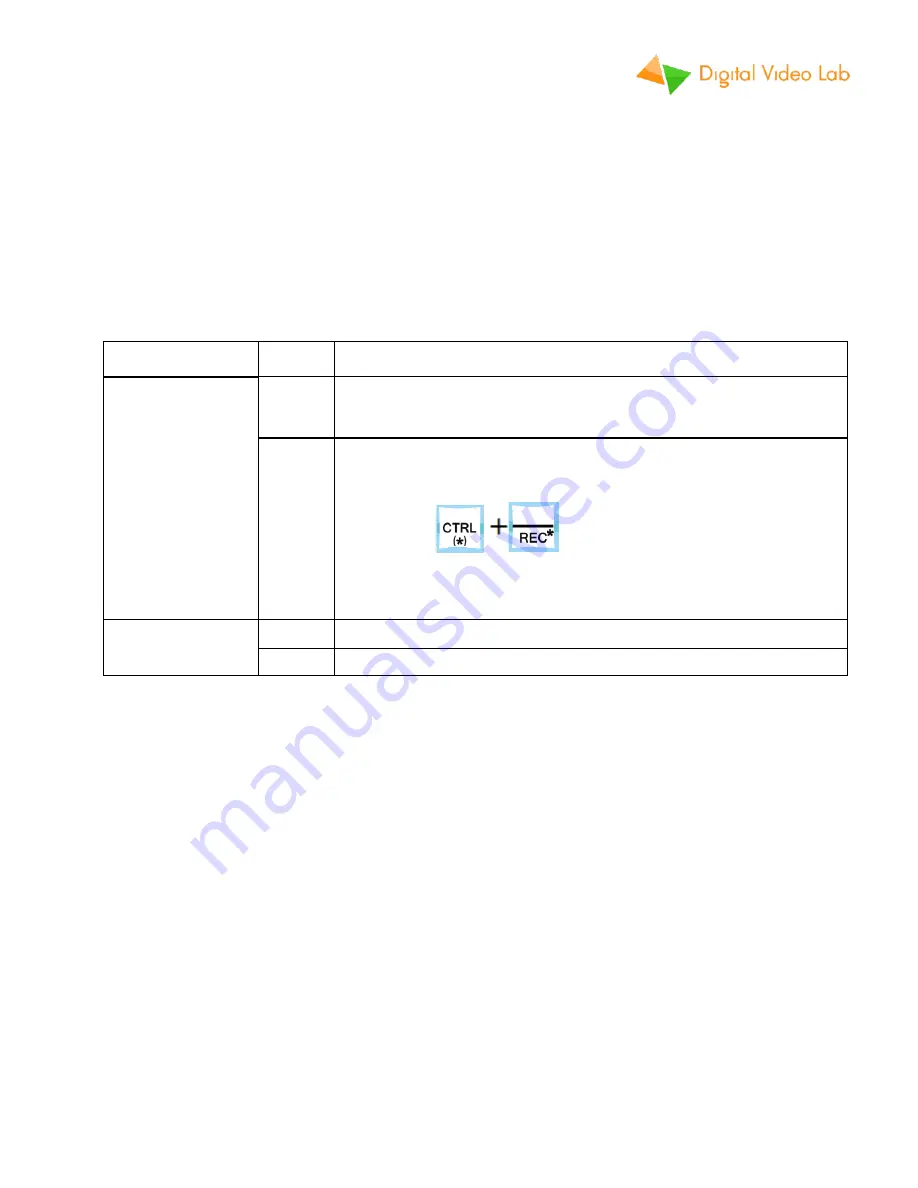
To continue recording: 

Either press 


 to delete all video and start from the 

beginning, 
 
Or change 

LOOP

 recording mode to ON and continue recording. 

AUTO 

ON* 

The unit automatically starts recording after powering up. 

OFF 

The unit will 

not

 start recording after powering up. 


(*) 

– default settings. 


6.2. Preparing to live broadcast or event 
 

You setup will be different, depending on whether you will be using 

“DejaVu“ Instant Replay System 

as a stand-alone broadcasting solution or together with video switcher. 
 

  Connect your cameras to 

CAM1


– 

CAM4

 3G-SDI video inputs.  


If you are using a separate video switcher: 


  Connect bypass outputs to your video switcher. These will be your live camera sources. 

  Connect 

REP1


– 

REP4

 replay outputs to your video switcher. These will be your replay sources. 

 
Your “DejaVu“ system will be working as multi-channel recorder and you can operate video switcher 
console to switch between live video and replays. 

Summary of Contents for DejaVu

Page 1: ...1 DejaVu Instant Replay System User Manual CONTENTS...

Page 2: ...y functions 10 5 Multiview and On Screen Display OSD 11 5 1 Multiview layout 11 5 2 On Screen Display OSD 12 6 Operation 15 6 1 Recording modes 15 6 2 Preparing to live broadcast or event 15 6 3 Playb...

Page 3: ...st mode Can be used as a simple multi channel recorder player Logo overlay Integrated video switcher with 8 sources and Dip transitions Integrated multiviewer PC connection is not needed to operate or...

Page 4: ...it with integrated control panel and 10 TFT display SSD drives are placed inside the unit by installer Front panel Fig 1 Front panel Front panel 10 TFT display monitor T Bar speed control Jog Shuttle...

Page 5: ...I D Display output for external video monitor with HDMI input 7 BNC 3G SDI Channel 1 replay output REP1 8 BNC 3G SDI Channel 2 replay output REP2 9 BNC 3G SDI Channel 3 replay output REP3 10 BNC 3G SD...

Page 6: ...sition is normal speed Highest T Bar position is slowest speed in SLOW mode and fastest speed in FAST mode Jog Shuttle knob is used for cursor positioning in EDIT mode Turn Shuttle clockwise to fast f...

Page 7: ...if CAM4 video source is selected on Master output Select recoded video from Replay channel 1 on Master output internal display monitor Lights up red if REP1 video source is selected on Master output S...

Page 8: ...een once when pressed In EDIT or PLAYLIST modes set clip OUT position to current displayed frame Briefly flashes green once when pressed Save current replay clip to the playlist Clip is added to the e...

Page 9: ...d Briefly flashes green once when pressed In EDIT or REPLAY modes stop playback of the current replay clip and delete it In PLAYLIST mode delete selected clip from playlist Lights up green if there s...

Page 10: ...0 seconds Lights up red if current setting is 30 seconds Start or stop recording Lights up red if recording is currently ON Delete all recorded video footage Also stops recording if it s active All cl...

Page 11: ...sources manually or during playlist playback Replay logo is overlaid on top of recorded video Press anytime to switch internal display monitor between Multiview output and Master output Press or to se...

Page 12: ...ay OSD OSD information is always displayed in the top left window of the multiview or overlaid on Master output video on the built in display monitor Four lines of the OSD display timecode in hours mi...

Page 13: ...failure OSD line 2 HH MM SS FF PLAY 100 OSD Indicator Description TIMECODE HH MM SS FF Timecode of current playback frame PLAYBACK STATUS PLAY Playback is ON PAUSE Playback is paused PLAYBACK SPEED NN...

Page 14: ...ips in playlist 01 32 TOTAL DURATION HH MM SS FF Total duration of all clips in playlist In PLAYLIST mode line 4 also displays data of the current clip in playlist NN XX RX HH MM SS FF OSD Indicator D...

Page 15: ...Either press to delete all video and start from the beginning Or change LOOP recording mode to ON and continue recording AUTO ON The unit automatically starts recording after powering up OFF The unit...

Page 16: ...g manually by pressing Optionally press to delete all previous recorded video and start new session After event is finished press to stop recording 6 3 Playback modes DejaVu Instant Replay System oper...

Page 17: ...p IN mark to current position Optionally Press to set clip OUT mark to current position Optionally Press to save replay clip to the playlist Optionally Press to delete current replay clip REPLAY Press...

Page 18: ...clips Press to delete selected clip from playlist Press to start playback of the selected clip or entire playlist Press again to pause resume Press or and use T Bar to select slow motion or fast moti...

Page 19: ...replay clip will be shown and the system will switch to REPLAY mode If you want to save replay clip to the playlist press If there are already 32 clips in the playlist playlist is full first clip will...

Page 20: ...e added at the last position Currently selected replay channel 1 4 is saved along with the clip Press to start playback of the replay clip Press again to pause resume If you need slow motion or fast m...

Page 21: ...tem will exit from playlist mode automatically You can edit starting MARK IN and ending MARK OUT positions of the current clip Use Jog Shuttle knob to select position and press either or to set Press...

Page 22: ...t can immediately see how he she has performed the jump Use Jog Shuttle knob to fast forward or rewind Press to make sure there s no replay clip cued Press to start playback from current position Pres...

Reviews: