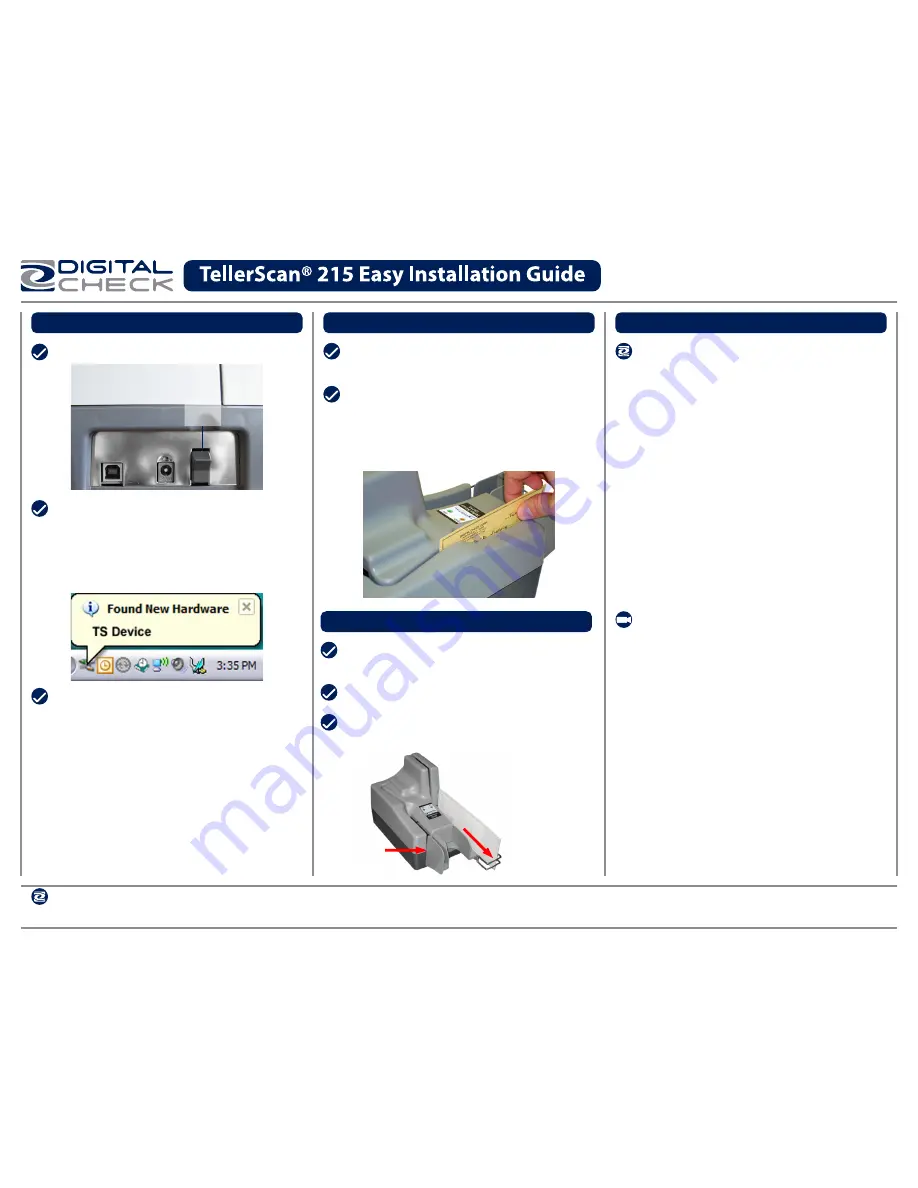
Step #4: Power-on the Scanner
Power-on the scanner.
Check your computer screen to make sure
that the scanner is recognized by the PC.
A
‘Found New Hardware - TS Device’
notification will appear, once the initial
connection is made.
Once your deposit application is launched,
the right LED light on the scanner will turn
from ‘Red’ to ‘Green’. When checks are
inserted into the feeder, the left LED light on
the scanner will turn ‘Orange’. The scanner
is now ready to begin scanning checks
using the deposit application.
TS, TellerScan, Best Read and Infinity are trademarks and / or
registered trademarks of Digital Check Corp.
Rev. 030308
Step #5: Insert Checks
Straighten any bent corners
on the checks before loading.
On / Off
Switch
Slide the check(s) into the path until the
check stops, or begins to feed. The left LED
light will turn ‘Orange’ when the scanner
has detected a check in the path.
Step #6: Scan Checks
Select “Scan” in the deposit application.
Checks will feed through the scanner and
stack in the exit pocket.
Entry Tray
Exit Wire Stop
Pull out the exit wire stop to accommodate
business size checks.
Additional Information
Recommended User Maintenance:
Digital Check highly recommends using
the TellerScan cleaning card to perform a
simple cleaning cycle once a quarter or
every 5,000 checks, whichever comes first.
This is the quickest and easiest way to
maintain trouble-free performance of your
check scanner.
Consumables are available from your
reseller or Digital Check.
A demonstration video on how to perform
a cleaning cycle is available at
www.digitalcheck.com
Video training, user guides and additional scanner information can be downloaded or viewed from our website:
www.digitalcheck.com/gettingstarted


