P/N: RF120IRG Rev 1.20
Page
5
Copyright © 2020
E&OE
Configuring RF110 Keyfob Button Functions
MENU 6-2-6 is used to customise the button functions
on the RF110 SMART RF 2-way keyfobs. Each of the 5
buttons can be programmed with two independent
functions if required with buttons 1 to 5 being a single
press function and buttons 6 to 10 being hold down
functions .
Up to 10 different functions in total can be programmed.
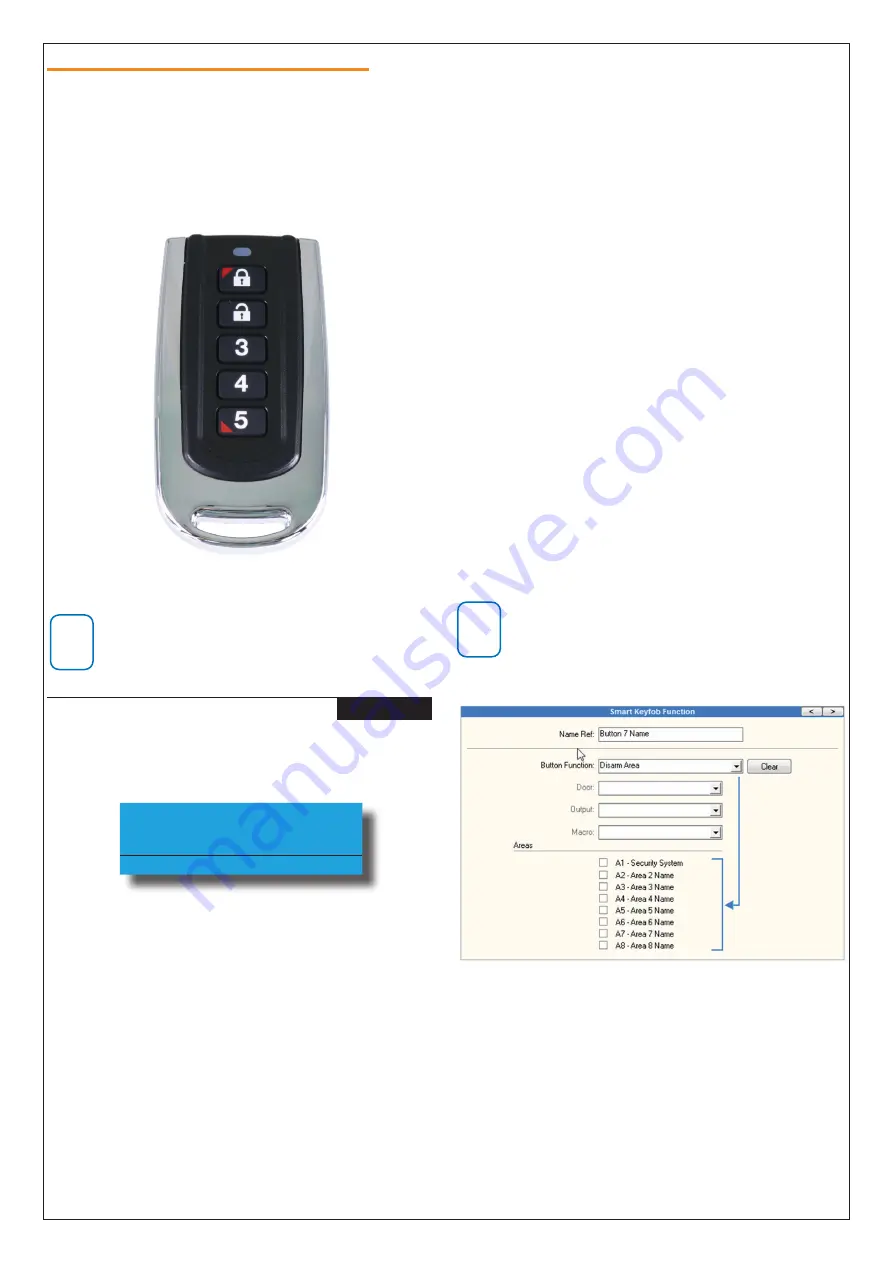
Figure 8: RF110 SMART RF Keyfob
i
Note
To trigger the hold down function you must press
and hold the keyfob button down for 2 seconds.
SMART Keyfob Function
MENU 6-2-6
1)
Press [MENU] + [6] + [2] + [6]. The keypad will
display the following options.
Button Function
Button Assignment
Exit
Press
OK or SAVE
2)
Use the up and down arrow keys to select the
Button Function option and press OK.
3)
Use the up and down arrow keys to select the
Button to program (1- 10) and press OK.
Remember buttons 6 to 10 are hold down
functions.
4)
Use the up and down arrow keys to select the
required function from the list of options and
press OK.
The following button functions are currently
available.
1
Disabled
2
Disarm
3
Arm
4
Part 1
5
Part 2
6
Door
7
Output
8
Macros
5)
Once the button functions have been configured
you need to set the function assignments for each
button. Select the Button Assignment option from
MENU 6-2-6 and press OK. Select the button to
configure and press OK.
6)
The type of assignment available for each button is
determined by the button’s function.
The button functions Disarm, Arm, Part 1 and Part
2 must be assigned to one or more areas. The
button function Door must be assigned to a door,
button function Output to an output and button
function Macro to a macro.
7)
Using macros, it is possible to configure a single
button to open multiple doors or to operate
multiple outputs.
i
Note
MENU 6-2-6 SMART RF Keyfob Function is only
effective when using the RF110 keyfobs. Other
keyfobs have fixed button functions that cannot be
configured separately.
Figure 9: SMART Keyfob Functions In RAS Software


