Note
: To recognize the USB device well, please
format the USB device
to FAT32 file system
first, and make sure you delete all other files and keep only
“
update.bin
”)
Instructions to format a USB device to FAT32 file system:
I.
Click on the "My Computer" shortcut on the desktop of your computer
II.
Right-click the flash drive and choose the "Format" option
III.
Change the selection under "File System" to FAT32
IV.
Click the "Start" button to begin the formatting process
(3)
Connect NVR to a monitor and insert USB device to the port of NVR
To start local display upgrade, please connect NVR to a monitor (via HDMI or
VGA) and insert USB device to the USB port of NVR.
Note:
HDMI connecter is supported in DS-8200-RM Pro Series, DS-4200-RM
Pro Series, DS-4200 Pro Series, DS-2100 Pro Series and DS-1100 Pro Series.
Note:
VGA connector is supported in DS-8200-RM Pro Series, DS-4200-RM
Pro Series and DS-4200 Pro Series.
Note:
DVI-I connector is supported in DS-2100 Pro Series and DS-1100 Pro
Series.
(4)
Power on the monitor and NVR, and log in NVR.
(5)
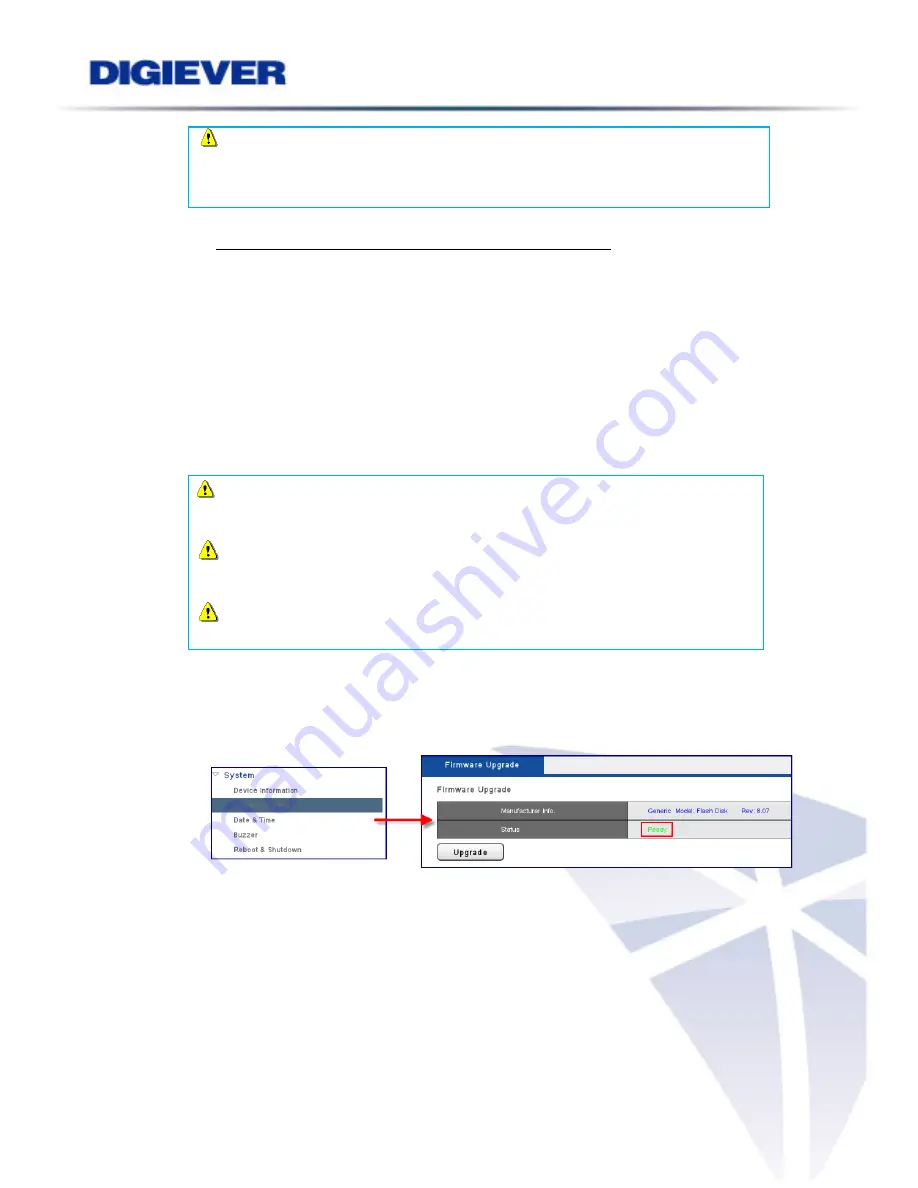
Go to "
Configuration
" page, and then select "
System Upgrade
". When the
interface shows device is ‘
ready
’, you can start upgrading NVR.
(6)
Once firmware upgrade finishes, NVR will reboot itself.
Users could go to “
Device Information
” from the drop down list of “
System
” so
as to double check NVR firmware version.
174
Summary of Contents for DS-1100 Pro Series
Page 34: ...2 Network Two models are provided for setting the network DHCP and Static IP 29 ...
Page 40: ...3 Left click Run to use licensed ActiveX controls 35 ...
Page 60: ...You can also click Delete to disconnect the camera 55 ...
Page 99: ...94 ...
Page 127: ...122 ...


