


Chapter 2: Installing FWx
3
Chapter 2: Installing FWx
If you are using an FOH Rack with your VENUE system, see
“FOH Rack FWx Card Installation” on page 3.
If you are using a Mix Rack, see “Mix Rack FWx Card Installa-
tion” on page 6.
For Pro Tools LE installation and compatibility information,
see “Installing Pro Tools LE” on page 9.
FOH Rack FWx Card Installation
This section shows how to install an FWx card into FOH Rack.
Only one FWx card can be installed in an FOH Rack.
To install the FWx card in the FOH Rack:
1
Shut down your sound system.
2
Power down your FOH Rack.
3
Disconnect all power, audio, FOH Link, and any MIDI cables
attached to the FOH Rack.
4
Remove the front panel faceplate by unscrewing its mount-
ing screws (#1 Phillips). Keep the screws nearby for remount-
ing the front panel later.
5
If your system has an HDx TDM Option card installed, dis-
connect its ribbon cable and remove the card.
6
On the back panel of the FOH Rack, remove the faceplate on
any available expansion slot by removing the screws holding
it in place. Keep the screws nearby for securing the FWx card
to the FOH Rack later.
7
Remove the FWx card from its packing material. Hold the
card by its edges.
Front panel of the FOH Rack
HDx and FWx cards cannot be installed in the FOH Rack
simultaneously.
Faceplate
Mounting screws (remove all)
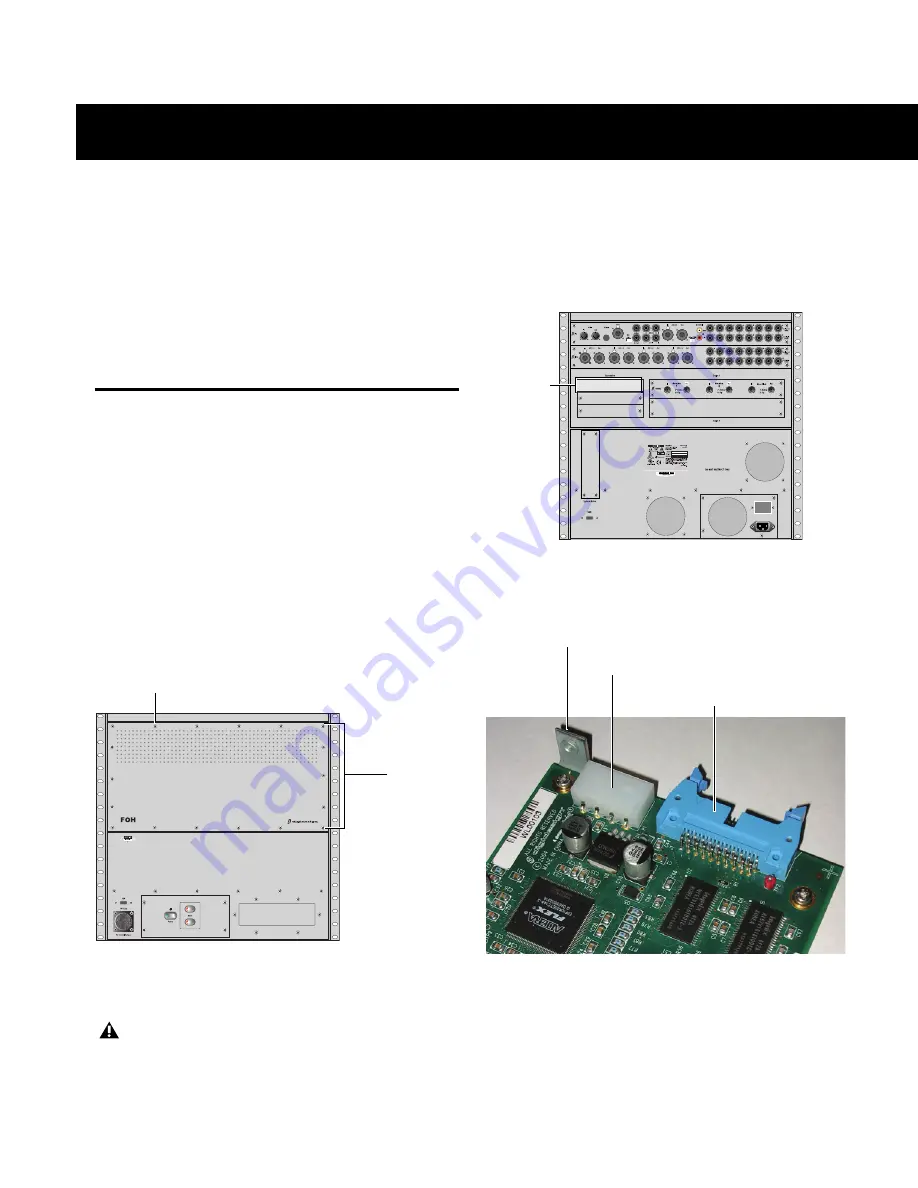
Back panel of the FOH Rack
FWx card showing bracket and connectors
Expansion
slot
faceplate
(remove)
Mounting bracket
Power connector
Ribbon Cable connector


