8
PREV/NEXT.
Use these buttons to
browse back and forth through the
preset files.
SIZE.
Press this button to load the
double sized graphic interface.
TIPS.
When activated, it displays the
tooltip for each graphic object. Please
note that the GUI interaction is blocked
when TIPS are turned on. Press again to
restart the normal interaction. The
purpose of this button is to give an easy
way to share (i.e. via screenshot)
information of all the current GUI
settings.
SET/TWEAK.
Please refer to the
dedicated sections.
Here some useful tricks to interact with
the GUI:
•
use “CTRL + click” on a knob to
reset the value to its default;
•
use the mouse wheel on a knob
for fine adjustments;
•
press SHIFT while moving a knob
to fine adjust.
Edit Mode
The Edit Mode is accessible by double
clicking on a knob. Once done, you
can edit the value by using arrows,
digits and “.”, “+”, “-” keys. INSERT key is
supported too: INSERT status is
recognizable by checking the cursor
inside the tooltip (“|” means INSERT
disabled, “_” means INSERT enabled).
After modifying the value press ENTER
to commit or ESC to roll-back to the
latest value before accessing the Edit
Mode.
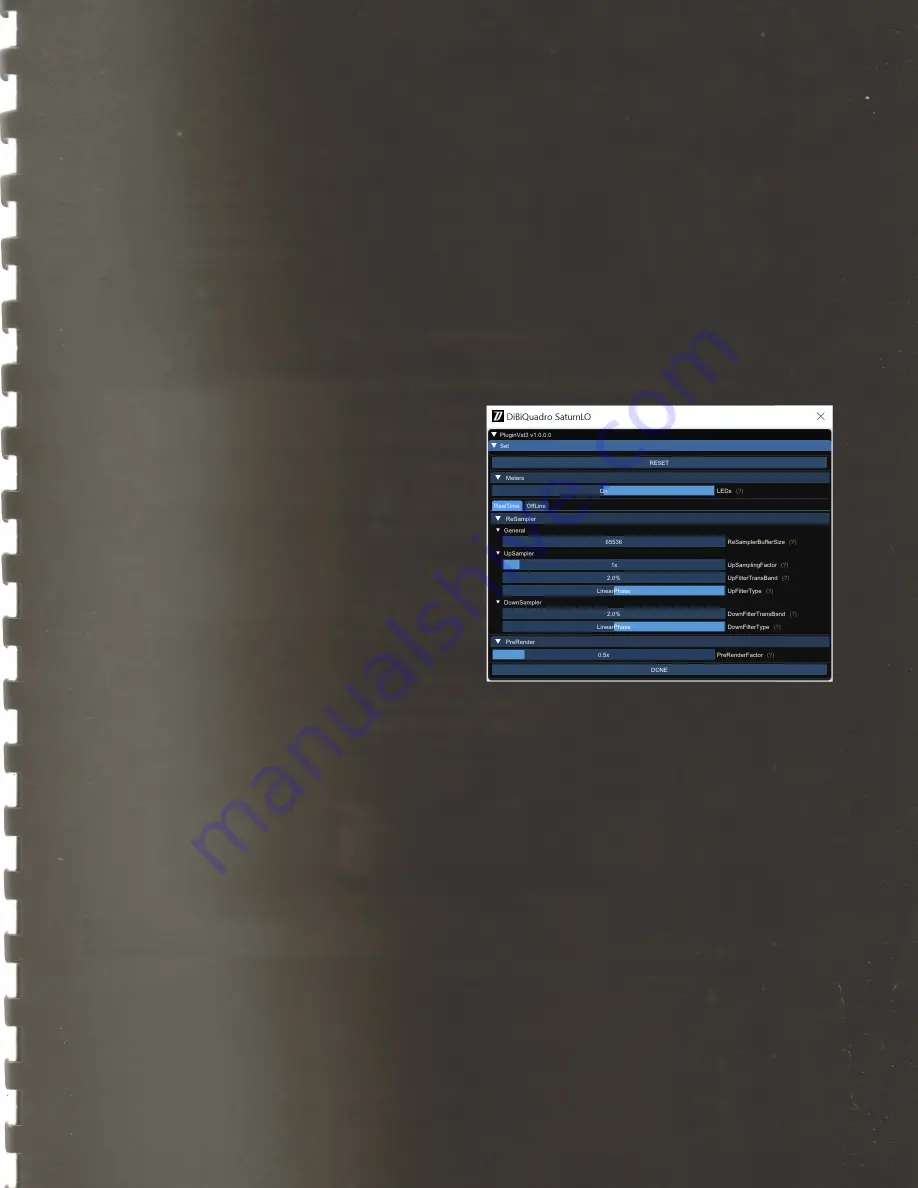
SET
SET window
You can open the SET window to
access the configuration settings for
meters, ReSampler and PreRender.
RESET
. It restores the default values for
all configurations in the SET window.
LEDs
. It activates / deactivates the
meter LEDs.
RealTime and OffLine tabs.
These tabs
allow the user to specify different
configurations for the ReSampler, which
are taken into account depending on
the current processing mode.


