


2
20
Hardware Installation
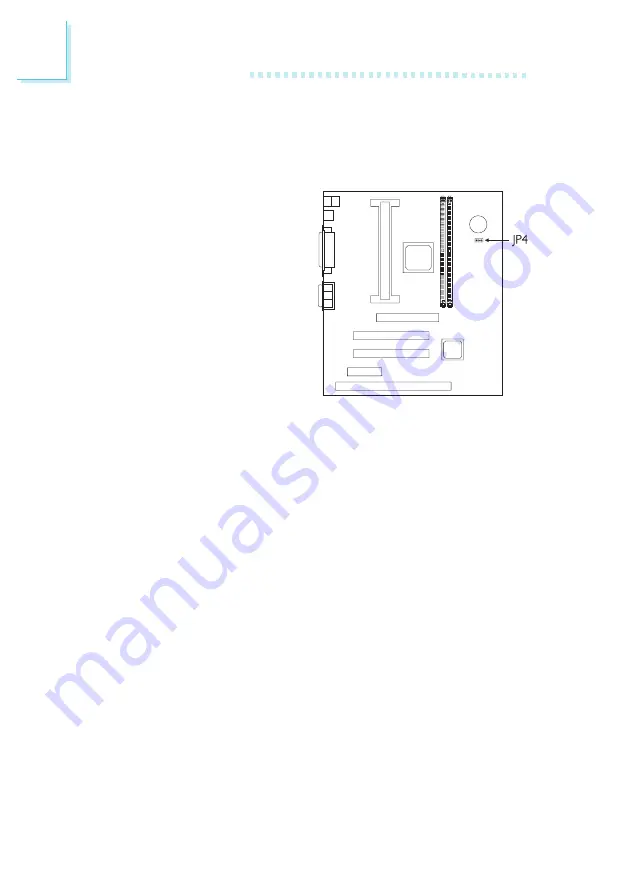
2.6 Jumper Settings for Clearing CMOS Data
Jumper JP4
Clear CMOS Data
If you encounter the following,
a) CMOS data becomes
corrupted;
b) You forgot the supervisor
or user password;
c) You are unable to boot-up
the computer system
because the processors
bus clock was incorrectly
set in the BIOS;
you can reconfigure the system
with the default values stored in the ROM BIOS. Please follow the
steps below.
1. Power-off the system and unplug the power cord.
2. Set JP4 pins 2 and 3 to On. Wait for a few seconds and set JP4
back to its default setting, pins 1 and 2 On.
3. Plug the power cord and power-on the system.
If your reason for clearing the CMOS data is due to incorrect
setting of the processors bus clock in the BIOS, please proceed
to step 4.
4. After powering-on the system, press <Del> to enter the BIOS
setup utility.
5. Select the Chipset Features Setup submenu and press <Enter>.
6. Set the CPU/PCI Clock (MHz) field to its default setting or an
appropriate bus clock. Refer to CPU/PCI Clock (MHz) in the
Chipset Features Setup section in chapter 3 for more
information.
7. Press <Esc> to return to the main menu of the BIOS setup
utility. Select Save & Exit Setup and press <Enter>.


