7
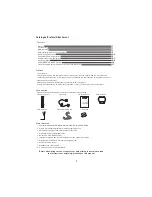
1.Connection with TV
1.1
1.2
1.3
1.4
If your TV only has a VIDEO input socket (yellow socket), please connect the system's VIDEO
output socket and the TV's VIDEO input socket with video cable.
If your TV has an S-VIDEO output socket, Please use an S-video cable to connect with this
system's S-VIDEO output socket, and the pictures will be much better. When setting the
system, please set the Video output as S-VIDEO output.
If your TV has a Y, Cb, Cr input socket, please use Y, Cb, Cr port cable to connect this system's
Y, Cb, Cr output socket with the TV's Y, Cb, Cr input socket to get a high quality picture. When
setting the system, please set the Video output method as Y, Cb, Cr output.
Use the Audio cable to connect the left and right sound channel of TV,then the TV's speaker
can be used for audio output.
2. Connection with amplifier
Connection with left/right speakers
Use speaker cables to connect the left and right speakers with the left and right mix audio output
socket of this system to enjoy stereo music.
3.Operation steps
3.1
3.2
3.3
3.4
Connect the system as in the above illustration
Turn on the TV, adjust the TV to the AV channel, then press the Power key on the machine to
switch on the power. The display screen of the system lights up, and the opening machine
picture appears on the TV.
Variety of system function. Carry out the basic settings. After setup, press the disc
in/out key, and the disc tray will open automatically. Put a disc in, press this key to close the
disc tray, and the machine will play the programmes automatically.
When the main machine is on, all functions can be operated with the keys on the
remote control and the front panel.
In normal playback mode, press the STANDBY key on the remote control . The
machine enters standby mode, and the time is displayed.
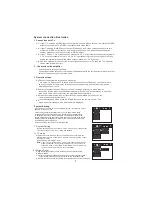
System Setting
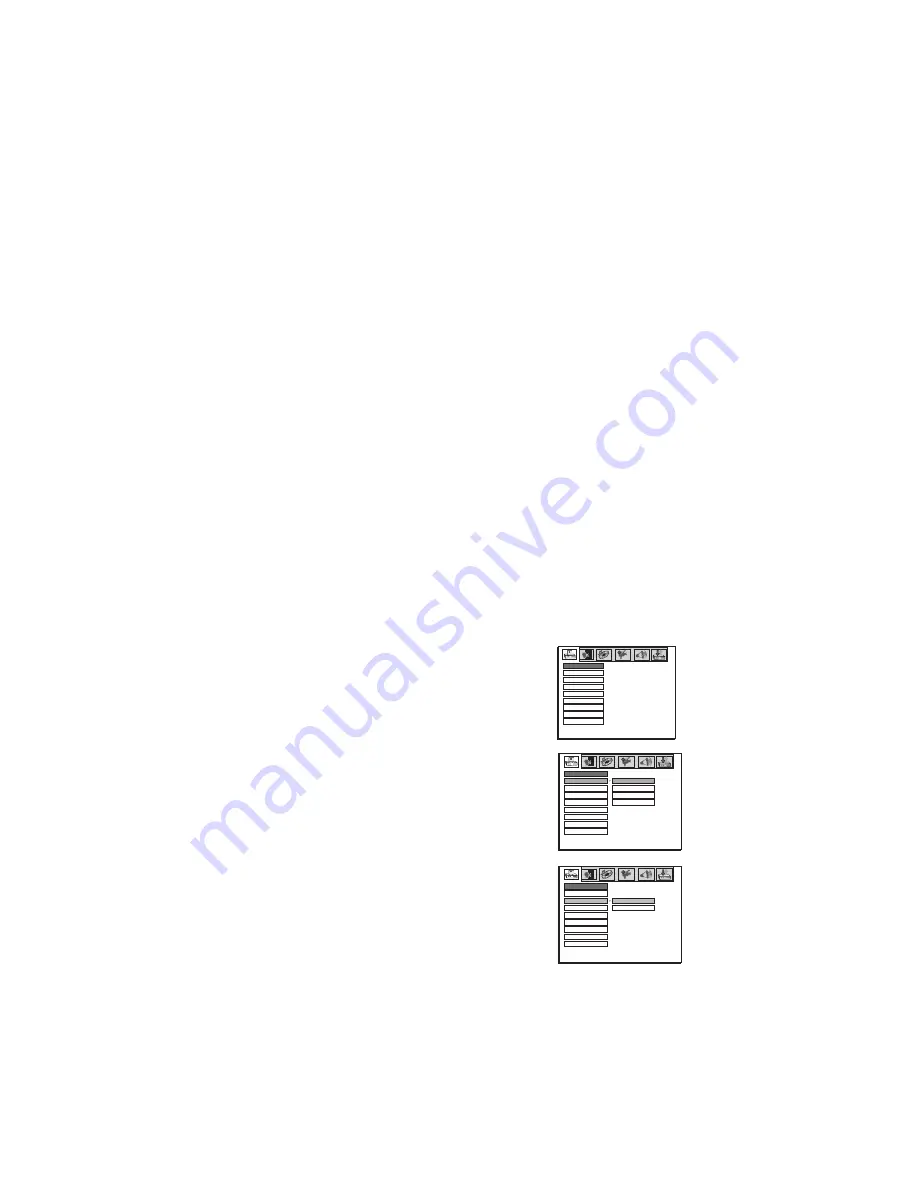
Press Setup key to open setting navigational system, the following picture
appears on the TV screen.
SYSTEM SETUP
TV SYSTEM
SCREEN SAVER
VIDEO
EXIT SETUP
TV TYPE
PASSWORD
RATING
DEFAULT
Via the setting navigational systems menu, you can adjust system setup,
language setup, audio setup, video setup, speaker setup and digital setup.
To navigate within these 6 setting sub-menus, use the left and right direction
keys to move between the sub-menus. When the cursor is moved to the chosen
setting symbols, the setting menu will appear. Move the up/down direction key
to choose among the setting items.
Selec
to exit setting mode.
t “exit setting”, and confirm
System connection illustration
1. System Setting
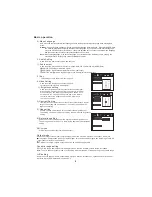
1).TV mode
System setting is used to set the TV mode, screen saver, video output,
TV screen display, code, level, rating and default.
Different disc formats suit different TV standards. According to the
different disc formats, select the TV signal mode of the system output
by using TV mode.
Options:NTSC,PAL60,PAL, Auto.
If your TV is in NTSC or PAL mode, if you choose the wrong TV
mode by mistake, the picture will appear on the TV screen in
black and white or it will blink. Press "Mode" key on the remote
control, the screen will return to normal status .
Note:
SYSTEM SETUP
TV SYSTEM
SCREEN SAVER
VIDEO
EXIT SETUP
TV TYPE
PASSWORD
RATING
DEFAULT
NTSC
PAL 60
PAL
AUTO
2).Screen Saver
Using screen saver option to open or close screen saver programme.
Options: ON/OFF.
On: After a certain time (about 3 min), the screen saver program will open
automatically. Press any key to cancel the screen protection mode .
Off: When the close function is selected, the system's screen saver will not open.
SYSTEM SETUP
TV SYSTEM
SCREEN SAVER
VIDEO
EXIT SETUP
TV TYPE
PASSWORD
RATING
ON
OFF
DEFAULT


