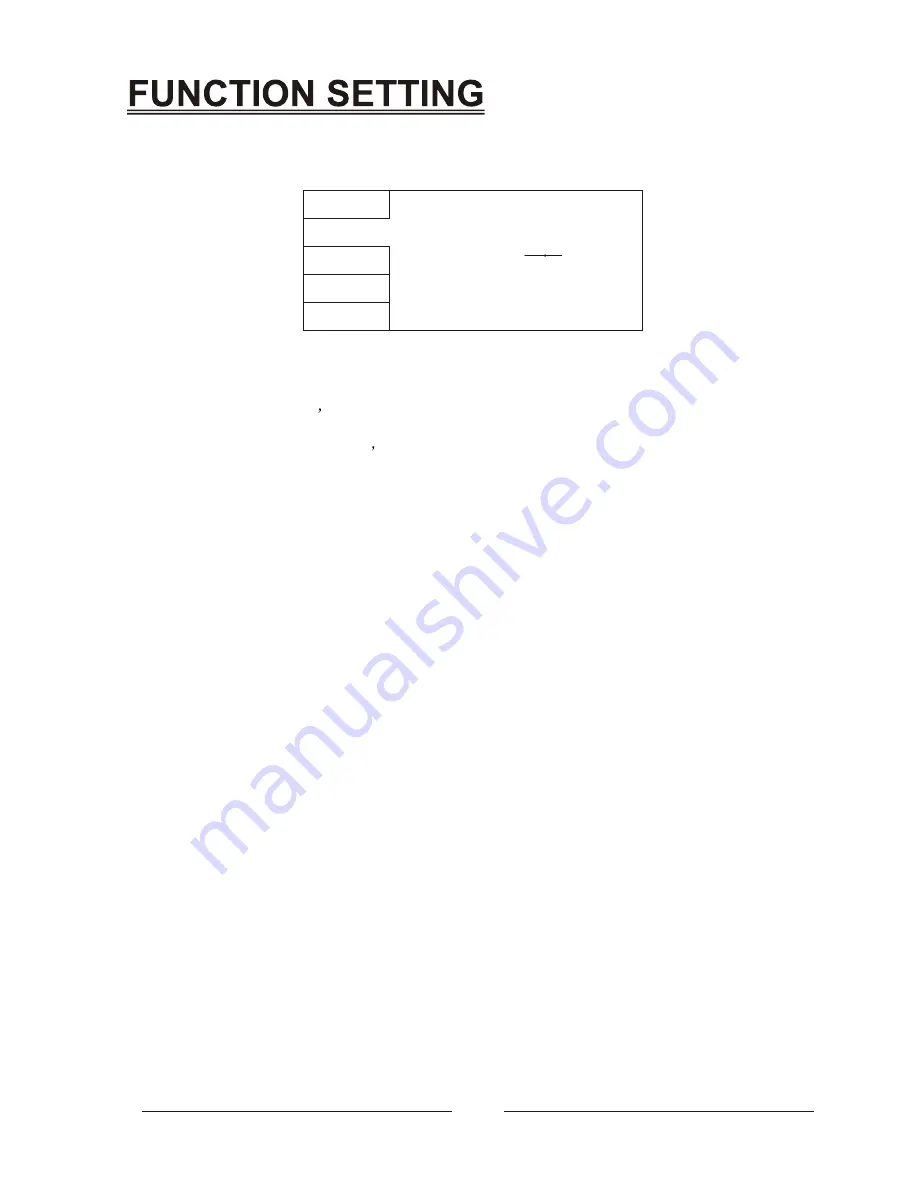
Denver DVH-1019 MK2 User Manual Download Page 13

11

Language

Video

Audio

Rating

Misc

Aspect Ratio
View Mode
TV System
Video out
Brightness
Smart Picture
HD Resolution

: 4:3PS
: Auto Fit
: PAL
: S-VIDEO

: Standard
: Auto

1

9

16

VIDEO SETUP


Select 

Video

 in the setup menu, and display the 

Video

 submenu: 

2.1   Aspect Ratio


4:3  : Choosing this setting if your DVD player is connected to a normal ratio TV. You can 
fill the movie to the entire screen of your TV. This might mean that parts of the picture (the 
left and right edges) won

t be seen. 

16:9 : Choose this setting if your DVD player is connected to a wide screen TV. If you 
choose this setting and you don t have a wide screen TV, the images on the screen may 
appear distorted due to vertical compression.  

Notes:

 The image display ratio is related to the recorded disc format. Some disc can not display 
images in the aspect ratio you choose. If you play a disc recorded in 4:3 format on a wide 
screen TV, black bars will appear on the left and right side of the screen. You must adjust 
the screen setting depending on the type of the television you have.   

2.2   View Mode


With this option you can select the different video vision mode on the screen.   

2.3   TV System


This product supports output of various system, including 

NTSC

,

 PAL

.      

If your TV set has only 

NTSC

 or 

PAL

 system, the screen will blink and become colorless 

when a wrong system is selected. In this case, press the 

N/P

 button on the Remote Control 

to switch the 

TV TYPE

.. 

Note:

 For more information of output format, refer to the instructions or your TV set.  

2.4   Video Output


Selecting the Video Output setting to switch between different video outputs  


RGB

: Set the video output to 

SCART

 output. If you select

 SCART

 connection, you  

   should set up the play mode as 

RGB

 state, then it will output normally. 

   P-Scan

: Set the video output to progressive component output  


HDMI

: Set the video output to high definition output 

2.5   Brightness


Press the SETUP button then press the DOWN direction button to select to Brightness 
mode, press  the 

LEFT

 and the 

RIGHT

 direction button to adjust the player video output  

brightness.  

2.6   HD(HDMI) Resolution


Used to set the resolution of 

HDMI

 image output. In this option, you can select different 

HDMI

 image resolution. In the factory setup is on AUTO.

Note: 

If TV screen has no output after selecting HD Resolution, on 

STOP MODE

you can press 

VIDEO

 button to select to 

HDMI

 mode on TV screen, it will output normally.

,

 Auto

S-VIDEO:

Video output is 

S-VIDEO

. You must use a special S-VIDEO cabel and only

   this can be connected.
  

 YUV

: Video output is YUV. Connect toyour TV with a 3 way RCA lead

Summary of Contents for DVH-1019 MK2

Page 1: ...PULL User Manual DVH 1019 MK2 ...

Page 2: ...carrying pulling or unplugging the electrical device Keep cord away from heat oil sharp edges and moving parts Damaged or entangled cords increase the risk of electric shock c Connect the electrical device to a mains supply that is properly connected to earth Socket and extension cord must have an op erative protective conductor d Protect the electrical device from rain and moisture The penetratio...

Page 3: ...DISPLAY 5 REMOTE CONTROL 6 CONNECTIONS 7 9 FUNCTION SETTING 10 14 LANGUANG SETUP 10 VIDEO SETUP 11 AUDIO SETUP 12 RATING SETUP 13 MISC SETUP 14 BASIC OPERATIONS 15 21 PLAY DISCS 15 SELECT ANGLAES 16 OSD 16 SELECT SUBTITLE 17 PLAY DISCS IN VARIOUS WAYS 17 21 OTHERS 22 23 TROUBLE SHOOTING 22 TECTNICAL SPECIFICATIONS 23 ...

Page 4: ...SAFETY PRECAUTIONS DANGER INVISIBLE LASER RADIATION WHEN OPENAND INTERLOCKFAILED OR DEFEATED AVOID DIRECT EXPOSURETO BEAM CAUTION HAZARDOUS LASER RADIA TIONWHEN OPENAND INTERLOCK DEFEATED ...

Page 5: ...3 SAFETY PRECAUTIONS ...

Page 6: ...4 NOTES ON DISCS ...

Page 7: ...VIDEO OUTPUT 2 VIDEO OUTPUT 3 FRONT LEFT AUDIO OUTPUT 4 CENTER AUDIO OUTPUT 5 SURROUND LEFT AUDIO OUTPUT 6 MASTER LEFT AUDIO OUTPUT 7 MASTER RIGHT AUDIO OUTPUT 8 DIGITALAUDIO COAXIAL OUTPUT 9 HDMI OUTPUT 10 S VIDEO OUTPUT 11 DIGITAL AUDIO OPTICALOUTPUT 12 FRONT RIGHT AUDIO OUTPUT 13 SUBWOOFER AUDIO OUTPUT 14 SURROUND RIGHT AUDIO OUTPUT 15 SCART OUTPUT 16 POWER ON OFF 17 POWER IN ...

Page 8: ... A B REPEAT OSD MUTE RETURN LANGUAGE STEP RANDOM SLOW VOL L R ZOOM FAST BACKWARD NUMERIC KEYS ZOOM STANDBY VIDEO RANDOM RETURN LANGUAGE DEFAULT CLEAR PROG FAST FORWARD MARK PREVLOUS NEXT STOP PLAY PAUSE L R OSD N P ANGLE REPEAT STEP TITLE MENU PBC SETUP ENTER CARD USB SUB T A B VOL VOL MUTE GOTO BACKWARD SLOW FORWARD SLOW OPEN CLOSE ...

Page 9: ...T out jack of this unit to the SCART IN jack of the TV set SCART input CONNECTING BY AV CABLE HDMI OUTPUT HIGH DEFINITION MULTIMEDIA Connect the HDMI cable to the TV and DVD unit To enjoy the high quality resolution on the TV screen ...

Page 10: ...8 CONNECTIONS ...

Page 11: ...9 CONNECTIONS ...

Page 12: ... the setup menu and screen display 1 2 Subtitle This option provides the preset subtitle language Follow the operating instructions stated in DVD MENU SETUP in combination with the desired option 1 3 MP4 Subtitle setting is used for choosing the language domain only for MP4 When you select one language domain alphabet when playback a MP4 with external subtitle the subtitle display will shown this ...

Page 13: ...put of various system including NTSC PAL If your TV set has only NTSC or PAL system the screen will blink and become colorless when a wrong system is selected In this case press the N P button on the Remote Control to switch the TV TYPE Note For more information of output format refer to the instructions or your TV set 2 4 Video Output Selecting the Video Output setting to switch between different...

Page 14: ...g the Center Delay setting allows the user to enable disable the center output delay 3 7 Surr spkr Delay Selecting the Surr Delay setting allows the user to enable disable the output delay 3 8 Digital output Selecting the Digital Output setting allows the user to adjust the audio output on S PDIF ports to work in harmony with the audio equipment e g receiver speakers connected to the player Off Di...

Page 15: ...R again to select the options then confirm by pressing ENTER Kid Safe Only 1 title with a parental control setting is allowed to play G Only 2 titles with a parental control setting or less are allowed to play PG Only 3 titles with a parental control setting or less are allowed to play PG 13 Only 4 titles with a parental control setting or less are allowed to play PG R Only 5 titles with a parenta...

Page 16: ...Language Video Audio Rating Misc Use Default Settings MISC SETUP Select MISC in the setup menu and display the submenu Use Default Settings Reset setup data to factory default and re load disc ...

Page 17: ......

Page 18: ......

Page 19: ......

Page 20: ......

Page 21: ......

Page 22: ......

Page 23: ......

Page 24: ......

Page 25: ...DVH 1019 MK2 ...

Page 26: ......

Reviews: