


20
ENGLISH
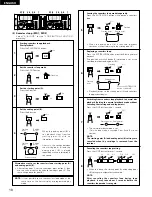
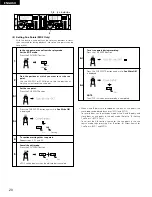
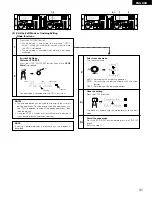
(5) Setting Cue Points (MD 2 Only)
With this function, cue points can be set at any positions in tracks
then searched for during playback. Up to five cue points can be
set per track.
1
In the cue, pause, manual search or play mode.
Set the EDIT mode.
Press the EDIT/INPUT button.
2
Find the position at which you want to set the cue
point.
Use the SEARCH or SCAN dials to find the position at
which you want to set the cue point.
3-
1
Set the cue point.
Press the CUE WRITE button.
EDIT
EJECT LOCK
3-
2
Press the CUE WRITE button again while
Cue Write OK?
is displayed.
4
To continue setting other cue points.
Repeat steps 2, 3-1 and 3-2.
5
Cancel the edit mode.
Press the EDIT/INPUT button.
UTOC writing begins when the edit mode is canceled.
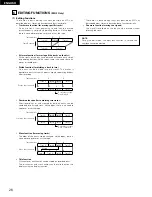
TOC
CUE
EDIT
EDIT
Lit
Lit
Flashing
Off
Lit
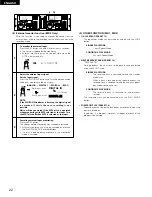
6-
1
To set cue points during recording.
Press the CUE WRITE button.
EDIT
6-
2
Press the CUE WRITE button again while
Cue Write OK?
is displayed.
NOTE:
The UTOC is written once recording is completed.
EDIT
Off
Lit
• When A and B points are recorded on the disc as cue points, the
same loop can be played back later. (MD 1 and MD 2)
To record them, set the standby mode at the A and B points and
store them as cue points in the edit mode. (Refer to “(5) Setting
Cue Points”) (MD 2 Only)
To call out the A-B section, search for the cue points in the cue
search mode, then press the A or B button. (6) Direct Search for
Cue Points. (MD 1 and MD 2)
2
1,5
3-
1,
3-
2,
6-
1,
6-
2


