Get
ting Star
ted
Connections
Set
up
Pla
ybac
k
Multi-z
one
Inf
or
mation
Tr
oubleshooting
Specifications
1
Press
[MODE SELECTOR]
for the device you want to
reset.
2
Press and hold in
[RC SETUP]
for at least 3 seconds.
The signal transmission indicator flashes twice.
3
Press
[9]
,
[7]
and
[6]
, in that order.
The signal transmission indicator flashes twice.
4
Press the button you want to reset twice.
The signal transmission indicator flashes twice.
Resetting the Main Remote Control Unit
Learning Function
G
Resetting button by button
H
1
Press
[MODE SELECTOR]
for the device you want to
reset.
2
Press and hold in
[RC SETUP]
for at least 3 seconds.
The signal transmission indicator flashes twice.
3
Press
[9]
,
[7]
and
[6]
, in that order.
The signal transmission indicator flashes twice.
4
Press
[MODE SELECTOR]
for the device you want to
reset twice.
The signal transmission indicator flashes twice.
G
Resetting by device mode
H
1
Press and hold in
[RC SETUP]
for at least 3 seconds.
The signal transmission indicator flashes twice.
2
Press
[9]
,
[7]
and
[8]
, in that order.
The signal transmission indicator flashes twice.
3
Press
[SYSTEM CALL]
(
1
,
2
or
3
) you want to reset.
4
Press and hold in
[RC SETUP]
for at least 3 seconds.
The signal transmission indicator flashes twice.
1
Press
[MODE SELECTOR]
for the device you want to
reset (TV or SAT/CBL).
2
Press and hold in
[RC SETUP]
for at least 3 seconds.
The signal transmission indicator flashes twice.
3
Press
[9]
,
[8]
and
[4]
, in that order.
The signal transmission indicator flashes twice.
4
Press and hold in
[RC SETUP]
for at least 3 seconds.
The signal transmission indicator flashes twice.
1
Press and hold in
[RC SETUP]
for at least 3 seconds.
The signal transmission indicator flashes twice.
2
Press
[9]
,
[8]
and
[1]
, in that order.
The signal transmission indicator flashes 4 times.
All the settings are restored to their defaults.
System Call Function
Punch-Through Function
All Settings
Sub Remote Control Unit
(RC-1106)
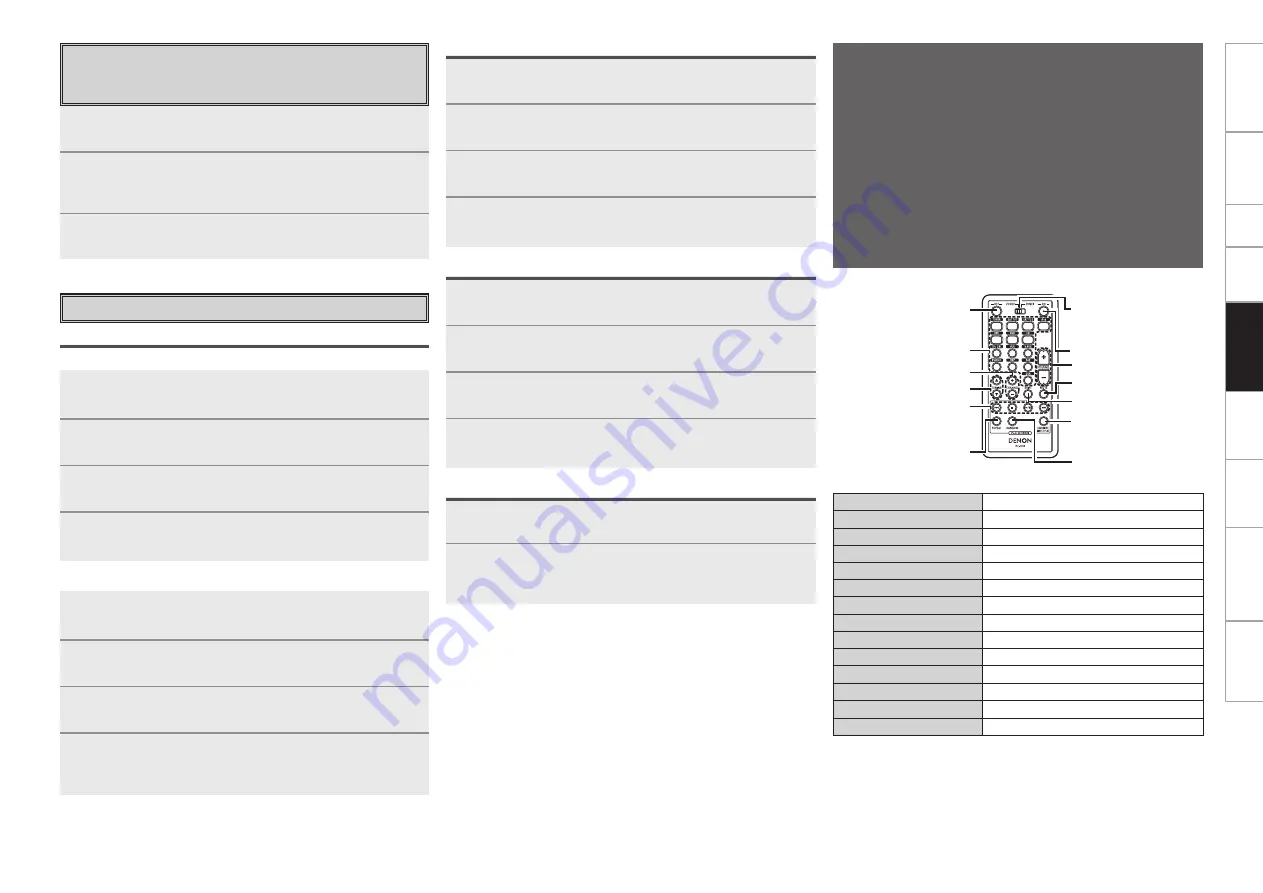
The sub remote control unit (RC-1106) included with the AVR-
2809CI can be used as the exclusive multi-zone remote control
unit.
b
The following describes operation for the selected zone. (Use
[ZONE SELECT]
to switch zones.)
• Turning the multi-zone power on and off
• Selecting the input source to be played
• Adjusting and temporarily muting the multi-zone volume
• Listening to the tuner (TUNER, XM and SIRIUS)
• Operating an iPod (Note that the
[FAVORITES DIRECT PLAY]
button can only be used with the ASD-3N or ASD-3W.)
[POWER OFF]
[SOURCE SELECT]
[ / –]
[
8
], [
9
]
[
2
], [
1
/
3
]
[C / –]
[REPEAT]
[POWER ON]
[ / –]
[MUTE]
[SHIFT]
[RANDOM]
[ZONE SELECT]
[FAVORITES
DIRECT PLAY]
ZONE SELECT
Switching the zone to be operated
POWER OFF
Power off
POWER ON
Power on
SOURCE SELECT
Switching the input source
/ –
Volume control
C / –
Preset c / –
/ –
/ –
MUTE
Muting
SHIFT
Switching the memory block
8 9
Auto search (cue)
2
Stop
1
/
3
Play / Pause
REPEAT
1-track / All -track repeat play
RANDOM
1-track / album shuffle play
b
When using a control dock for iPod (ASD-1R or ASD-11R),
[FAVORITES DIRECT PLAY]
cannot be used.
Adjusting the Backlight’s Brightness
The display’s brightness can be adjusted in 5 steps.
(Default: Step 3)
1
Press and hold in
[RC SETUP]
for at least 3 seconds.
The signal transmission indicator flashes twice.
2
Press
[C]
or
[CHANNEL –]
.
The display gets one step brighter when
[+]
is pressed.
The display gets one step darker when
[–]
is pressed.
3
Press
[RC SETUP]
to complete the setting.
Remot
e Contr
ol


