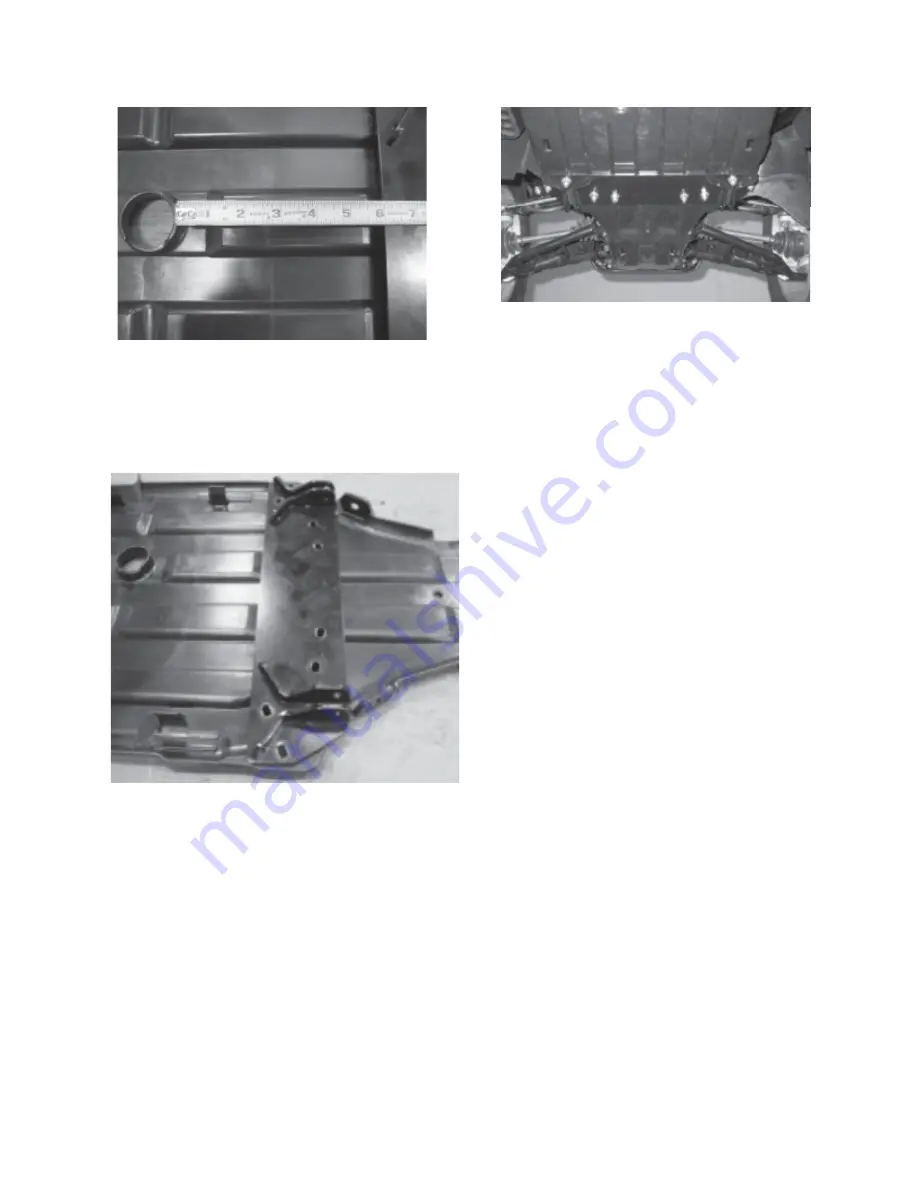
FIGURE 4
MARK ALL HOLE LOCATIONS AND SCRIBE
3/16”
FIGURE 5
FIGURE 6 / Front of Bike
Page 1: ...erator s Manual and all warning labels before operating Operate ATV at a walking speed with the blade installed Do Not exceed 5mph 8 km h even with the blade up Plow Cautiously impact with a hidden or stationary object may cause the ATV to stop suddenly or go out of control Do Not operate the ATV on slopes greater than 10 with the plow installed Do Not stand or ride on the plow Stay clear of movin...
Page 2: ...on the skid plate by scribing the plastic with a sharp object Using a 11 32 drill bit drill through the skid plate as shown in figure 5 5 Reinstall the skid plate with the six fasteners removed in step 2 Install the plow mount with the provided fasteners by placing the U Bolts over the frame with the threaded ends protruding through the plow mount Attach the 5 16 washers and nuts as shown in Figur...
Page 3: ...FIGURE 4 MARK ALL HOLE LOCATIONS AND SCRIBE 3 16 FIGURE 5 FIGURE 6 Front of Bike ...