VIVOTEK
User's Manual - 137
■
Event name: Enter a name for the event setting.
■
Enable this event: Select this checkbox to enable the event setting.
■
Priority: Select the relative importance of this event (High, Normal, or Low). Events with a higher
priority setting will be executed first.
■
Detect next motion detection or digital input after seconds: Enter the duration in seconds to pause
motion detection after a motion is detected. This can prevent event-related actions to take place too
frequently.
1. Schedule
Specify the period of time during which the event trigger will take effect. Please select the days of the
week and the time in a day (in 24-hr time format) for the event triggering schedule. For example, you
may prefer an event to be triggered only during the off-office hours.
2. Trigger
This is the cause or stimulus which defines when to trigger the Network Camera. The trigger source can
be configured to use the Network Camera’s built-in motion detection mechanism or external digital input
devices.
There are several choices of trigger sources as shown on the next page. Select the item to display the
detailed configuration options.
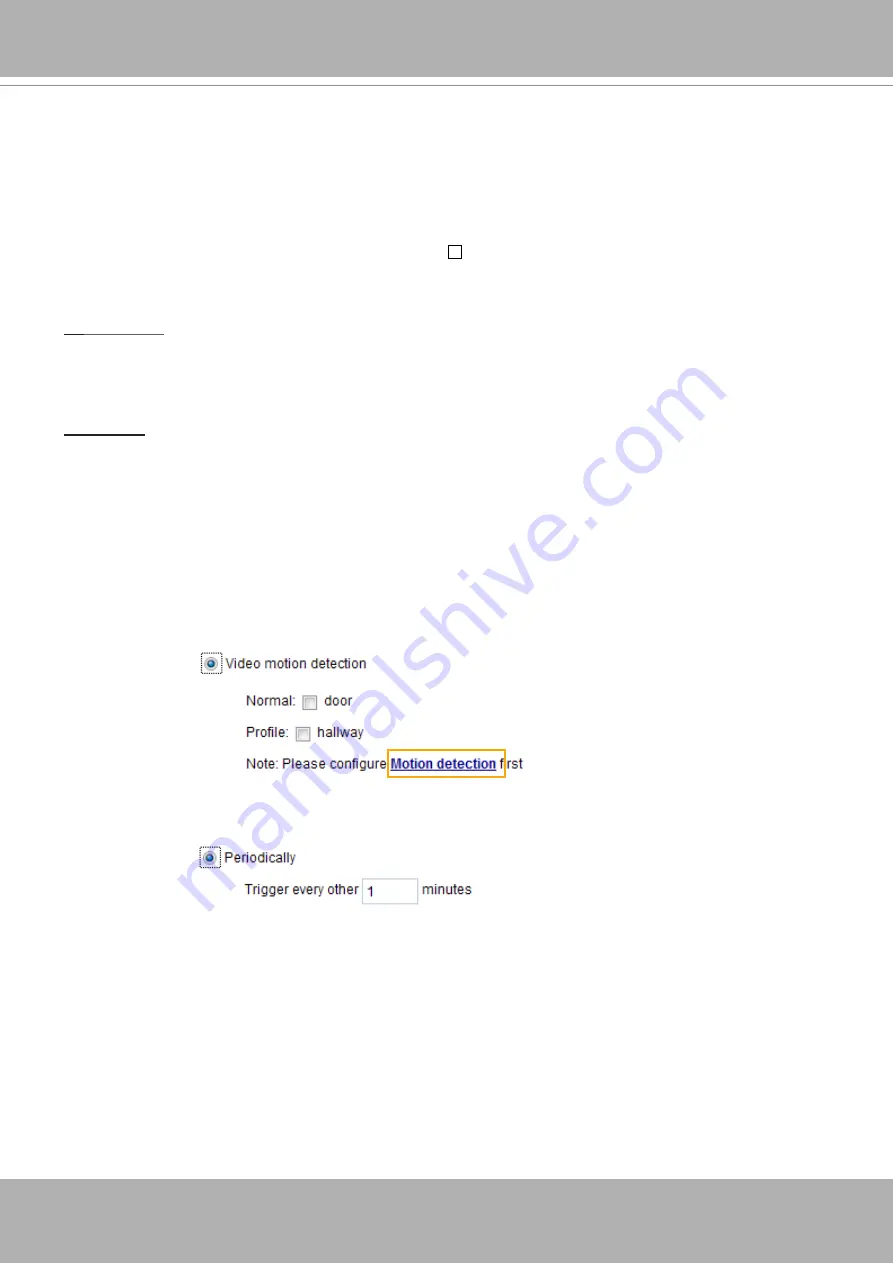
■ Video motion detection
This option makes use of the built-in motion detection mechanism as a trigger source. To enable this
function, you need to configure a Motion Detection Window first. For more information,
Motion Detection on page 152 for details.
■ Periodically
This option allows the Network Camera to trigger periodically for every other defined minute. Up to 999
minutes are allowed.
■ System boot
This option triggers the Network Camera when the power to the Network Camera is disconnected and
re-connected.
■ Recording notify
This option allows the Network Camera to trigger when the recording disk is full or when recording
starts to overwrite older data.
Summary of Contents for Vivotek FD9189-H-V2
Page 9: ...VIVOTEK User s Manual 9 Lens IR LEDs Reset button MicroSD card slot LEDst ...
Page 13: ...VIVOTEK User s Manual 13 7 Connect the Ethernet cable to the RJ45 socket ...
Page 26: ...VIVOTEK 26 User s Manual 10 Secure the camera to wall or ceiling using the included screws ...
Page 104: ...VIVOTEK 104 User s Manual ...


