background image

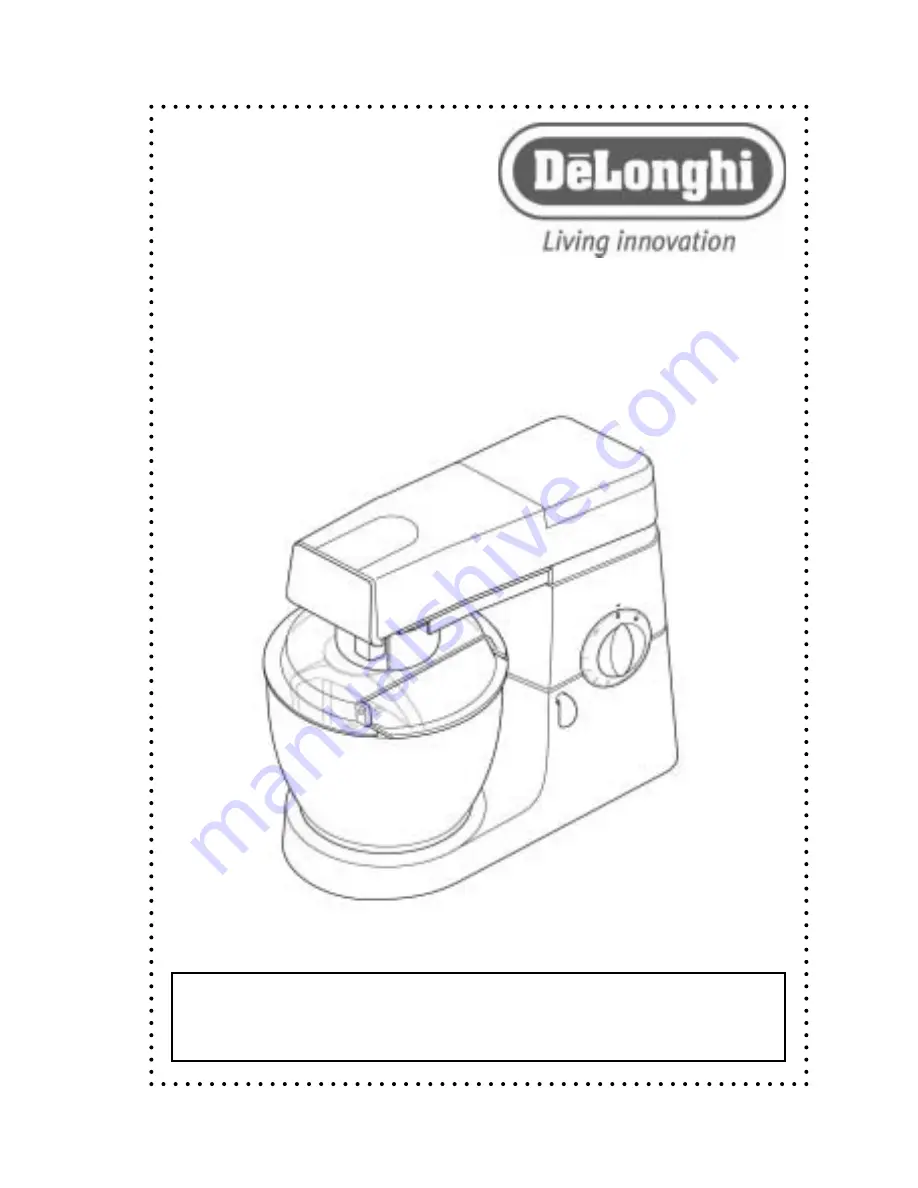
DSM800 and DSM700 Series

DSM800 et DSM700 Séries

Instruction Manual

7-Quart Stand Mixer
5-Quart Stand Mixer

Read and Save These Instructions

Lisez et Conservez Ces Instructions

Mode D’emploi

Batteur sur socle de 6,62 litres
Batteur sur socle de 4,73 litres

Summary of Contents for DSM700 Series

Page 1: ...800 et DSM700 S ries Instruction Manual 7 Quart Stand Mixer 5 Quart Stand Mixer Read and Save These Instructions Lisez et Conservez Ces Instructions Mode D emploi Batteur sur socle de 6 62 litres Batt...

Page 2: ...only one way If the plug does not fit contact a qualified electrician Do not attempt to defeat this safety feature 1 Read all instructions 2 Close supervision is necessary when any appliance is used...

Page 3: ...select a speed with the On Off Pulse and Speed Control Dial and the stand mixer should resume operation If the unit does not start immediately allow it to stand for a longer period of time If the sta...

Page 4: ...he mixer head until it locks into place See Figure 1 2 To insert an attachment place it in the Attachment Outlet D and push in until it locks into place See Figure 2 3 Place the stainless steel bowl G...

Page 5: ...5 oz 10 lbs 16 DSM800 Series Food Type Pastry Dough Yeast Dough Cake Mix Eggs Amount 1 lb 8 oz 3 lbs 6 lbs 12 DSM700 Series Weight Type Flour Weight Flour Weight Total Weight 5 Plug the unit into a 12...

Page 6: ...of the manual 2 Fit the Splash Guard onto the Attachment Outlet D by firmly pushing up The hinged section should be positioned as shown in Figure 1 3 Insert required attachment tool and follow direct...

Page 7: ...head Insert the stainless steel whisk or non stick flat beater 2 Hold the attachment and then loosen nut See Figure 1 3 Lower the mixer head and adjust the height by turning the shaft 4 Ideally the s...

Page 8: ...RUIT AND VEGETABLE STRAINER A930 7 QUART MODEL A992 5 QUART 10 POTATO PEELER MODEL A952 7 QUART MODEL A934 5 QUART 11 STAINLESS STEEL BOWL MODEL 34655 7 QUART MODEL 34654 5 QUART 12 SPLASH GUARD MODEL...

Page 9: ...ff with a paper towel BODY Wipe the body of the stand mixer with a damp cloth and then dry with a towel Do not use harsh or abrasive cleansers on the exterior of the unit Do not immerse the body in wa...

Page 10: ...to 6 and continue mixing until light and fluffy 4 Turn stand mixer OFF and add egg and vanilla extract 5 Mix together using speed 3 until well blended 6 Turn down to speed 1 and slowly add flour baki...

Page 11: ...ugh becomes smooth and elastic Add additional flour if necessary 8 Coat dough lightly with oil Cover bowl tightly allow dough to rise in a warm draft free location for 1 hour or until doubled in size...

Page 12: ...o mixer 2 Dissolve yeast and sugar in warm water in mixing bowl 3 Allow mixture to stand for 5 minutes or until mixture looks foamy 4 Add remaining ingredients and blend thoroughly using speed 2 5 Kne...

Page 13: ...o maximum adding remaining ingredients 3 Whip until soft peaks form Makes about 2 cups RECIPES CONTINUED 2002 DeLonghi Made in U K Power Requirement 120 Volts 60 Hz Power Consumption 800 Watts DSM800...

Page 14: ...so consequential and incidental damage resulting from the use of this product or arising out of any breach of contract or breach of this warranty are not recoverable under this warranty Some states do...

Page 15: ...oires install s 11 Ne laissez pas l appareil sans surveillance 12 N utilisez pas d accessoires non autoris s 13 N en d passez jamais la capacit maximale Consultez Dispositif protecteur contre les suri...

Page 16: ...la section Nettoyage du batteur sur socle et de ses accessoires dans ce manuel DISPOSITIF PROTECTEUR CONTRE LES SURINTENSIT S Votre batteur sur socle est quip d un dispositif protecteur contre les su...

Page 17: ...une montre jusqu ce qu il soit solidement en place Consultez la figure 3 4 Tournez le levier de verrouillage de le sens des aiguilles d une montre pour lib rer la t te du batteur Une fois qu elle est...

Page 18: ...oire r p tez l tape 1 et retirez l accessoire en le tournant dans le sens inverse des aiguilles d une montre 9 Raclez le bol avec la spatule N fournie pour retirer le contenu CONSEILS DE PR PARATION G...

Page 19: ...ez MIN et augmentez progressivement jusqu 5 2 Pour battre des ufs en cr me de 4 MAX 3 Pour ajouter de la farine ou des fruits de MIN 1 4 Pour les pr parations g teau Commencez MIN et augmentez progres...

Page 20: ...en position ouverte faites coulisser le pare claboussures vers le bas UTILISATION DU PARE CLABOUSSURES suite PROBL ME Le fouet frappe contre le fond du bol ou n atteint pas les ingr dients au fond du...

Page 21: ...LE A992 6 62 litres MOD LE A930 4 73 litres 10 PLUCHEUSE DE POMMES DE TERRE MOD LE A952 6 62 litres MOD LE A934 4 73 litres 11 BOL EN ACIER INOXYDABLE MOD LE 34655 6 62 litres MOD LE 34654 4 73 litres...

Page 22: ...yez le bo tier du batteur sur socle avec un chiffon humide puis s chez le avec une serviette N utilisez pas de produits de nettoyage forts ou abrasifs sur l ext rieur de l appareil Ne plongez pas le b...

Page 23: ...e sel 7 Augmentez progressivement la vitesse jusqu 3 jusqu ce que le m lange soit homog ne 8 teignez le batteur p trissez la p te pour former une boule et enveloppez la dans un papier cir 9 R frig rez...

Page 24: ...qu un cure dents enfonc au centre ressorte propre Donne 1 g teau RECETTES suite PAIN BLANC en utilisant le crochet p trisseur antiadh sif INGR DIENTS 1 tasse de lait de tasse de beurre ou de margarin...

Page 25: ...hauffez le four 350 F Faites cuire pendant 35 40 minutes ou jusqu ce que le pain sonne creux au tapotage Donne 2 pains RECETTES suite P TE PIZZA en utilisant le crochet p trisseur antiadh sif INGR DIE...

Page 26: ...dable INGR DIENTS 1 tasse de cr me paisse 2 c table de sucre c th d extrait de vanille PR PARATION 1 Attachez le fouet la t te du batteur Ajoutez la cr me dans le bol m langeur 2 Fouettez la cr me la...

Page 27: ...cons cutifs r sultant de l utilisation de ce produit ou d une rupture de contrat ou de la violation de cette garantie ne sont pas remboursables par cette garantie Certains tats ou provinces n autoris...

Page 28: ...y Your Extended Service Plan certificate will be sent to you by return mail PLEASEPRINT Name ______________________________________________________ Address ____________________________________________...

Page 29: ...poste Votre certificat de programme de garantie prolong e vous sera envoy par retour du courrier ENCARACT RESD IMPRIMERIE S V P Nom __________________________________________________________ Adresse _...

Page 30: ...88844 2...

Reviews: