


38
| Operating
the
Monitor
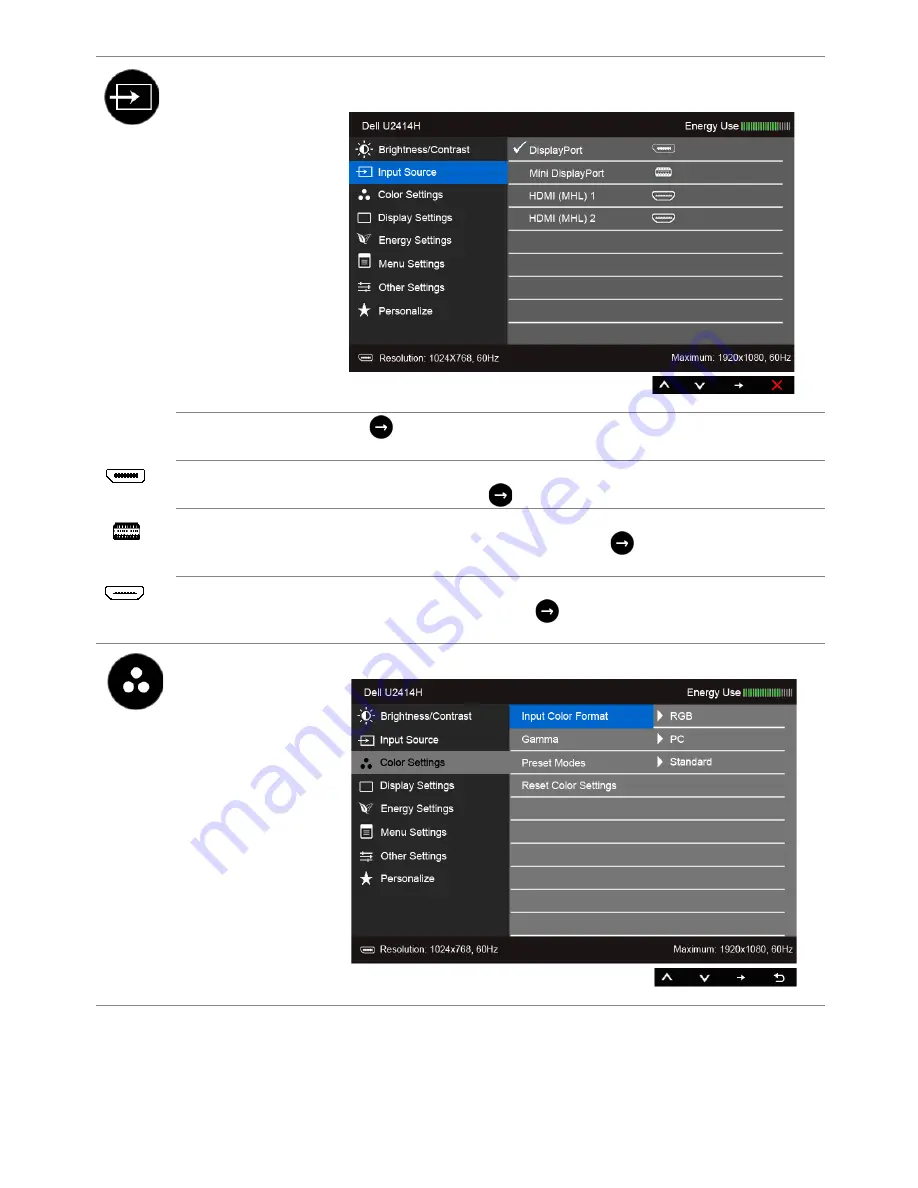
Input Source
Use the
Input Source
menu to select between the different video
signals that may be connected to your monitor.
Auto Select
Press
to select
Auto Select
, the monitor scans for available input
sources.
DisplayPort
Select the
DisplayPort
input when you are using the DisplayPort
(DP) connector. Press
to select the DisplayPort input source.
Mini DisplayPort
Select the
Mini DisplayPort
input when you are using the Mini
DisplayPort (Mini DP) connector. Press
to select the Mini
DisplayPort input source.
HDMI (MHL) 1
HDMI (MHL) 2
Select the
HDMI (MHL) 1
or
HDMI (MHL) 2
input when you are using
the HDMI connectors. Press
to select the HDMI (MHL) 1 or
HDMI (MHL) 2 input source.
Color Settings
Use
Color Settings
to adjust the color setting mode.


