


accessible through the front bezel displays the system's status.
Removing the Front Bezel
1.
Using the system key, unlock the bezel.
2.
Press the tab at the left end of the bezel.
3.
Rotate the left end of the bezel away from the system to release the right end of the bezel.
4.
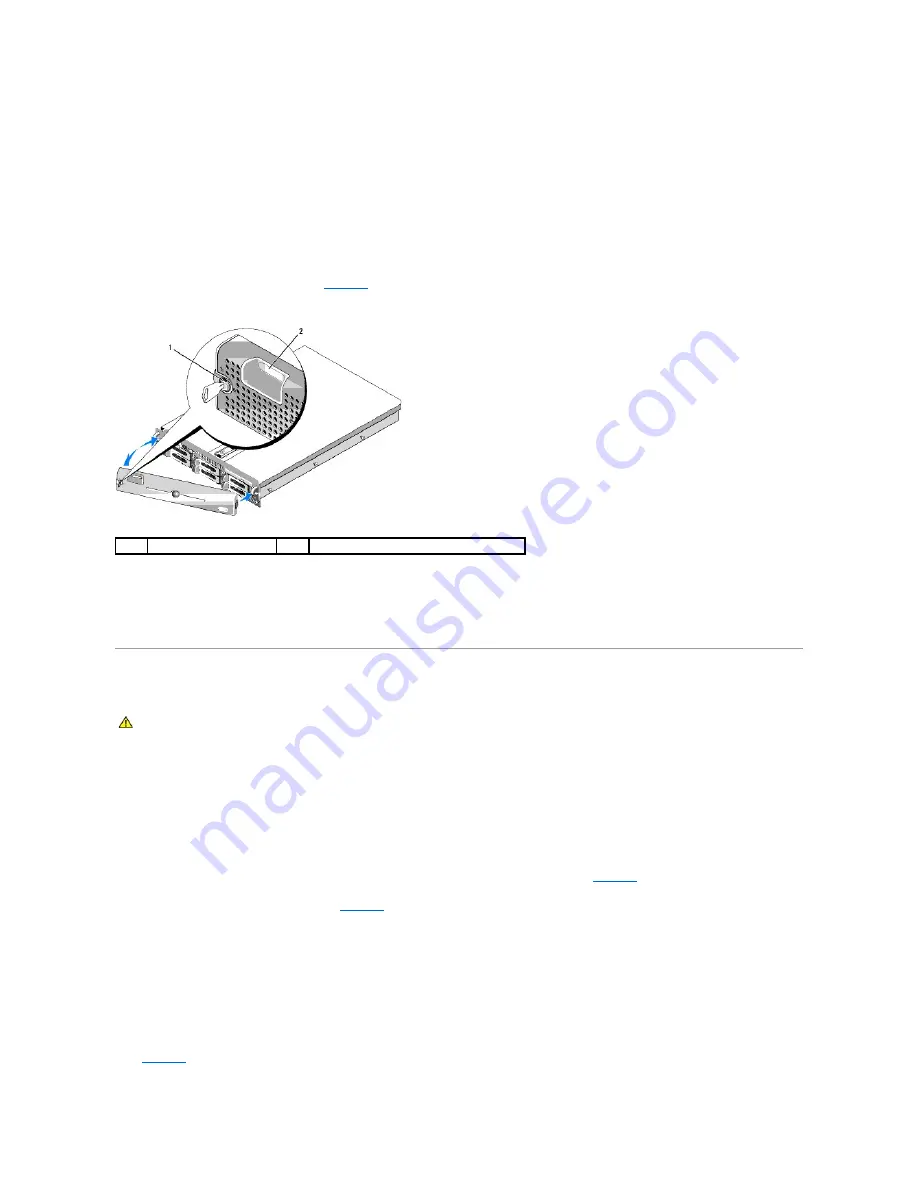
Pull the bezel away from the system. See
Figure 3-2. Removing the Front Bezel
Replacing the Front Bezel
To replace the front bezel, perform the above steps in reverse.
Opening and Closing the System
Opening the System
To upgrade or troubleshoot the system, remove the system cover to gain access to internal components.
1.
Unless you are installing a hot-plug component such as a cooling fan or power supply, turn off the system and attached peripherals, and disconnect the
system from the electrical outlet and peripherals.
2.
To remove the system cover, turn the latch release lock counter-clockwise to the unlocked position. See
.
3.
Lift up on the latch on top of the system. See
.
4.
Grasp the cover on both sides and carefully lift the cover away from the system.
Closing the System
1.
Lift up the latch on the cover.
2.
Place the cover on top of the system and offset the cover slightly back so that it clears the chassis J hooks and lays flush on the system chassis. See
.
1
bezel lock
2
control panel LCD
CAUTION:
Only trained service technicians are authorized to remove the system cover and access any of the components inside the system. See
your
Product Information Guide
for complete information about safety precautions, working inside the computer, and protecting against
electrostatic discharge.


