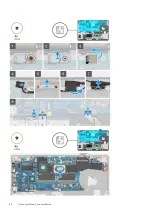
3. Remove the
.
4. Remove the
.
5. Remove the
6. Remove the
7. Remove the
8. Remove the
9. Remove the
.
10. Remove the
NOTIFICARE
: System board can be removed with heatsink attached.
.
11. Remove the
Despre această sarcină
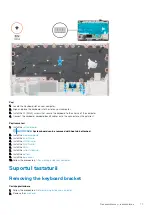
The figure indicates the location of the keyboard bracket and provides a visual representation of the removal procedure.
Pași
1. Locate the keyboard bracket on your computer.
2. Remove the eleven (M2x2) screws that secure the keyboard bracket to the keyboard assembly.
3. Lift the keyboard away from the keyboard bracket.
Installing the keyboard bracket
Cerințe preliminare
If you are replacing a component, remove the existing component before performing the installation procedure.
Despre această sarcină
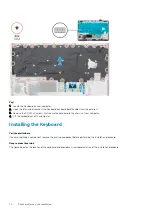
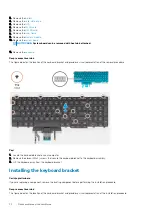
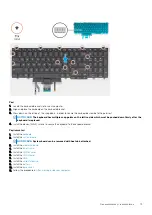
The figure indicates the location of the keyboard bracket and provides a visual representation of the installation procedure.
72
Dezasamblarea și reasamblarea
Summary of Contents for Latitude 5501
Page 1: ...Dell Latitude 5501 Service Manual Reglementare de Model P80G Reglementare de Tip P80F003 ...
Page 22: ...22 Dezasamblarea și reasamblarea ...
Page 24: ...24 Dezasamblarea și reasamblarea ...
Page 59: ...Dezasamblarea și reasamblarea 59 ...
Page 63: ...Dezasamblarea și reasamblarea 63 ...
Page 66: ...66 Dezasamblarea și reasamblarea ...
Page 68: ...68 Dezasamblarea și reasamblarea ...
Page 77: ...Dezasamblarea și reasamblarea 77 ...
Page 78: ...78 Dezasamblarea și reasamblarea ...
Page 80: ...80 Dezasamblarea și reasamblarea ...
Page 81: ...Dezasamblarea și reasamblarea 81 ...
Page 88: ...88 Dezasamblarea și reasamblarea ...
Page 90: ...90 Dezasamblarea și reasamblarea ...

