2
If applicable, route the cables inside the system along the system wall and secure the cables by using the cable latch.
Steps
1
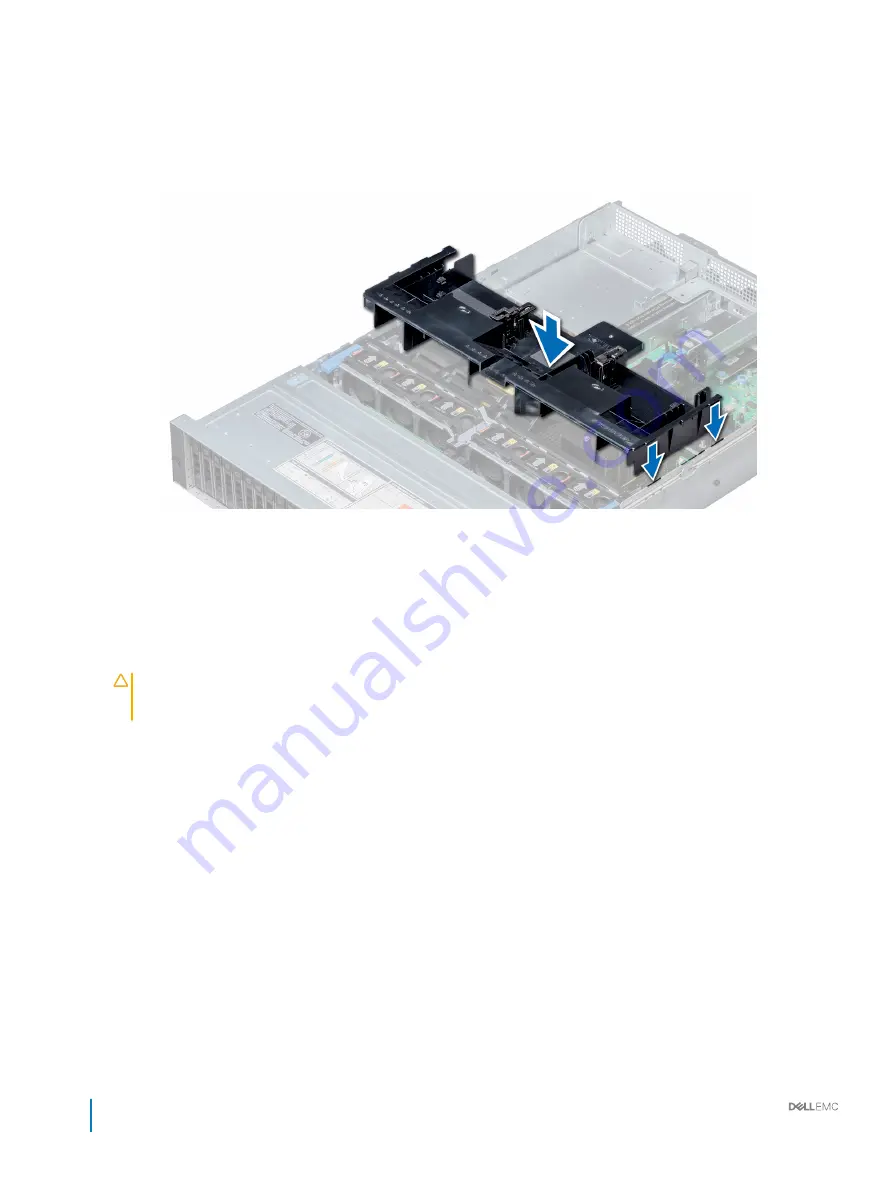
Align the tabs on the air shroud with the slots on the system.
2
Lower the air shroud into the system until it is firmly seated.
When firmly seated, the memory socket numbers marked on the air shroud align with the respective memory sockets.
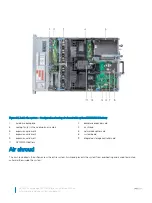
Figure 26. Installing air shroud
Next steps
1
If removed, install the full length PCIe cards.
2
If applicable, install the GPU cards.
3
If applicable, connect the cables to the NVDIMM-N battery.
CAUTION:
NVDIMM-N battery is not hot swappable. To prevent data loss and potential damage to your system, ensure
that your system, LEDs on system, LEDs on NVDIMM-N and LEDs on NVDIMM-N battery are turned off before
connecting the NVDIMM-N battery cables.
4
Follow the procedure listed in
After working inside your system
.
Related links
Installing expansion card into expansion card riser
Installing GPU card
Cooling fan assembly
The cooling fan assembly ensures that the key components of the server such as the processors, hard drives, and memory get adequate air
circulation to keep them cool. A failure in the server’s cooling system can result in the server overheating and may lead to damage.
Removing the cooling fan assembly
Prerequisites
1
Follow the safety guidelines listed in
2
Follow the procedure listed in
Before working inside your system
.
76
Dell EMC PowerEdge R740 Installation and Service Manual
Installing and removing system components


