Great user manuals database on
4.
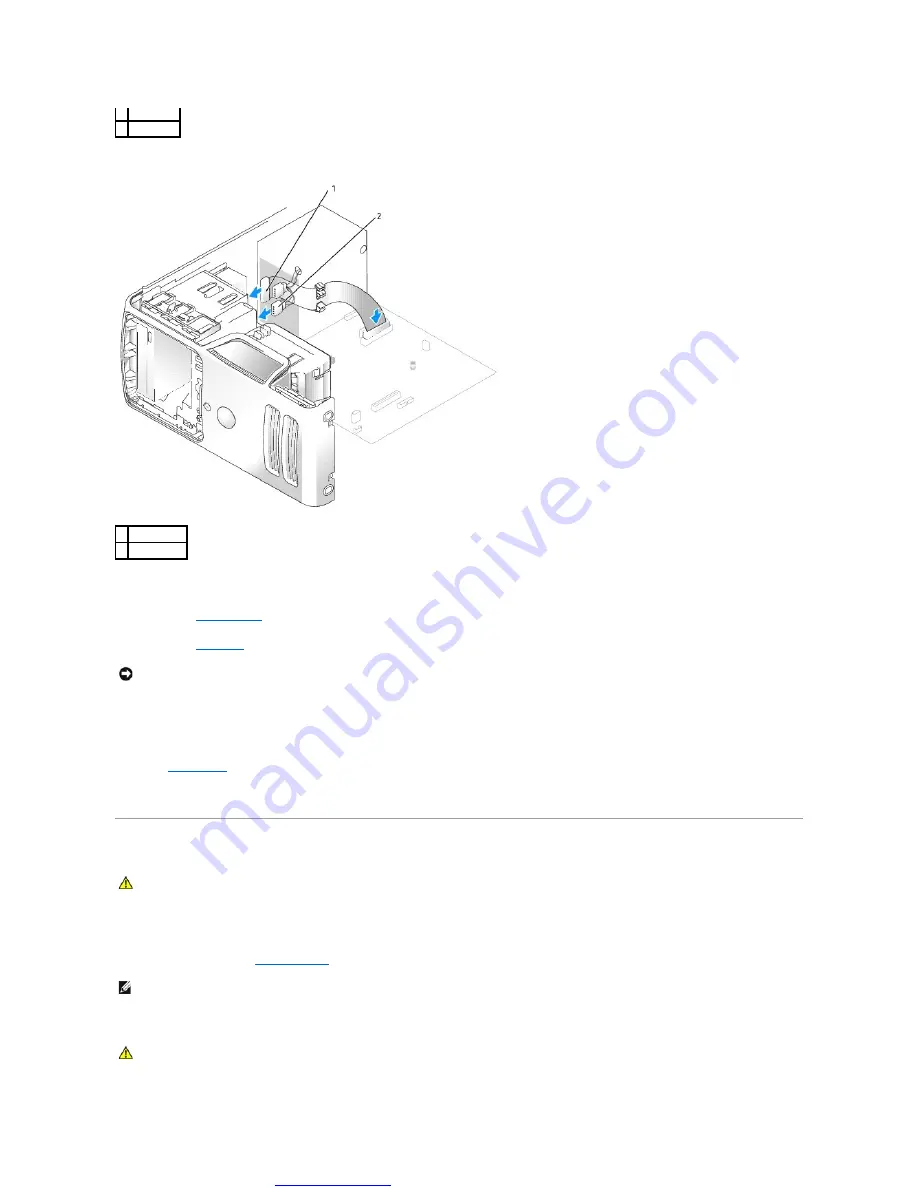
Connect the power and data cables to the drive.
5.
Check all cable connections, and fold cables out of the way to provide airflow for the fan and cooling vents.
6.
Replace the
.
7.
Replace the
8.
Connect your computer and devices to their electrical outlets, and turn them on.
See the documentation that came with the drive for instructions on installing any software required for drive operation.
9.
Drive
option.
10.
Verify that your computer works correctly by running the Dell Diagnostics.
Processor
Removing the Processor
1.
2.
Loosen the two captive screws on each side of the heat sink assembly.
1 drive
2 screws (3)
1 data cable
2 power cable
NOTICE:
To connect a network cable, first plug the cable into the network device and then plug the cable into the computer.
CAUTION:
Before you begin any of the procedures in this section, follow the safety instructions located in the Product Information Guide.
NOTE:
To loosen the two captive screws on each side of the heat sink and fan shroud assembly, you need a long Phillips screwdriver.
CAUTION:
Despite having a plastic shield, the heat sink assembly may be very hot during normal operation. Be sure that it has had sufficient time
to cool before you touch it.


