


Using On Screen Display (OSD) Functions
13
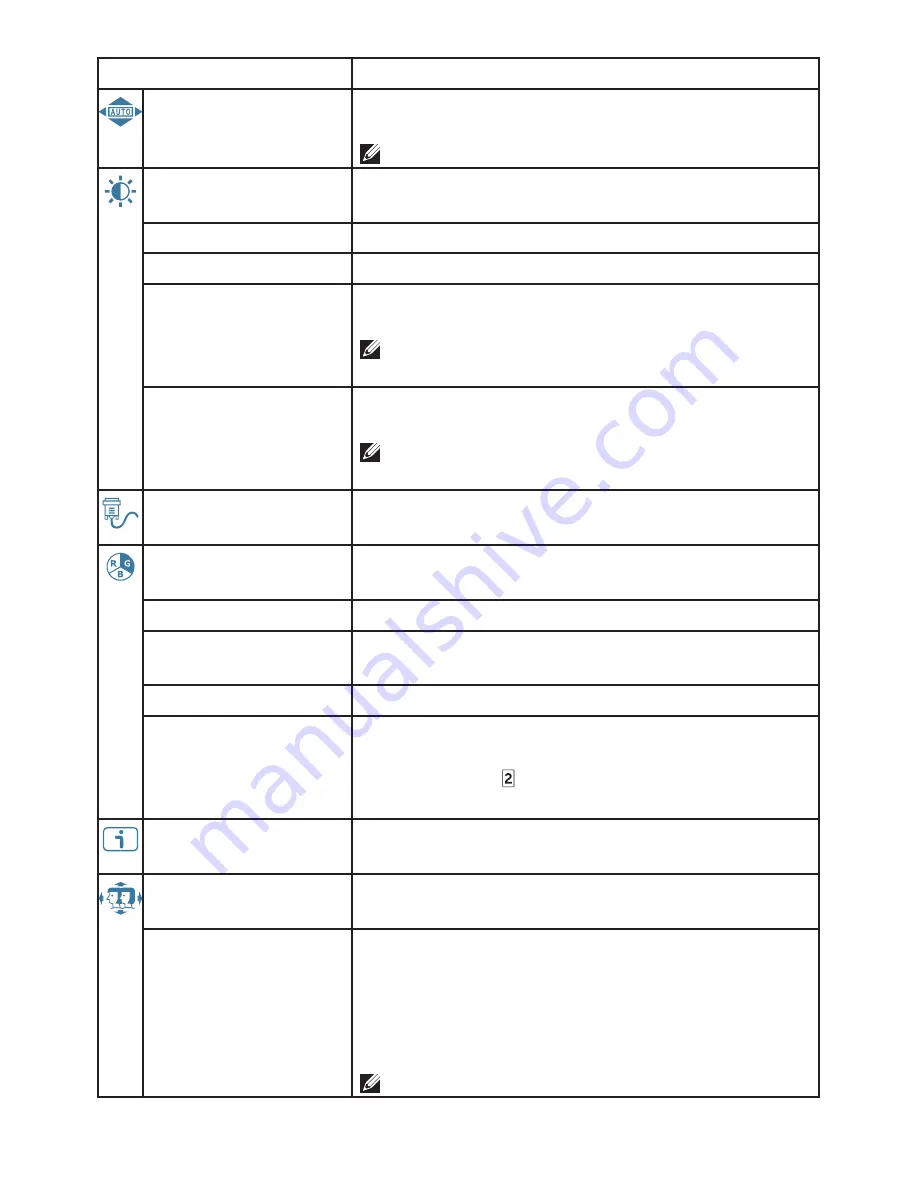
Menu item
Description
Auto Image Adjust
Adjust the Horizontal Position, Vertical Position,
Phase (Fine Tune) and Clock (H. Size) of the screen.
NOTE:
Only available for VGA input.
Contrast/Brightness
Adjust the Contrast, Brightness, DCR and ECO of
screen image.
•
Contrast
Adjust the foreground white level of screen image.
•
Brightness
Adjust the luminance of the video.
• DCR
Detects the distribution of the visual signal input,
and creates an optimized contrast.
NOTE:
Brightness and ECO adjustment are
disabled when DCR is active.
•
ECO
Allows the user to change the energy-saving
settings.
NOTE:
Brightness and DCR adjustment are
disabled when ECO is active.
Input Source
Press Input Source to change the input signal to
VGA or HDMI.
Color Adjust
Toggle between preset color settings such as
Cool, Normal, Warm and User Color.
• Cool
Adds blue to screen image for cooler white.
•
Normal
Adds red to screen image for warmer white and
richer red.
•
Warm
Adds green to screen image for a darker color.
•
User Color
Manually adjust settings for Red (R), Green (G),
Blue (B).
1. Press button to select the desired color.
2. Press
▼
or
▲
button to adjust selected color.
Information
Displays information about the input signal
coming from the graphics card in your computer.
Manual Image
Adjust
Manually adjust H. / V. Position, Horizontal Size, Fine
Tune, Sharpness, Aspect Ratio and Color Vision Mode.
• H. / V. Position
Adjust the horizontal and vertical position of the
video.
• H. Position:
▲
: move screen to the right,
▼
:
move screen to the left.
• V. Position:
▲
: move screen up,
▼
: move
screen down.
NOTE:
Only available for VGA input.


