


96
Removing and Installing Parts
5
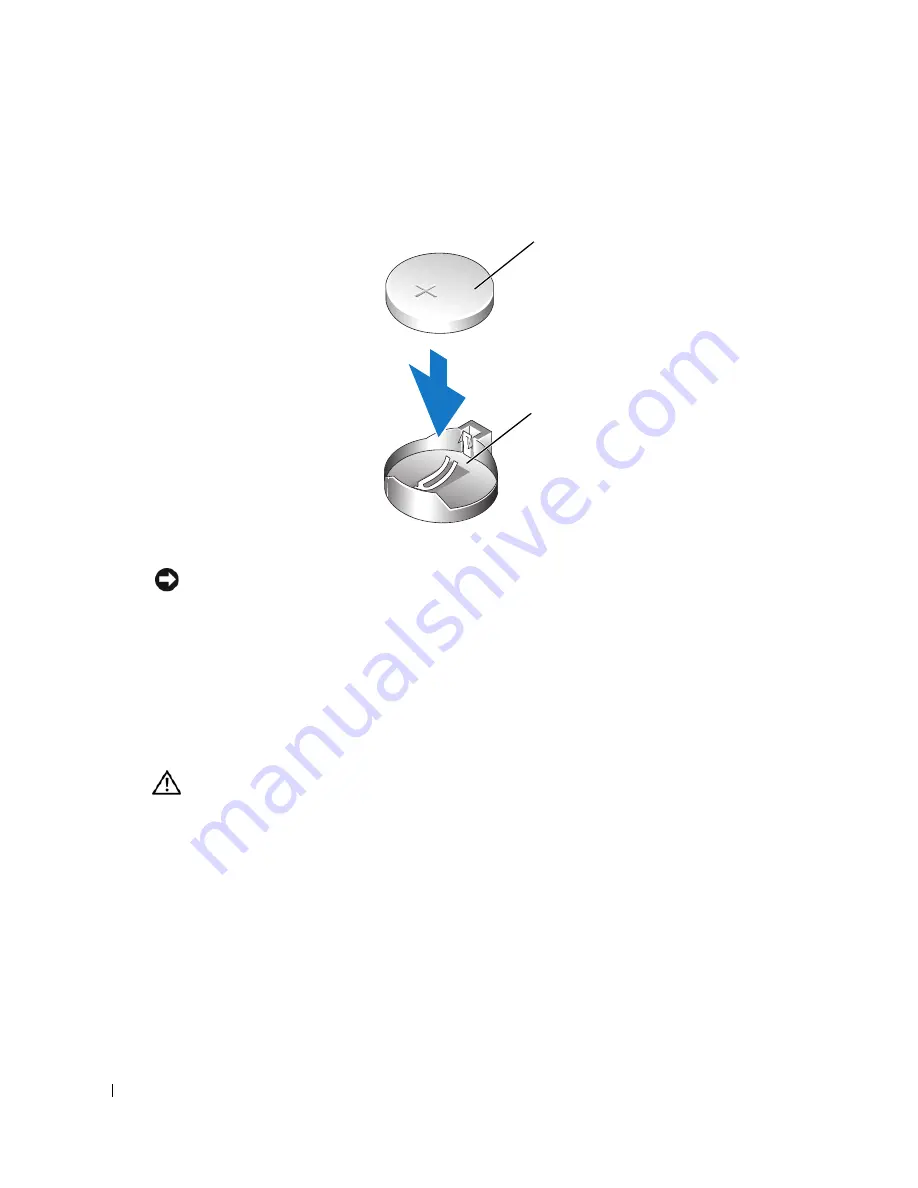
Insert the new battery into the socket with the side labeled "+" facing up, and snap the
battery into place.
6
Replace the computer cover (see page 96).
NOTICE:
To connect a network cable, first plug the cable into the network port or device, and then plug
it into the computer.
7
Connect your computer and devices to electrical outlets, and turn them on.
8
Enter system setup (see page 103) and restore the settings you recorded in step 1.
9
Properly dispose of the old battery. See the
Product Information Guide
for battery disposal
information.
Replacing the Computer Cover
CAUTION:
Before you begin any of the procedures in this section, follow the safety instructions
located in the
Product Information Guide
.
1
Ensure that all cables are connected, and fold cables out of the way.
Gently pull the power cables toward you so that they do not get caught underneath the drives.
2
Ensure that no tools or extra parts are left inside the computer.
3
Align the bottom of the cover with the tabs located along the bottom edge of the computer.
4
Using the tabs as leverage, rotate the cover downward and close.
5
Snap the cover into place by pulling back on the cover release latch, and then releasing the
latch when the cover is seated.
battery socket
battery
Summary of Contents for Chromebook 3100
Page 8: ...8 Contents ...
Page 12: ...12 Finding Information ...
Page 46: ...46 Solving Problems ...
Page 58: ...58 Advanced Troubleshooting ...
Page 100: ...98 Removing and Installing Parts ...
Page 134: ...132 Appendix ...
Page 140: ...38 Index 138 Index ...


