Dell 1707FPc
11
3.3 Adjusting the Picture
NOTE
: If you change the settings and then either proceed to another menu, or exit the OSD menu, the
monitor automatically saves those changes. The changes are also saved if you change the settings and then
wait for the OSD menu to disappear.
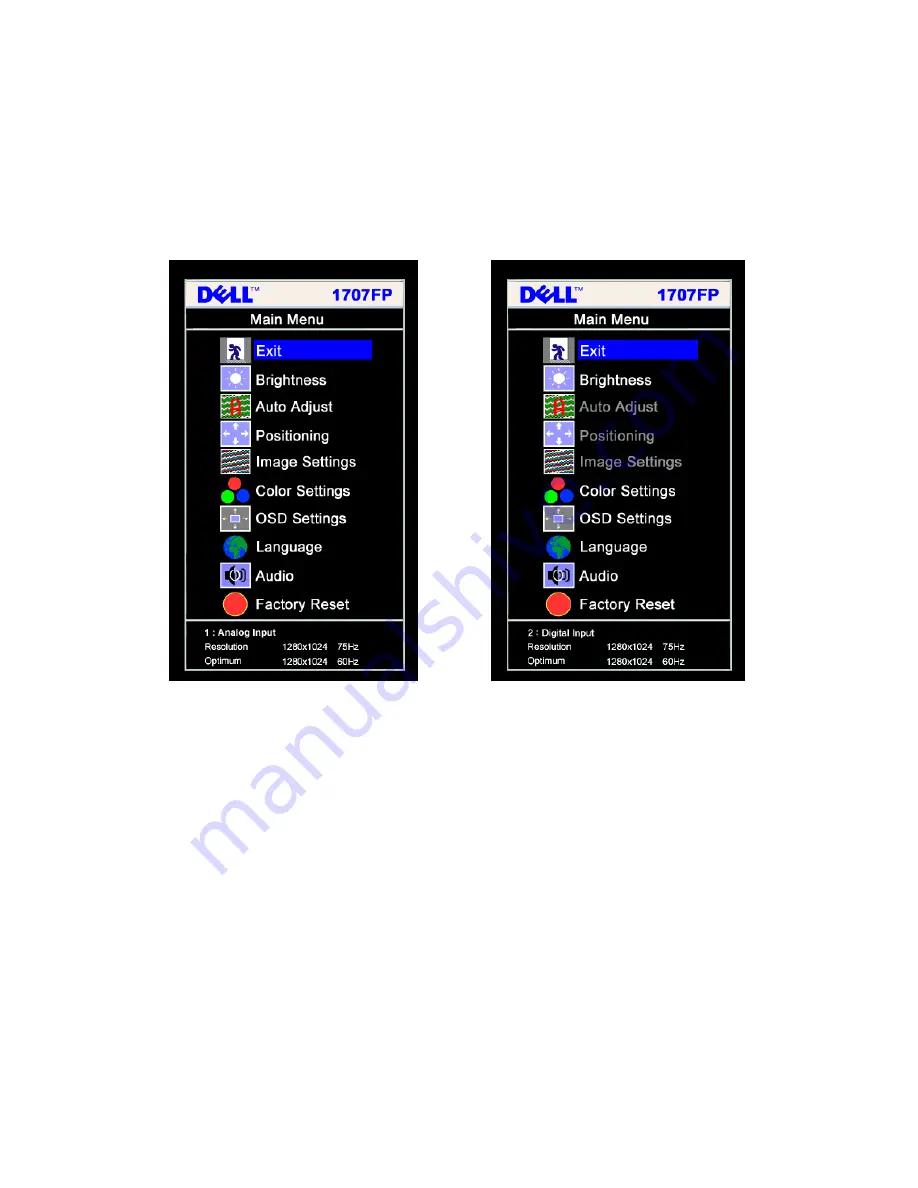
Main Menu for Analog (VGA) Input Main Menu for Digital (DVI) Input
Or
NOTE: Positioning and Image Settings are only available when you are using the analog (VGA)
connector.
1. Push the MENU button to open the OSD menu and display the main menu.
2. Push the - and + buttons to move between the setting options. As you move from one icon to another,
the option name is highlighted. See the table below for a complete list of all the options available for the
monitor.
3. Push the MENU button once to activate the highlighted option.
4. Push - and + button to select the desired parameter.
5. Pus h MENU to enter the slide bar and then use the - and + buttons, according to the indicators on the
menu, to make your changes.
6. Push the MENU button once to return to the main menu to select another option or push the MENU button
two or three times to exit from the OSD menu.
Summary of Contents for 1707FPc
Page 22: ...Dell 1707FPc 22 4 4 2 Optical Characteristics For LTM170EU L21 panel ...
Page 23: ...Dell 1707FPc 23 For LM170E01 TLB4 panel ...
Page 24: ...Dell 1707FPc 24 5 Block Diagram 5 1 Monitor Exploded View ...
Page 25: ...Dell 1707FPc 25 ...
Page 29: ...Dell 1707FPc 29 5 3 2 Inverter Power Board ...
Page 39: ...Dell 1707FPc 39 7 PCB Layout 7 1 Main Board ...
Page 40: ...Dell 1707FPc 40 7 2 Inverter Power Board ...
Page 41: ...Dell 1707FPc 41 ...
Page 42: ...Dell 1707FPc 42 7 3 USB Board 7 4 Key Board ...
Page 108: ...Dell 1707FPc 108 ...
Page 129: ...Dell 1707FPc 129 Bezel Appearance Others Type 3 750GLS70U2112Z 750GLS70U2122Z LTM170EU L21 ...
Page 130: ...Dell 1707FPc 130 ...
Page 131: ...Dell 1707FPc 131 ...


