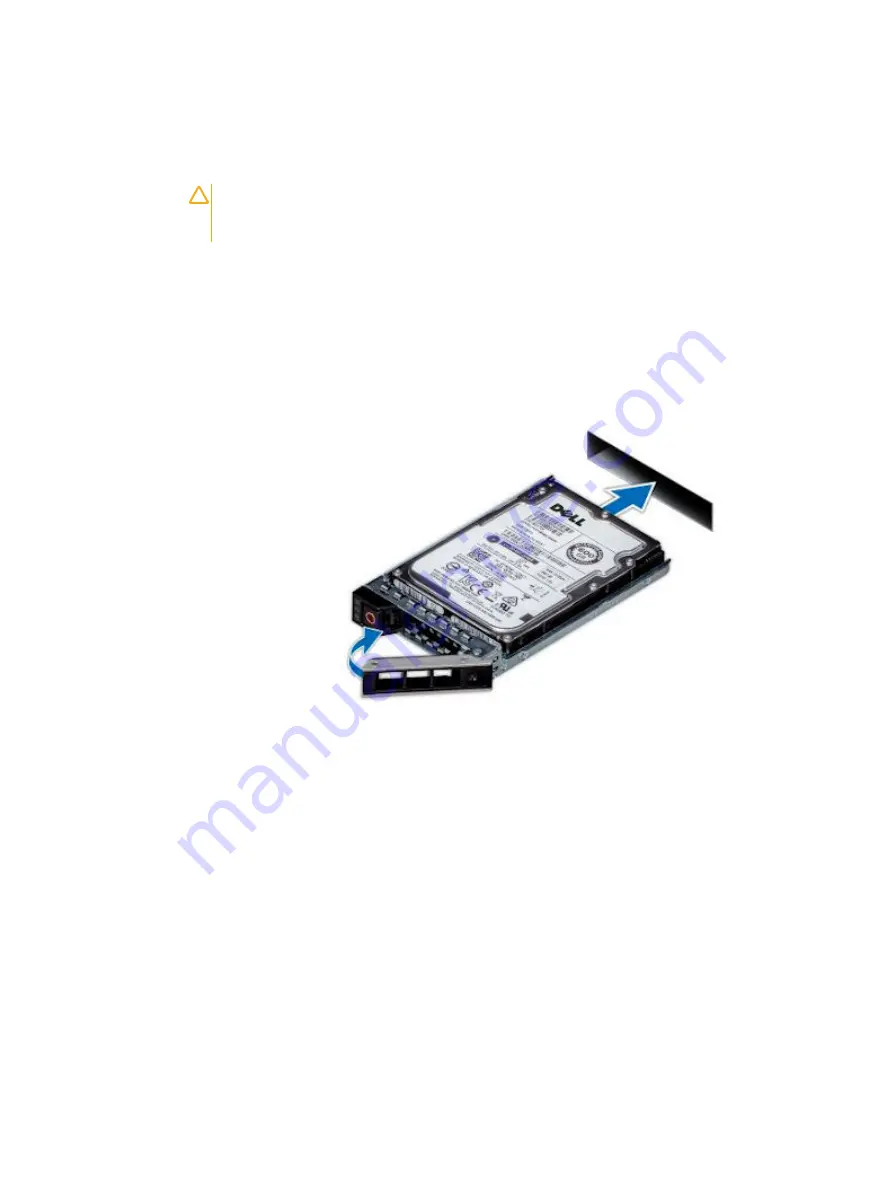
Installing the drive
Before you begin
CAUTION
When installing a drive, ensure that the adjacent drives are fully installed. Inserting a
drive carrier and attempting to lock its handle next to a partially installed carrier can damage
the partially installed carrier's shield spring and make it unusable.
1. Follow the
.
Procedure
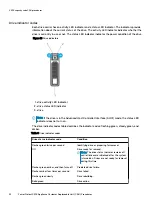
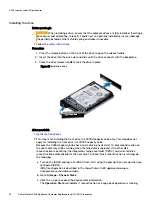
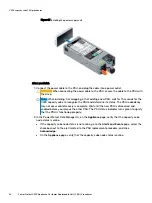
1. Press the release button on the front of the drive to open the release handle.
2. Insert the drive into the drive slot and slide until the drive connects with the backplane.
3. Close the drive release handle to lock the drive in place.
Figure 18 Installing a drive
After you finish
1.
2. This step is for installing the front drive in a X400H capacity cube only. This step does not
apply for installing the front drive in a X400F capacity cube.
Because the X400H capacity cube has a spare disk in physical slot 14, disk reconstruction on
the spare disk may still be running when the failed disk is replaced. If no other disk
reconstruction is occurring, the integrated storage controller (PERC) card will start disk
reconstruction automatically for the new disk. To check if disk reconstruction is running, do
the following:
a. Turn on the iDRAC and log in to iDRAC from its UI using the password you set up when you
configured iDRAC.
iDRAC configuration is described in the
PowerProtect X400 Appliance Hardware
Configuration and Installation Guide
.
b. Go to Storage
>
Physical Disks.
c. Click the + sign to expand the physical disk information.
The Operation State will indicate if reconstruction or a copy-back operation is running.
X400 capacity cube CRU procedures
32
PowerProtect X400 Appliance Customer Replaceable Unit (CRU) Procedures


