


9
INDOOR DOME CAMERA
ITEMS
DESCRIPTION
Image Sensor
1/4 inch color CMOS Sensor
Active pixels
1280(H)×720(V)
Horizontal Resolution
1.0 Megapixel
Min illumination
0.1Lux/F=1.2 (0Lux LED On)
Lens
3.6 mm (6mm optional) fixed lens
Night Vision
Yes
IR LED control
Automatic (CDS Sensor)
Quantity of LED
1 pcs Array LED
Night vision range
12 -15 Meters
Frequency Range
2.4G FHSS
Transmission distance
200
~
300 meters Line of sight
User ID
Random ID
Usage Environment
Indoor
Operating Temperature
0
℃~
+40
℃
Operating Humidity
65%
Storage temperature
-10
℃~
+50
℃
Power Supply
100-240V
~
50/60Hz 12V/500mA
Power consumption
5W max.
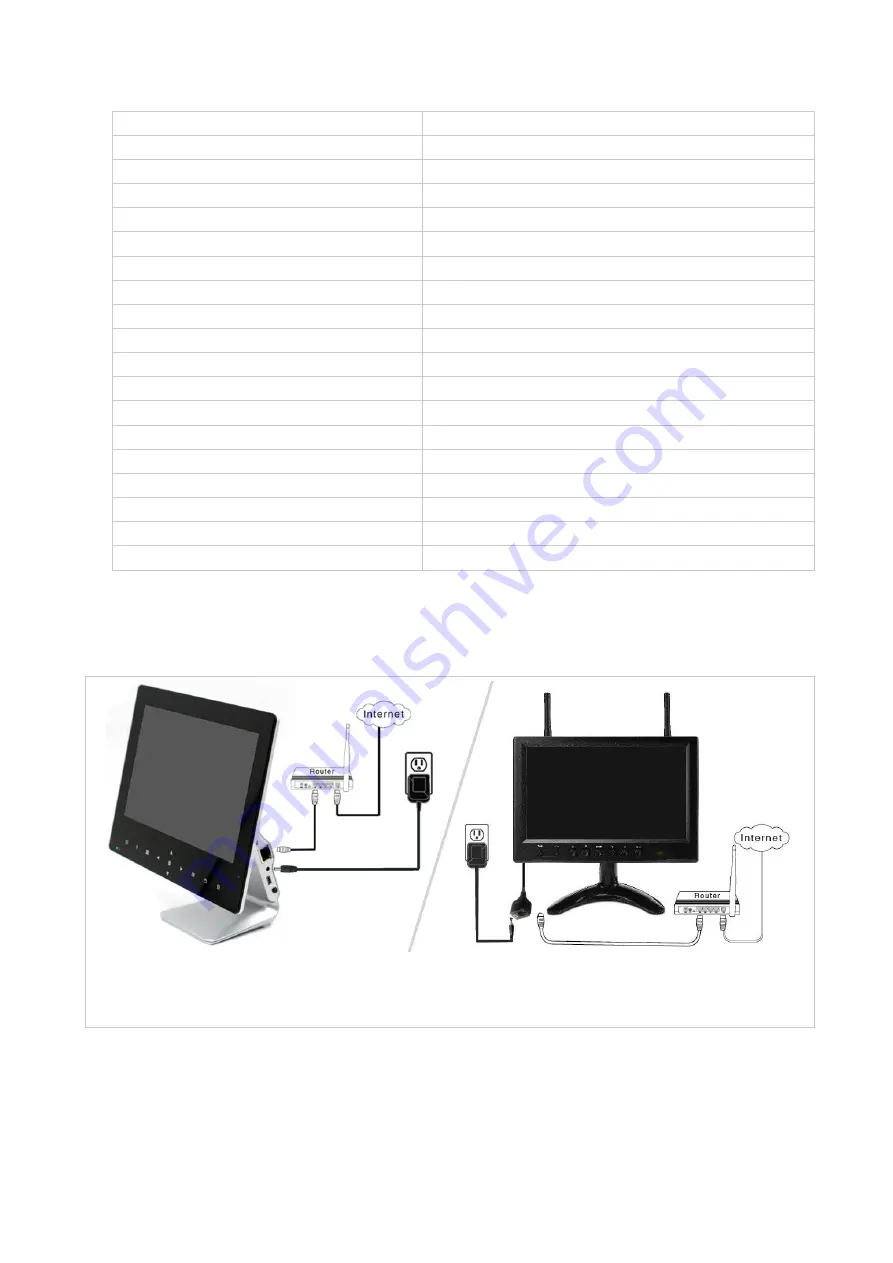
4. INSTALLATION
4.1 INSTALL THE LCD DVR
* Connect LCD DVR with Router by RJ45 cable
* Adjust monitor a appropriate viewing angle
* Plug in the power adapter of the LCD DVR
* Connect LCD DVR with Router by RJ45 cable
* Install and lock the bracket of LCD DVR
* Plug in the power adapter of LCD DVR
4.2 INSTALL THE DVR


