3
Menu Operation
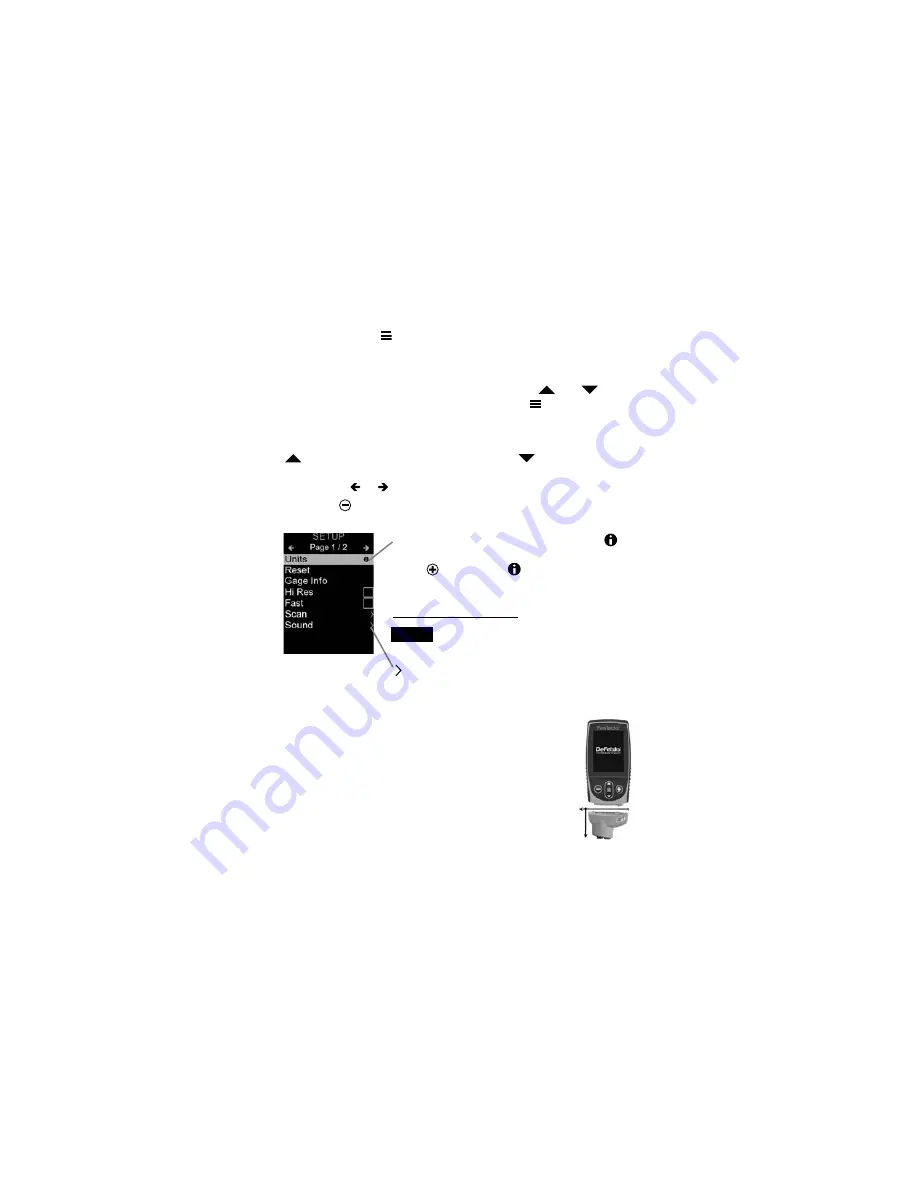
To access the Menu, power-up the gage, then press the center
navigation button . Either the keypad or touch screen can be
used to navigate the menu. If desired, touch screen functionality
can be disabled within the Setup menu (See
Touch
, pg. 7).
Select a menu option by touching it, or use the
and
but-
tons to highlight the desired option and press to select it.
On menus longer than one page, the current page number is
displayed below the menu name. Navigate between pages using
when the first menu item is selected, or
when the last
menu item is selected. If using touch, navigate between pages
by touching or , or by swiping up or down.
When powered-up, the
PosiTector
automatically
determines which probe is attached and does a self-
check.
To disconnect a probe from a body, slide the plastic
probe connector horizontally (in the direction of the
arrow) away from the body. Reverse these steps to
attach a different probe. It is not necessary to power-
down the Gage when switching probes.
The
PosiTector
gage body accepts a wide variety of probe types
When a Menu option is highlighted, the
icon indicates on-gage help is available.
Press or touch the icon to display the
help.
indicates that a sub-menu exists for the
Menu option. Select the option to display its
sub menu.
Update your gage to ensure that you
have the latest on-gage help information.
NOTE:
Probes
Probes
Press the button or swipe right to return to a previous screen.
Select
Exit
to close the Menu.
www.
GlobalTestSupply
.com
Find Quality Products Online at:


