Quick Start Guide
MI-Q-DVSV/E2-0
Checking the contents of the box
Remove all items from the packaging and check the items listed below are present:
•
DV-IP DVR
•
IR Remote Control
•
IR Remote Control Extender
•
USB Mouse
•
Power Leads
•
Rack mounting brackets
•
Serial 9-pin D-type cable
•
2 x RS485 interface modules
•
Software disc
•
Installation & Operation Guide
•
Quickstart Guide
If any of these items are missing, please contact Dedicated Micros Technical
Support team.
Note:
Before installing the unit, carefully read all Safety Instructions
and information on where the unit should be located.
Connecting A Dedicated Micros Oracle Dome
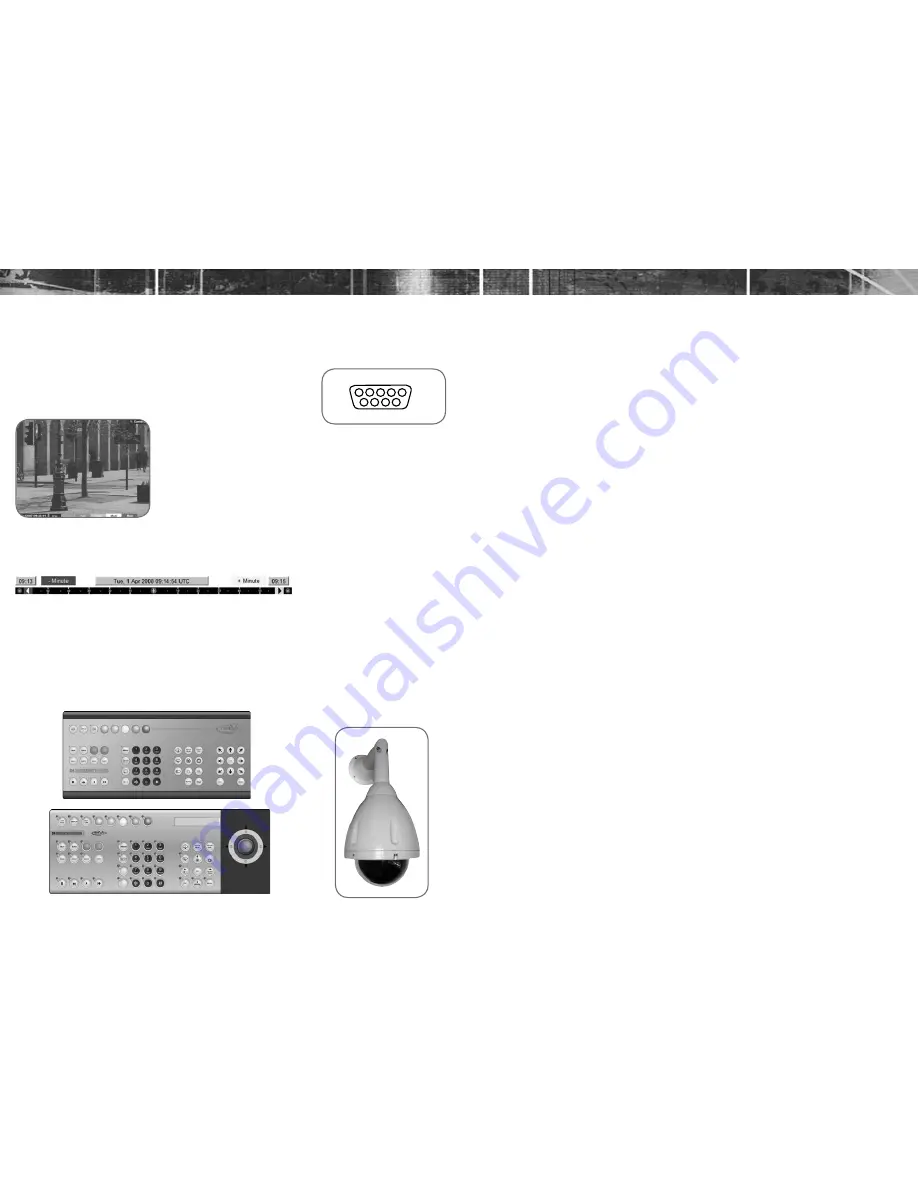
A DM Oracle Dome can be connected via either co-axial telemetry or RS485
twisted pair. Oracle Domes are configured using the specific pages available in
the Configuration menus, refer to ‘Oracle Dome Configuration’ in the Installation &
Operation Guide for more information.
The DM Oracle Dome has three address switches, refer to the Oracle Dome
documentation for more information on hardware configuration.
Video Timeline
The Video Timeline allows intuitive, rapid navigation within recorded video. To aid
navigation, the timeline can be set to display periods ranging from 15 seconds to
four weeks. The timeline can be clicked anywhere in the scale to instantly play
recorded images from that point.
Navigation is via a colour coded softkey
system. The coloured menu provides
an intuitive approach to operator and
installer use. The coloured buttons on
the IR Remote Control correspond to
the menu options displayed on screen.
The function of the buttons will change
according to whether the unit is in Live
or Playback mode.
Operating The Viewer
Select the ‘Go To Viewer’ option to open the Viewer menus.
The unit can also be controlled using an optional Dedicated Micros keyboard. This
is connected via the KBD connector on the rear of the unit and provides the same
control functions as the IR Remote Control.
The following keyboards are supported:
DM/KBC1
DM/KBC2
Alarm & Relay Pin Connections
Using Serial Ports
It is possible to connect a variety of telemetry cameras to the unit. Use the
following table as a guide to the serial port connections.
RS232 Connectivity
(Serial 1, 2)
Pin
Description
Desc
1
Data Carrier Detect DCD
2
Receive Data
RX
3
Transmit Data
TX
4
Data Terminal Ready DTR
5
Ground
GND
6
Data Set Ready
DSR
7
Ready to Send
RTS
8
Clear to Send
CTS
9
Ring Indicate
RI
UTC
Red - 1
Blue - N/R
Yellow - N/R
Serial
Red - 2
Blue - Camera Number
Yellow - Camera Number
Using the optional Keyboards
(DM/KBC1 & DM/KBC2)
RS485 Connectivity
(2 wire) (Serial 3, 4)
Pin
Description
1
RS485 + (A)
9
RS485 - (B)
5
Shield (GND)
RS232 Connectivity
(Serial 3, 4)
Pin
Description Desc
2
Receive Data RX
3
Transmit Data TX
5
Ground GND
7
Ready to Send RTS
8
Clear to Send CTS
1
5
6
9
Connecting Storage Devices
Images are recorded to the internal hard disk for instant playback and searching by
the operator. The capacity of the internal disk effects the amount of images and time
period that can be recorded.
The internal hard disk is a temporary storage device as images are overwritten after
a set period.
If images need to be held for a longer time period, external storage is required. The
SATA ports on the rear of the unit are used to connect to external storage devices.
The unit can support multiple external hard disks. To maintain an effective SATA link,
the length of all cabling from the unit to the connected device should not exceed two
metres.
The unit’s operating system will continue to utilise the internal hard disks if the
external hard drive encounters a problem.
Dedicated Micros Managed Storage Expansion units
A DM Managed Storage Expansion unit is connected via the SATA port. A Managed
Storage Expansion unit provides high capacity, environmentally managed storage
in a single box. Disk temperature is maintained at a constant level and the disk
management system ensures only disks in operation are spun. Both of these
features help extend drive life.
For further information regarding the DM Managed Storage Expansion unit, please
contact Dedicated Micros technical support team.
Virtual Keyboard
If numeric or text data requires entry when viewing menus on a local monitor,
an on-screen virtual keyboard (the Arrow Key Editor) will be displayed. Use the
Directional buttons on the IR Remote Control to move between characters. Use the
OK button to select a character. To enter details and then exit the Virtual Keyboard,
select the OK option. Select Submit to enter details and return to the Virtual
Keyboard. Select Cancel to exit the Virtual Keyboard without entering any text.


