Versión: 1.0
05/01/2021
DCM Solution S.A.
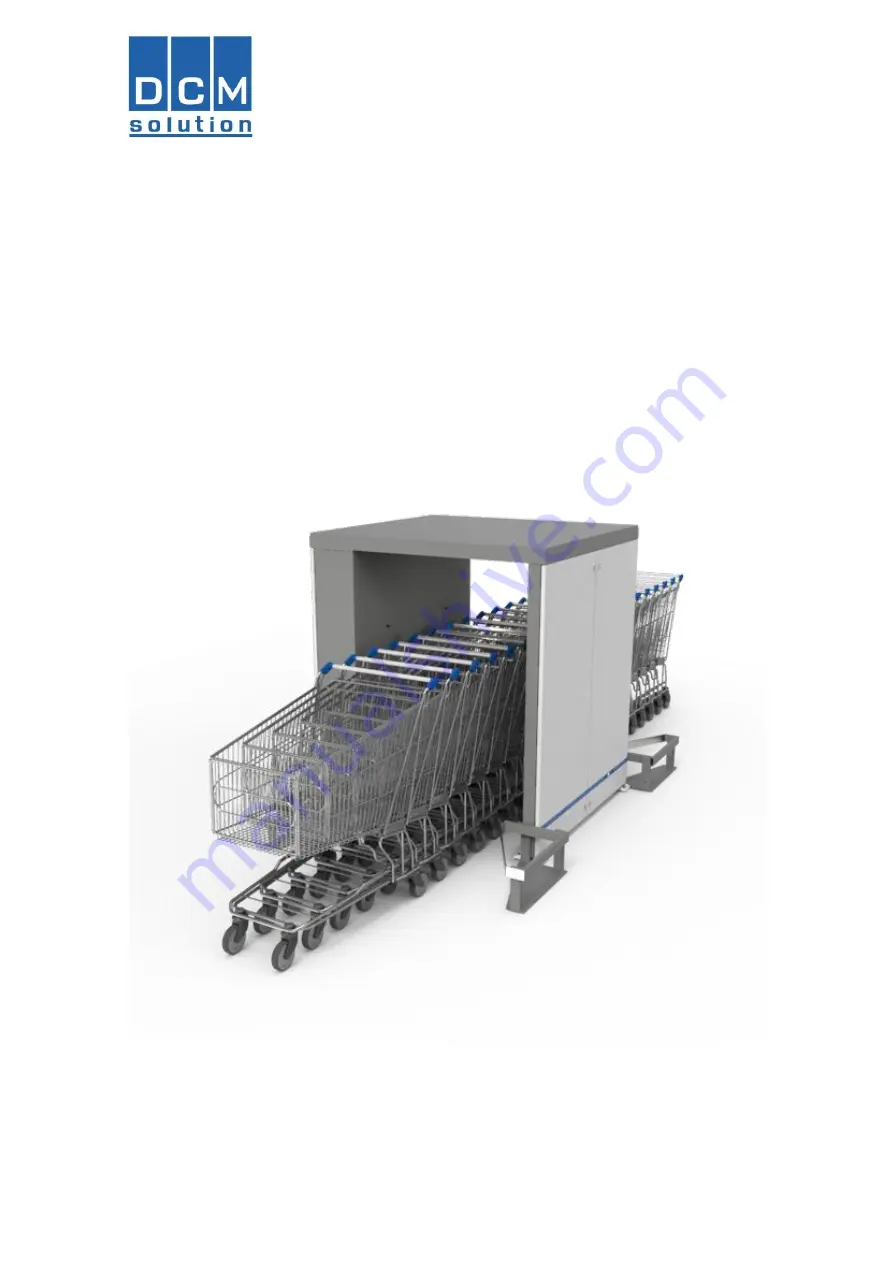
Sanitizing tunnel
ESV700
Installation Manual
All information contained in this document, including illustrations and specifications are reliable
at the date of its publication but is subject to change without notice.


