921 Ridge Ave., Pittsburgh, PA 15212
PH: 800-366-1904 | E-mail: [email protected]
dawar.com
September 24, 2020
Rev A
4.5.
A quick Tour of the AIO Touch Computer
Before you start to set up the AIO Touch Computer, take a moment to become familiar with the
location and purpose of the control, OS, connections and ports, which are illustrated in the figures
below.
4.5.1.
Front View
The front panel includes and LCD panel with Capacitive Touch Screen module. The front is rated
to IP64. Please refer to section 7 mechanical drawings of DW03437 15.6”.
4.5.2.
Rear View
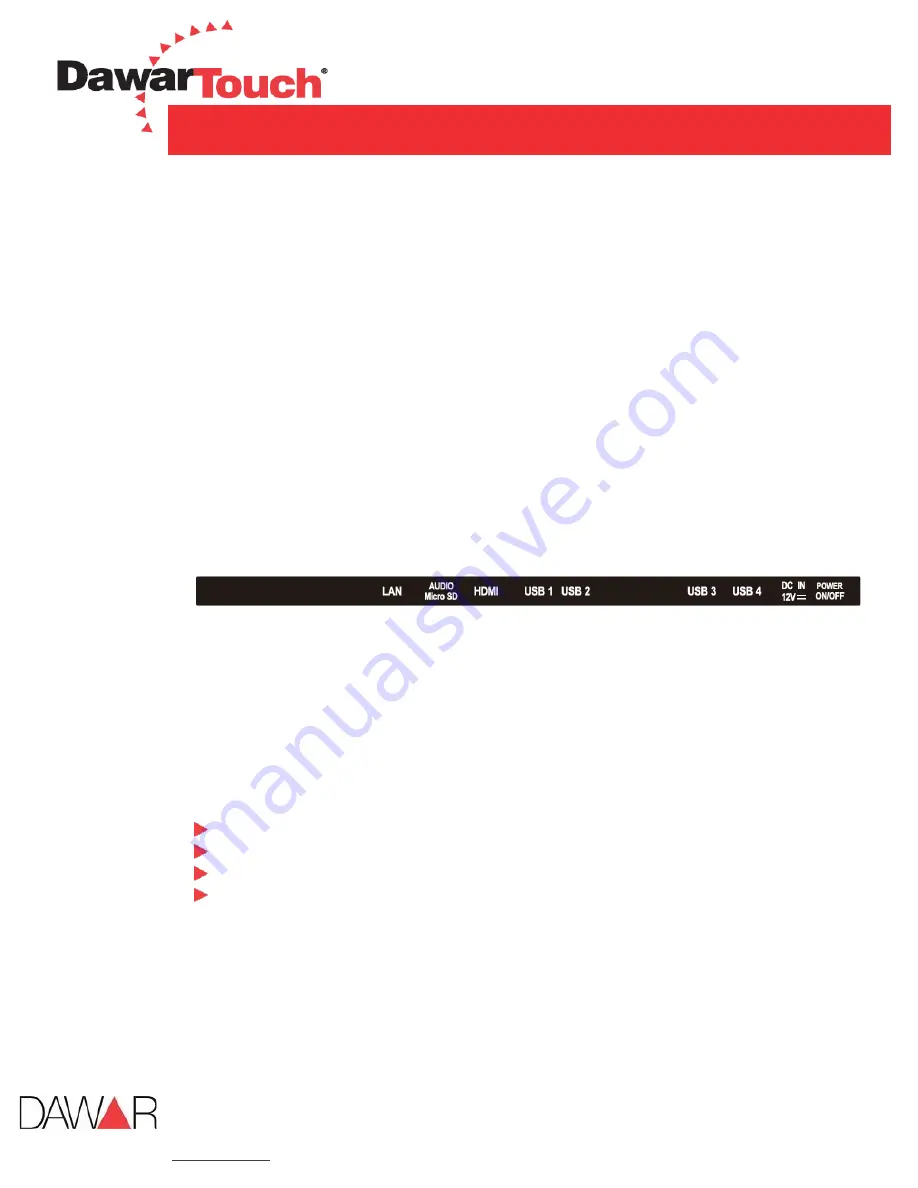
The IO section is at the bottom of the AIO Touch Computer, as shown in below. The IO section
includes LAN, Audio, Micro SD, HDMI output, USB1, USB2, USB3, USB4, DC12C IN and Power
button. Please refer to the IO name plate drawing and refer to section 7, mechanical drawings
of DW03437 15.6”.
IO Name Plate Drawing
1.
LAN
2.
Audio
3.
Micro SD
4.
HDMI output
5.
USB1 – USB4
6.
DC12V IN
7.
Power On/Off button
4.5.3.
Installation Procedures
Connect the power adapter to AIO Touch Computer.
Connect the female end of the power cord to the attached power adapter.
Connect the 3-pin male plug of the power cord to an electrical outlet.
Push the Power Button.
The AIO Touch Computer can only be powered by included power adapter.
4.5.4.
Installing System Software
The AIO Touch Computer come preloaded with Android version 5.1. Any application program
supporting Android 5.1 OS can be loading into this computer.


![Lenovo 90B6 [H50-50 ES] User Manual preview](http://thumbs.mh-extra.com/thumbs/lenovo/90b6-h50-50-es/90b6-h50-50-es_user-manual_201023-01.webp)


