10/31/2016
DAVID DAVID 5 Manual
http://www.david3d.com/en/support/david5/printversion
6/37
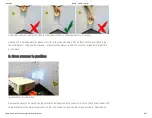
Move the camera slide by loosening the thumbscrew so that the camera is aimed on projected pattern on
the object. Then fix the camera slide. If the viewing range of the projector and / or camera contains much
more than the surface to be scanned, you should reduce the working distance of the scanner (step 3).
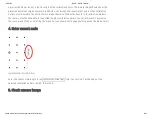
7. Exposure time
The
Exposure
should be set to the same value as the frame rate of the projector (usually 1/60s), otherwise
the camera image will flicker / pulsate when looking at the projection. In this case adjust the exposure
time.
8. Camera focus
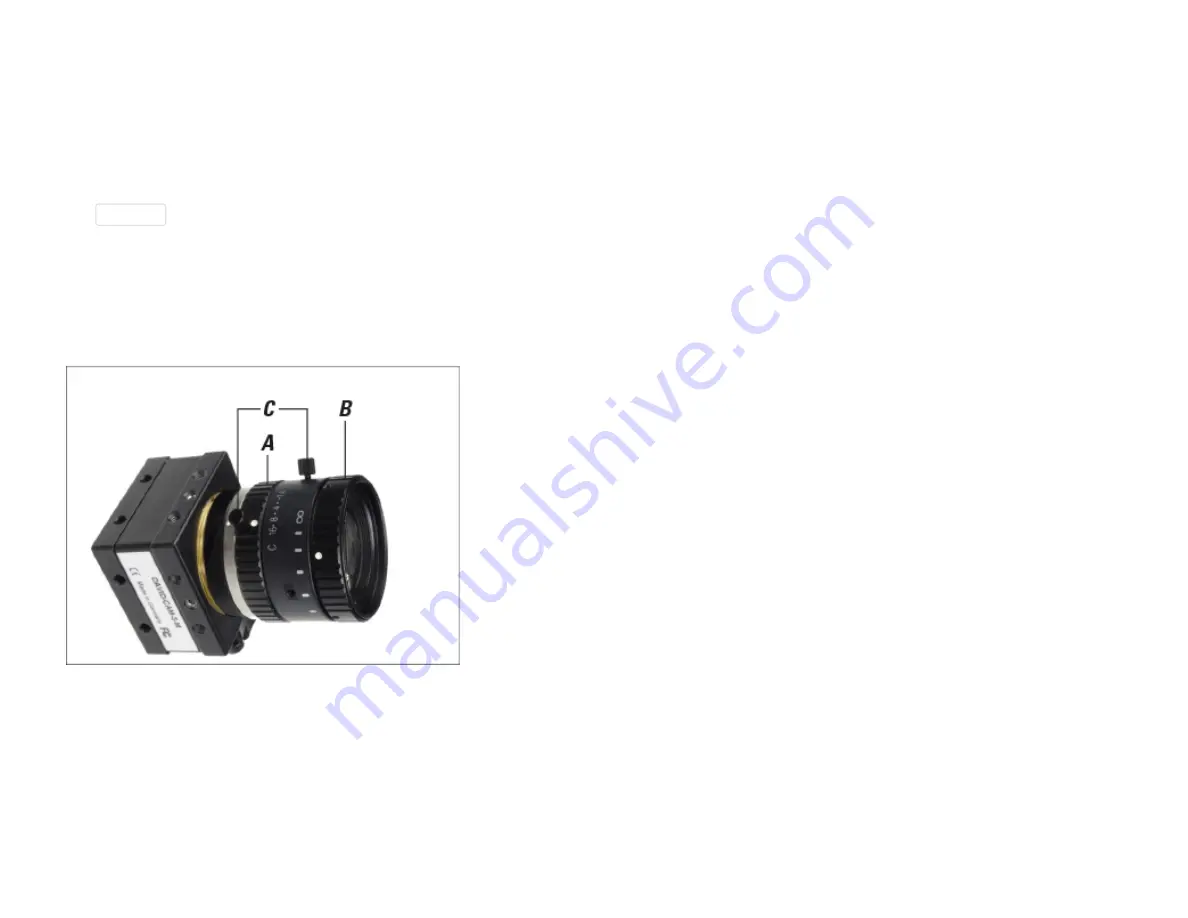
Adjusting rings (A) aperture and (B) focus, (C) fixing screws
Adjust the aperture of the camera (dial A) so that you will get a rather bright picture. Look at the camera
image and watch the sharpness of the object and the sharpness of the projected black and white stripes
(cross). Adjust the focus of the camera (dial B) so that the object is depicted as sharp as possible.
9. Camera brightness / aperture


