background image

 17

OPERATION 


Switching on 


Once all cables are in place it is ok to power on the VDR-3000. 
 
Press the Power Button on the front of the VDR 3000 or on the remote control handset, 
the display panel should light up and display  

” - - - -“

 
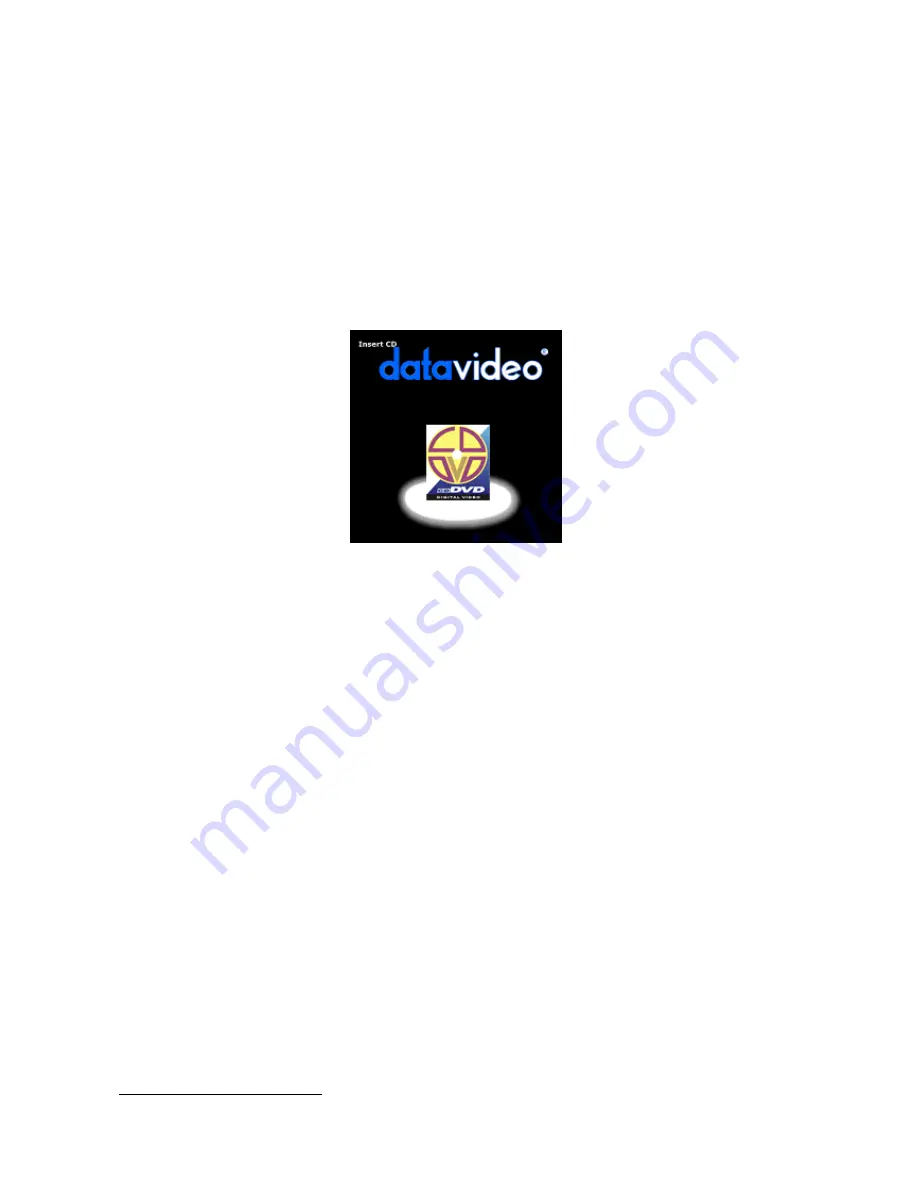
Power on the TV Monitor and select the correct A/V channel, the VDR 3000 start-up 
screen will appear. The TV screen it will display ” Insert CD”.  


1


Playing a disk 


Press the Eject Button on the front of the VDR 3000 or on the remote control handset and 
the CD tray will slide open. 
 
The VDR 3000 will accept Audio CD, VCD, HQ-VCD, S-VCD, DVD-Photo or 

CD

DVD

 disks. 

 
Place the disk that you want to load onto the tray, printed side facing up. 
 
Press the Eject Button and the CD tray will close and “LOAD” will appear on the display 
panel. 
 
After a few moments the display panel will indicate the format of the loaded disk 
(CD/VCD/HQVCD/SVCD/DVD-PHOTO/

 CD

DVD

). It will also show how many tracks the 

loaded disk features and the total running time of the disc. 

Note:  The VDR-3000 cannot play DVD media. 

 
To play the disc from the beginning, press the Play Button on the VDR 3000 or on the 
remote control handset. 
 
To play a specific track, select the track number from the numeric keypad on the remote 
control handset. 
 
To skip forward to the next track press the Next Button on the VDR 3000 or remote control 
handset 


1

 Screen shots are simulated. 

Summary of Contents for VDR-3000

Page 1: ...VIDEO DISK RECORDER VDR 3000 INSTRUCTION MANUAL C O M P A T I B L E http www datavideo tek com ...

Page 2: ...cting a digital still camera 14 Connecting to a Project TV monitor with component video 15 Connecting a digital audio CD player 16 Operation Switching on 17 Playing a disk 17 Recording a disk 18 PC Playback Playing CD s in your PC 20 Grabbing Frames from your CD to save or e mail 22 Advanced Operation Color correcting the video source before recording 23 Frequently Asked Questions 24 Specification...

Page 3: ... RECALL TI ME S ET PAL N TSC LANG AUD IO VI DEO STEP PAU SE STOP MUTE POWER 1 2 3 4 5 6 7 8 9 0 1 0 CE REW PLAY F F ERASE ST P REC PL TM O SD O P I P I P BM RC LAN G P N T S CL R E T U R N A B R E P E AT SLOW R E P E A T P B C ENT 2 x AAA Batteries for Handset Main Power Cord S Video Cable 3 Phono RCA to 3 Phono RCA Audio Video Cable IEEE1394 Firewire Cable DV Model only ...

Page 4: ...adjust this setting without consulting your dealer or a qualified electrician 3 Input Source Selector Switch DV Model only To select DV or Analog Video Input 4 Audio and Video Inputs To connect left and right audio and composite or S Video signals from a camcorder VCR etc 5 Component Video Output Component Y U V or R G B video signal output for project or big screen TV Monitor Note The component v...

Page 5: ...nter To select a recording format CDDVD DVD PHOTO S VCD HQ VCD VCD or Audio CD after inserted the blank disc into CD tray 10 Finalize Button To finalize the disc Until a disc is finalized it can only be played back in the VDR 3000 A finalized disc can be played back in other suitable devices such as Audio CD VCD S VCD DVD player or CD ROM in PC 11 IEEE 1394 DV iLink Socket DV Model only To input D...

Page 6: ...rd through a track Several speeds are available each press of the button will increase the speed 22 STOP Button To stop the disk during playback or record 23 PAUSE Button To pause the disk during playback 24 PLAY Button To start the disk playing 25 Microphone Volume Control Left Mono To control the volume of the Left Channel Microphone Also controls the volume of mono microphone track 26 Microphon...

Page 7: ...Repeat Indicates that Repeat function is activated 7 A B Repeat Indicates that A B Repeat function is activated 8 Track Indicator Indicates the total number of tracks on the disk when the disk is static or the track number when the disk is playing 9 PBC Indicates that Play Back Control function is activated 10 Initial Status Display Indicates no disk OPEN Indicates the CD Tray is open LOAD Indicat...

Page 8: ...ower Button To switch the unit from On to Standby mode or vice versa 2 Numerical Keypad To give direct access to tracks on a disk 3 RETURN Button To return to the first track on a disk 4 ENT Button ENTER This button contents two functions Menu and Enter Menu Press this key to open the Color Processor on screen menu Enter To select a recording format DVD PHOTO S VCD VCD or Audio CD after inserted t...

Page 9: ...e on screen menu language English or Chinese 14 P N Button PAL NTSC To select video input format PAL NTSC or AUTO detect system 15 Video I P Button CV S To select analog video input source Select CV to input via Phono RCA or S to input via the mini 4 Pin S Video sockets 16 Erase Button To erase the data on a CD RW Erasing takes a CD RW takes around 2 minutes in respect of how much data is on the d...

Page 10: ... remaining 29 OSD Button Turns on On Screen Display During playback Track number Counter Disk format and Audio format can be displayed on the screen 30 RESUME Button Will resume playback from the same point in a track if playback has been stopped 31 SLOW Button To select slow motion playback Three speeds are available press once for speed twice for speed and three times for 1 8 speed 32 PREV Butto...

Page 11: ...socket PHONO RCA sockets or S Video socket TV Monitor R L S Selects the AC input range 115VAC or 230VAC for VDR 3000 Selects the input source to Video To connect to a SCART input a three phono RCA plug Left and Right Audio plus Composite Video to SCART Plug cable will be required If the TV has an S Video socket use an S Video cable for connection as this will give the best quality signal No connec...

Page 12: ... Audio Video An analog video device can be connected via composite or S Video if available Connect the left and right audio output from the device to the left and right audio input on the rear of the VDR 3000 Connect either the composite video out yellow phono RCA or the S Video out mini 4 pin from the device to the video input on the rear of the VDR 3000 Only connect composite or S Video do not c...

Page 13: ... switched off TV Monitor R L S Selects the AC input range 115VAC or 230VAC for VDR 3000 Selects the input source to DV DV Out DV In DV IN OUT Source Player Connect the IEEE1394 iLink cable from your DV mini DV device to the DV Input socket on the front of the VDR 3000 Set the Input Selector Switch on the rear of the VDR 3000 to the DV position ...

Page 14: ...to Camera Audio CD Player Digital still cameras can be connected to the Video Input on the rear of the VDR 3000 Connect the Video Out from the Digital Still Camera to the Video In Phono RCA socket on the VDR 3000 Set the Input Source Selector Switch to the V position Note 1 To achieve a high quality video photo CD please select the DVD PHOTO video format after you have loaded a blank disc into the...

Page 15: ... or Y U V video and audio inputs of a Projection TV Monitor R PR PB Y G B Selects the AC input range 115VAC or 230VAC for VDR 3000 Project TV Monitor To Hi Fi System To connect to a component input a three BNC plug R G B or Y U V Video to BNC Plug cable will be required NOTE The Composite and S Y C video cables should be disconnected when hooking up the Component video output to TV Monitor to ensu...

Page 16: ...e 1 1 5VAC or 23 0 VAC for VDR 3 00 0 AUDI O CD OPT Optical Cable Digital Audio Player To connect to a digital audio input either a optical fiber plug to a optical fiber plug cable or phono RCA plug to phono RCA plug cable will be required To connect the audio output from VDR 3000 to audio input of either audio hi fi system or TV Monitor Note The VDR 3000 requires an Audio CD R to duplicate Audio ...

Page 17: ...D disks Place the disk that you want to load onto the tray printed side facing up Press the Eject Button and the CD tray will close and LOAD will appear on the display panel After a few moments the display panel will indicate the format of the loaded disk CD VCD HQVCD SVCD DVD PHOTO CDDVD It will also show how many tracks the loaded disk features and the total running time of the disc Note The VDR...

Page 18: ...back press the Mute Button To cancel the mute function press the Mute Button a second time To remove the disk press the Eject Button the CD tray will slide open Remove the disk and press the Eject Button again to close the CD tray Recording a disk The VDR 3000 can record onto CD R and CD RW disks CD R disks can only be recorded once whereas CD RW disks can be erased and re recorded several times P...

Page 19: ...he ENTER key to select the desire video source Note The default setting is composite video input mode Select the audio input source Press the AUDIO INPUT key on the remote controller to select the digital audio or analog audio input source Note The default setting is set at analog audio input mode Select the video output format Press the VIDEO OUTPUT key the video output format would be cycle show...

Page 20: ... and the total record duration of all the tracks on the disc The tracks that have been recorded can be played back in the VDR 3000 but until the disc is finalized the disc will not playback in other devices Once a disc has been finalized it is not possible to add any further tracks To finalize the disk press the Finalize Button on the front of the VDR 3000 Note The disk will be finalized automatic...

Page 21: ...o your CD ROM drive 3 It could take up to 30 seconds for the disk to auto play Your PC will start the player if it does not Double left click my computer Double left click your CD ROM drive and then double left click playwnd exe icon This should start the auto player 4 A large video window will appear and a smaller play control window will appear Shown below Video Window 5 4 Screen shots are simul...

Page 22: ...o player is running 2 On the player control window there is a Frame Grab Icon picture of a camera 3 Once you have decided on a specific frame press the Frame Grab icon immediately 4 A Save As window will appear prompting for a file name 5 Type in your file name and click ok Shown Below ...

Page 23: ...r will be shown on the top of TV screen Please press the Previous and Next keys to adjust the level of Brightness Contrast Sharpness Colour and Hue Hue adjustment only available with NTSC system for the source video Note To ensure to record a active video onto VCD or S VCD with less blocking Please adjust the sharpness to Soft high light bar to the end of left side position Please keep AGC Auto Ga...

Page 24: ...ible with most of VCD and DVD players The VCD disc can be played back by most VCD players DVD players and Microsoft Media Player Software on a PC Since the VCD has a low resolution and low bit rate 1 15Mbps format that is a good application for long recording times without degrading too much of the image quality This is ideal for seminars and conference audio video recording VCD can record 74 minu...

Page 25: ...y will the recorded video not synchronize with it s audio on playing back We have evaluated similar conditions on playing back the disc with few Players but this problem won t happen on playing back the disc by most famous brand of VCD DVD player such as Pioneer SAMPO ACER so it is a VCD DVD player related compatible problem Q6 Why does the VDR 3000 take a much longer time on reading some various ...

Page 26: ... usually given when a user enables recording on the VDR 3000 before playing back source material When recording from DV IEEE 1394 you must play your source before pressing record on the VDR 3000 Running 10 seconds of black should allow for a smooth recording entry Q12 Why isn t the DV input working When connecting to your unit make sure that you have switched the selector switch in the back of the...

Page 27: ...appears as a Windows Media Player icon with the name you gave it The file will now be recognized as such and will open in programs that are compatible with Windows Media Player Q16 What do I do if my machine has a rolling picture and I am inputting an NTSC signal The unit could be set to the wrong format such as PAL 25 frames second To change the input selector back to NTSC mode the remote control...

Page 28: ...clipse Yes Yes SVCD HQ VCD VCD MP3 Formax AV 2188 Yes Yes CD DVD SVCD HQ VCD VCD GE Digital GE1105P Yes Yes GPX DV2000 Yes Yes SVCD HQ VCD VCD MP3 Hitachi DV K2 No No Hitachi DV P250 E U Yes Yes Hitachi DV P300U Yes Yes SVCD HQ VCD VCD MP3 Hitachi DV P505U Yes Yes SVCD HQ VCD VCD MP3 HTK DVD868T Yes Yes CD DVD SVCD HQ VCD VCD Hoyo 8200 Yes Yes JVC XV D501BK Yes Yes JVC XV D701 No Yes JVC XV 511 Ye...

Page 29: ...nic M360K Yes Yes CD DVD SVCD HQ VCD VCD Panasonic P10 Yes No Panasonic RV20 Yes No Panasonic RV30 Yes Yes Panasonic SCHT80 No Yes Panasonic T 2000 No Yes Phoenix 203 Yes Yes Philips DVD701 Yes Yes Philips DVD701 710 711 718 730 750 751 825 865AT 930 940 950 955 Yes Yes SVCD HQ VCD VCD Philips DVD315AT Yes Phoenix 204 Yes Pioneer DV 333 414 434 505 515 525 K 5 35 606 D 626 D 717 C302D C530D F727 Y...

Page 30: ... VCD MP3 SM Supervision 2000 Yes Sony DAVS 300 Yes Yes Sony DVP C600D Yes No Sony DVP C650D No Yes Sony DVP CX850D No Yes Sony DVP FX1 Yes Yes Sony DVP K330 No Yes Sony DVP S300 Yes Yes Can not use the blue color CD R Sony DVP S315 Yes No Can not use the blue color CD R Sony DVP S325 Yes Yes Sony DVP S330 Yes Yes Sony DVP S335 Yes Yes Sony DVP S336 Yes Yes Sony DVP S360 Yes Yes Sony DVP S3000 Yes ...

Page 31: ...7e Yes Toshiba SD3109 No Yes Drops frames Whanedale DVD 750 Yes No Yamaha DVDS 795 No Note YES Only Means that it can read a particular media type NO Only means that it cannot read a particular media type Means it has not been tested It would be appreciated if you can add to the compatibility information of DVD players which we can share with other users For new information on DVD players please m...

Page 32: ... x288 at 25fps Bit rate at 2 4Mb sec VCD video resolution NTSC 352x240 at 30fps PAL 352 x288 at 25fps Bit rate at 1 15Mb sec Video inputs Y C S Video mini DIN CVBS Video RCA Optional DV IEEE1394 i Link 4 pin connector By DV25 YUV 4 1 1 NTSC or YUV 4 2 0 PAL at 25Mb sec bit rate Video Outputs Y C S Video mini DIN CVBS Video RCA Y U V Sony Betacam BNC Y U V Mastushita M2 BNC Y U V SMPTE BNC R G B BN...

Page 33: ...t our website at www datavideo tek com If your question cannot be answered from the website please contact one of our locations Datavideo Locations Datavideo Corporation USA 12300 U East Washington Blvd Whittier CA 90606 Tel 562 696 2324 Email info datavideo tek com Datavideo Technologies Europe Bv Californiedreef 26 3565 BL Utrecht The Netherlands Tel 31 30 261 9656 Email info datavideo nl Datavi...

Reviews: