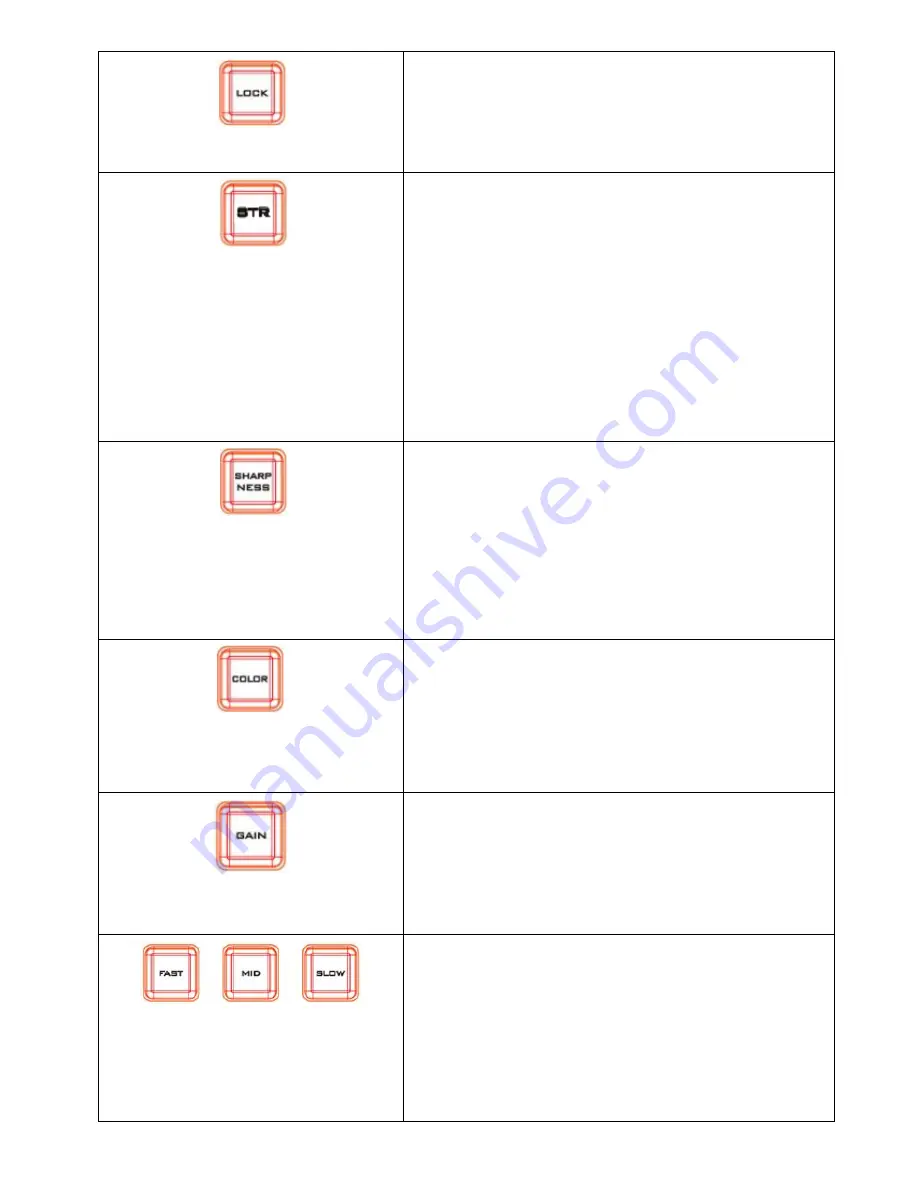
Datavideo RMC-300C Instruction Manual Download Page 8


8


Lock Button 
Press this button once and this button will light up, which 
means that the Zoom Knob and the joystick function for 
Pan/Tilt will be turned off.  


STR 
Press this button once and this button will light up. After the 
button lights up, please press the button PST 1 to PST 7 and 
then users can save preset camera parameters and PTZ 
positions into PST 1~PST 7.  
 
Press this button once and this button will light up. Please 
press the PST SHIFT button at first and then please press the 
button PST 8 to PST 14 to save preset camera parameter and 
PTZ positions into PST 8~PST 14.  


Sharpness 
Press this button once, if the button lights up, it means that 
the sharpness can be adjusted by the joystick. Pull the 
joystick up to increase the sharpness value and pull the 
joystick down to reduce the sharpness value.  


Color 
Press this button once, if the button lights up, it means that 
the saturation of the image can be adjusted by the joystick. 
Pull the joystick up to increase the value and pull the 
joystick down to reduce the value.  


Gain 
Press this button once, if the button lights up, it means that 
the Gain of the image can be adjusted by the joystick. Pull 
the joystick up to increase the value and pull the joystick 
down to reduce the value. The Gain-adjusting function is not 
available for the PTC-140 and PTC-140T series.   


Adjusting Pan/Tilt/Zoom Speed 
 
Fast: Press this button once, if the button lights up, it means 
that when executing the Pan/Tilt/Zoom functions, the 
moving speed is set at high speed.  
 
Mid: Press this button once, if the button lights up, it means 
that when executing the Pan/Tilt/Zoom functions, the 
moving speed is set at mid speed. 

Summary of Contents for RMC-300C

Page 1: ...RMC 300C MULTI CAMERA IP CONTROLLER Instruction Manual ...

Page 2: ...SERVICE AND SUPPORT 32 Disclaimer of Product Services The information offered in this instruction manual is intended as a guide only At all times Datavideo Technologies will try to give correct complete and suitable information However Datavideo Technologies cannot exclude that some information in this manual from time to time may not be correct or may be incomplete This manual may contain typing ...

Page 3: ...e this unit where the power cord will be walked on rolled over or otherwise stressed 9 If an extension cord must be used with this unit make sure that the total of the ampere ratings on the products plugged into the extension cord do not exceed the extension cord rating 10 Make sure that the total amperes of all the units that are plugged into a single wall outlet do not exceed 15 amperes 11 Never...

Page 4: ...tandard warranty providing the product is registered with Datavideo within 30 days of purchase Certain parts with limited lifetime expectancy such as LCD panels DVD drives Hard Drive Solid State Drive SD Card USB Thumb Drive Lighting Non PCIe Card and third party provided PC components are covered for 1 year The three year warranty must be registered on Datavideo s official website or with your lo...

Page 5: ... 300C provides users several advantages such as affordable and easy cabling an intuitive controller by pushing the hard keys and a friendly user interface for the iOS Android based remote control system app 1 1 Features Allows Remote Controlling for multiple cameras via Ethernet Allows users to control up to 24 Datavideo PTZ block cameras and 14 presets can be set for each camera All of the camera...

Page 6: ...ra The selection is completed once the red green light lights up If the shift key is activated the selected cameras will be 13 to 24 Preset 1 14 Those Preset keys allow users to select default values of the camera Please press the Preset key once After the blue light lights up the selection is completed For each default value it includes default values for Shutter Speed White Balance Focus and P T...

Page 7: ...the One Push function to adjust the White Balance Users can calibrate the White Balance value according to the site environment by pushing the One Push button Auto Focus Press this button and the Auto Focus function will be executed if the button lights up If the Manual Focus is needed please confirm whether this button is lighted up or not The Manual Focus function can not be executed if this but...

Page 8: ...o increase the sharpness value and pull the joystick down to reduce the sharpness value Color Press this button once if the button lights up it means that the saturation of the image can be adjusted by the joystick Pull the joystick up to increase the value and pull the joystick down to reduce the value Gain Press this button once if the button lights up it means that the Gain of the image can be ...

Page 9: ...de the touch slider to upside to increase the value and please slide the touch slider to downside to reduce the value Zoom Wheel Move the zoom wheel clockwise and counter clockwise for zooming in zooming out the camera lenses Joystick for Controlling P T Angles of the PTC Series Camera This joystick is used for users to control the Pan and Tilt angles of the PTC series camera Users can change Pan ...

Page 10: ...ailable yet RS 232 RS 422 This is the D sub 9 pin connector for controlling by the RS 232 RS 422 Not available yet Ethernet This Ethernet port is used for DVIP connection USB These USB ports are used for firmware upgrade and tablet charging The USB port on the bottom left side can supply 5V 0 5A for tablet charging ...

Page 11: ... of the tablet the RMC 300C and the PTC cameras are in the same network environment After that please open the RMC 300C App by the tablet 9 Please press the Scan button from the main interface of the RMC 300C App to obtain all IP addresses of the connected cameras 10 The RMC 300C App will detect the IP addresses of all connected cameras automatically 11 If the detected IP address is shown to be 19...

Page 12: ...e RMC 300C The Ethernet cables must be connected at first and then the RMC 300C can be powered on After the RMC 300C power on is completed users can open the RMC 300C App for the Tablet If the App is opened before the connection is finished the RMC 300C can not be connected normally 2 The HDMI output signal for the RMC 300C can sustain for less than half an hour After that there is no HDMI output ...

Page 13: ...4 2 How to Set the Cameras Connected to the RMC 300C in Static IP Mode Please set the cameras connected to the RMC 300C in Static IP mode according to following steps Step 1 Please confirm that the Wi Fi of the Tablet and the connected PTC cameras are within the same network environment After that please open the RMC 300C App When the red circle is disappeared it means that the scanning is done ...

Page 14: ... requests from a large number of DHCP clients Please press the column with red characters Step 3 Please press the Reset button Step 4 Please do the scanning again Note If the rescanning is done and the camera IP addresses are not shown to be 192 168 100 100 just as the step 2 and those IP addresses are not shown in red please go to next step ...

Page 15: ...Step 5 Please click the Scanning button Step 6 Please click the IP Address column which is next to the CAM button Step 7 The reminder Camera tally light flashing will be shown in the CAM IP Address column ...

Page 16: ...he PTC camera will flash in green to indicate that this camera is the one which is selected by the App Step 9 Please press the Net button Step 10 Please modify the Host Name and then please check the checkbox of Using Fixed IP Mode ...

Page 17: ...hen please press the Save button Step 12 Please press the Save button and then the reminder Please reboot this device will be shown Please turn off the PTC camera and then reboot it again Please modify Host Names for the remaining 23 PTC cameras and then please set them in Fixed IP Mode ...

Page 18: ...s of the PTC camera is modified there is something wrong for this function So if users want to use the Save and Load buttons please remember to set the PTC cameras in the Fixed IP Mode in advance Step 16 Please click the settings icon which is shown as following diagram to check and confirm the firmware version Step 17 Users can enter the languages and joystick speeds setting page which is shown a...

Page 19: ...ameras are scanned successfully the device names and IP addresses will be shown The device name can be modified by clicking the Net button Supports ASCII Code only and the characters must be within 16 characters Click the device name of each camera PTC 150 PTC 200 BC 80 or BC 200 to flash the tally light for easy identification ...

Page 20: ... Options for Joystick and Zoom Wheel The Description of the Speeds for the PT Joystick and Zoom Wheel The ranges of Area 1 to Area 4 in following curves are shown as following diagram Joystick 1 2 Area 1 Area 2 Area 3 Area 4 ...

Page 21: ... the larger the tilt angle the larger the variation of the Pan Tilt speeds For knob the more the knob is turned the larger the variation of the Zoom speed The Non linear option is the default value Nonlinear PT Area 4 Area 3 Area 2 Area 1 ...

Page 22: ...22 Nonlinear Z Equal Difference The Fast Mid Slow speeds of the joystick Knob will be distributed equally The speed of the Pan Tilt Zoom will be changed in linear Arithmetic PT ...

Page 23: ...23 Arithmetic Z Fixed Value If this option is set users can select Fast Mid Slow speeds only no matter the tilt angle of the joystick or the level of the knob rotation Fixed PT ...

Page 24: ...nually If the Auto Scan and Connect RMC 300C is ticked the app will re connect the RMC 300C automatically for every 10 seconds If the RMC 300C Network is clicked users can set the network configuration of the RMC 300C and the device name can be changed Supports ASCII only the characters must be within 16 characters ...

Page 25: ... cameras will be 13 to 24 Press the Cam Shift button once if the buttons light up it is ready for users to select from Cam 13 to Cam 24 After that users can select their desired camera Allows Users to Save up to 14 Presets Users can select the default value of the camera Press the PST key once if the blue light of the button lights up the selection is completed Each default value includes Shutter ...

Page 26: ...Datavideo products and setting Ethernet configurations After that the related control commands can be transmitted through the TCP socket according to the type of the devices Please refer to the URL https datavideocorporation desk com customer en portal articles 2202330 datavideo ptc and bc series dvip setup and troubleshooting guide for the latest DVIP protocol information ...

Page 27: ...B port on the rear panel of the RMC 300C 4 Please open the RMC 300C app If there is a new firmware for users to update a reminder will be shown for users to select whether they want to upgrade the firmware to the latest version or not If users want to do the firmware upgrade the firmware upgrade procedure will be started immediately 5 After the firmware upgrade progress bar reaches 100 the whole R...

Page 28: ...ease refer to following website https datavideocorporation desk com customer en portal articles 22 02330 datavideo ptc and bc series dvip setup and troubleshooting guide for Datavideo PTC and BC series DVIP Setup and Troubleshooting Guide 2 The RMC 300C is connected correctly however the PTC series cameras can not be controlled Please check whether the IP addresses are shown in red If the IP addre...

Page 29: ...r x 1 Control Control Protocol DVIP DHCP Client Remote Control RS 232 RS 422 Ethernet Others Firmware Upgrade By USB ports Input Voltage DC 12V Power Consumption DC 12V 23W Accessory DC 12V adapter Dimension W x D x H 420 2 mm x 294 mm x 134 mm Weight 1 24Kg Operating Temperature 0 40 32 104 Storage Temperature 10 60 14 140 Operating Humidity 10 to 80 Non condensing ...

Page 30: ...30 Chapter 10 Dimensions All measurements in millimetres mm ...

Page 31: ...31 Note ...

Page 32: ...Mar 21 2019 Version E2 www datavideo com tw product RMC 300C ...

Reviews: