2
3
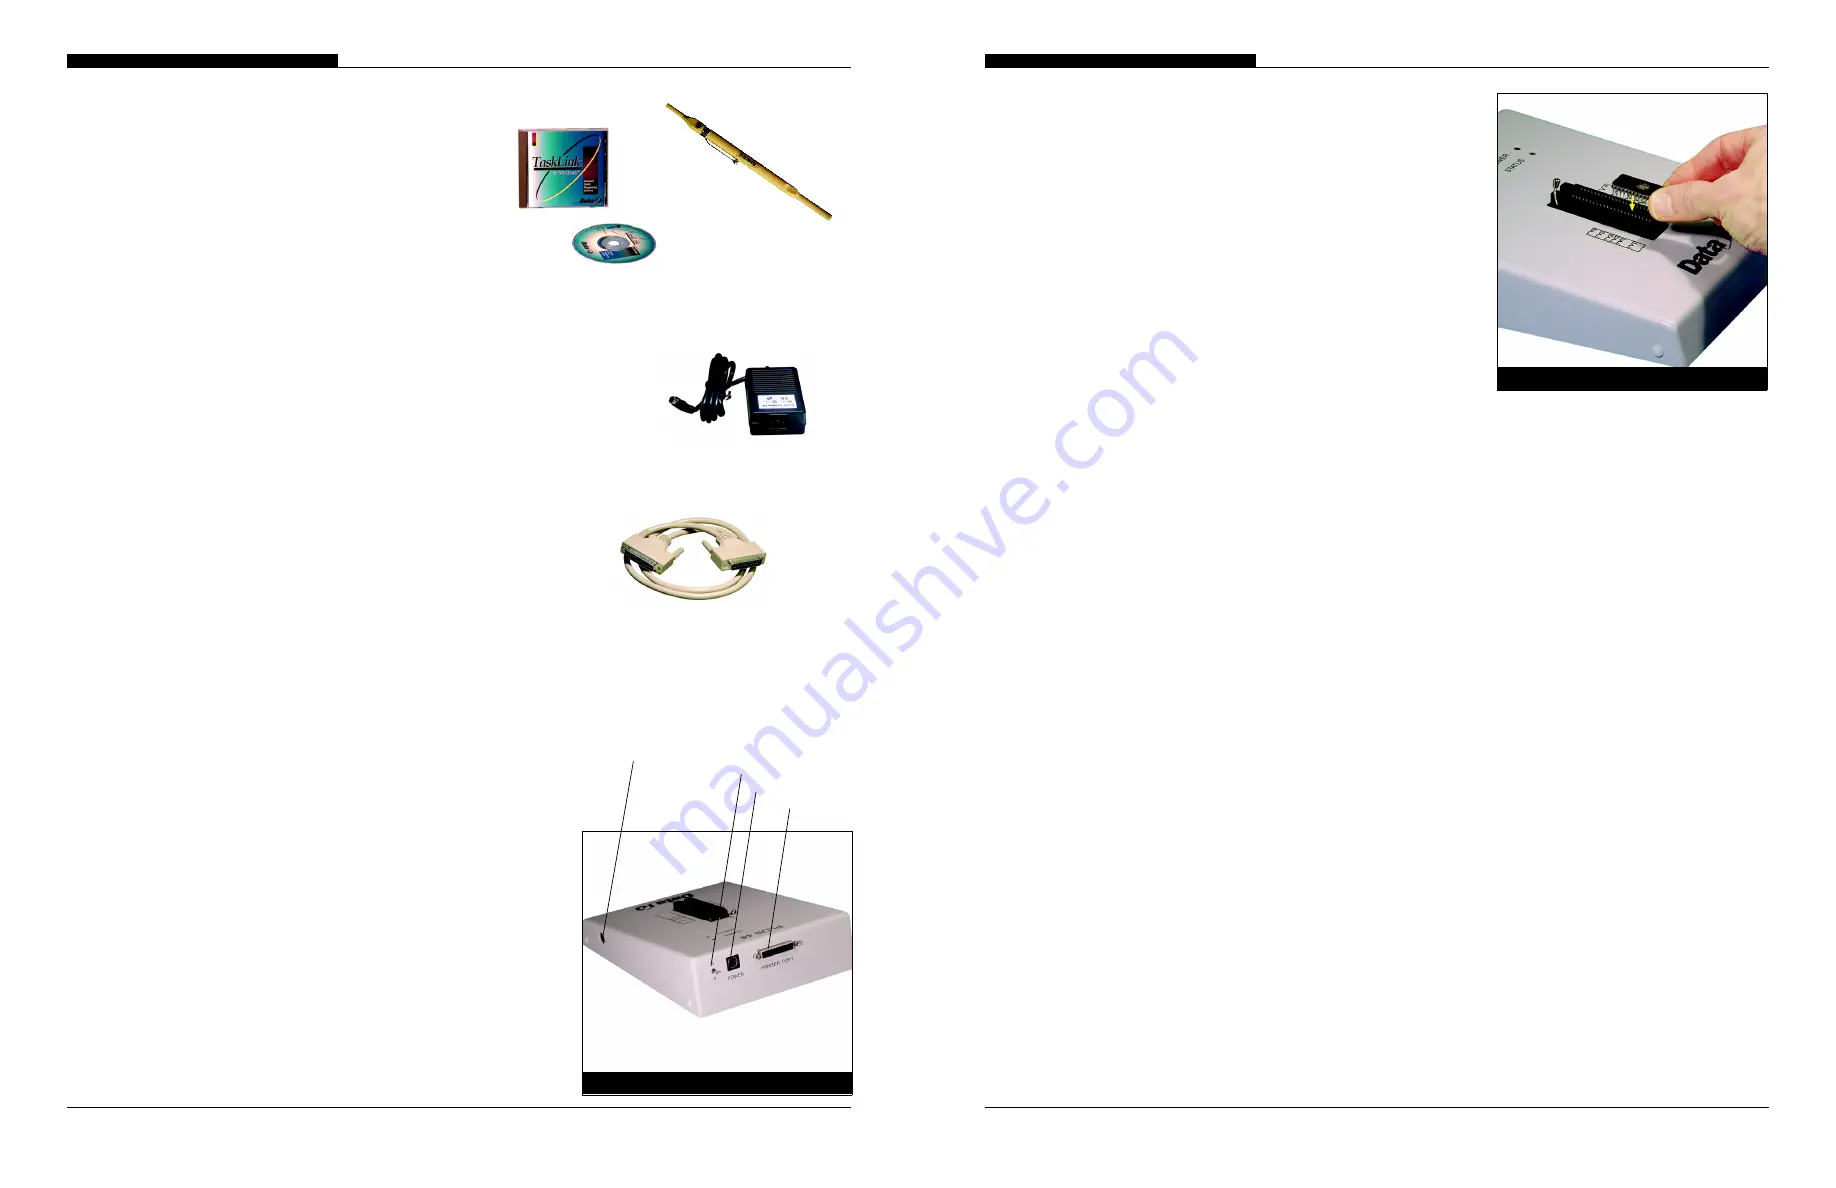
figure 1: Rear View
In this package you will find:
• TaskLink CD-ROM (software and User Manual)
• PLUS 48 unit
• 25 pin, 1:1 parallel cable, 32” long
• Power Cord
• PLUS 48 Power supply
• Calibration tool
Assembly Instructions
Before beginning, ensure that the power is turned off at both the programmer
and your computer.
1. Connect one end of the parallel cable to the port on the back of the pro-
grammer.
2. Connect the other end of the cable to the parallel port of your computer.
Any empty parallel port on your computer may be used.
3. Install the power supply by inserting the small DIN jack of the power supply
into the power socket on the back of the programmer. This jack is keyed
and cannot be inserted incorrectly.
4. Connect power cord between the power supply box and a 100-250 Volt,
50-60 Hz AC outlet.
WARNING: A device may be damaged if it is in the socket during
power up. Remove all devices before turning the
power switch on.
WARNING: Electrostatic Discharge (ESD) may damage inte-
grated circuits (devices). A grounding strap should
be worn at all times while programming devices.
You are now ready to install the
TaskLink for Windows
software and begin pro-
gramming devices. Refer to the
TaskLink
for Windows
CD
.
To install the soft-
ware see the jewel case front tray liner.
PLUS 48 Power Supply
Parallel Cable
Calibration Tool
TaskLink CD
Static ground
connection
Power switch
DIN connection
Parallel Port
Installing a Device
With the socket unlocked (lever in the up position), insert the device with the
notch away from you. The socket is bottom justified. Lock the socket. See fig-
ure 2.
System Requirements
• Microsoft Windows 95, Windows 98 or Windows NT
• 75MB free hard disk space
• CD-ROM drive
• Bus or Serial Mouse
• Parallel port
Operating Requirements
• Operating voltage: 100-240 V
~
±10%
• Frequency range: 50-60 Hz
• Power consumption: 12 Watts
Technical specifications
• 48-pin DIP socket (300/600mil lead spacing)
• Universal analog and digital pin drivers
figure 2: Installing a Device


