


Quick start guide
Paper handling
21
ENGLISH
`
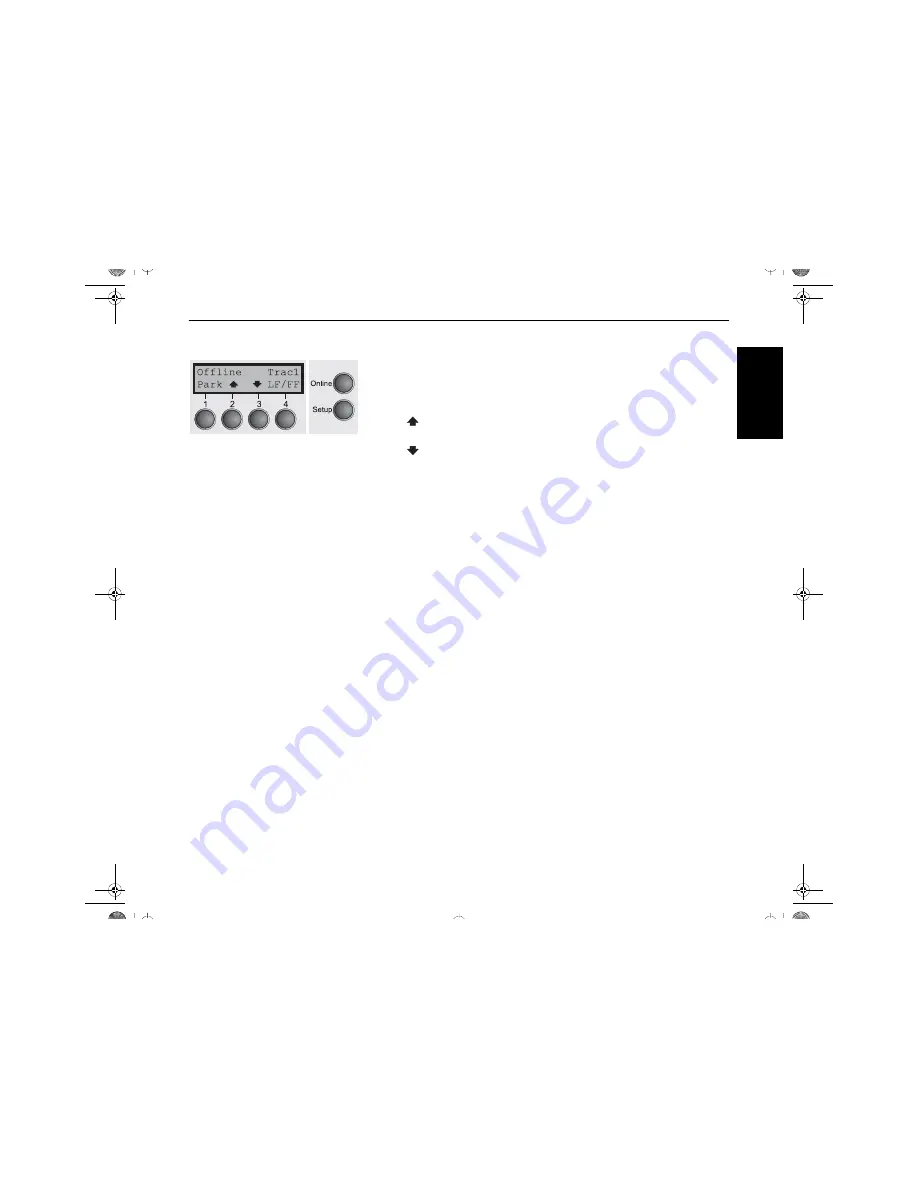
Paper transport
Loaded paper can be transported in the printer in several ways.
Make sure that the printer is in offline mode (
Pause
); press the
Online
key, if
necessary.
Key
Park
(1): If fanfold paper is loaded in the printer, it is fed to the park posi-
tion or the tear position.
Key
(2): Short keypress: Paper is transported upwards step by step
Long keypress: Continuous transport upwards.
Key
(3): Short keypress: Paper is transported downwards step by step
Long keypress: Continuous transport downwards.
Key
LF/FF
(4): Short keypress: Line Feed (
LF
) is effected
Long keypress: Form Feed (
FF
) is effected.
Key
Online
: Moves Paper to tear position if the automatic tear function is acti-
vated.
Quick Start-en.book Seite 21 Dienstag, 15. September 2009 11:02 11


