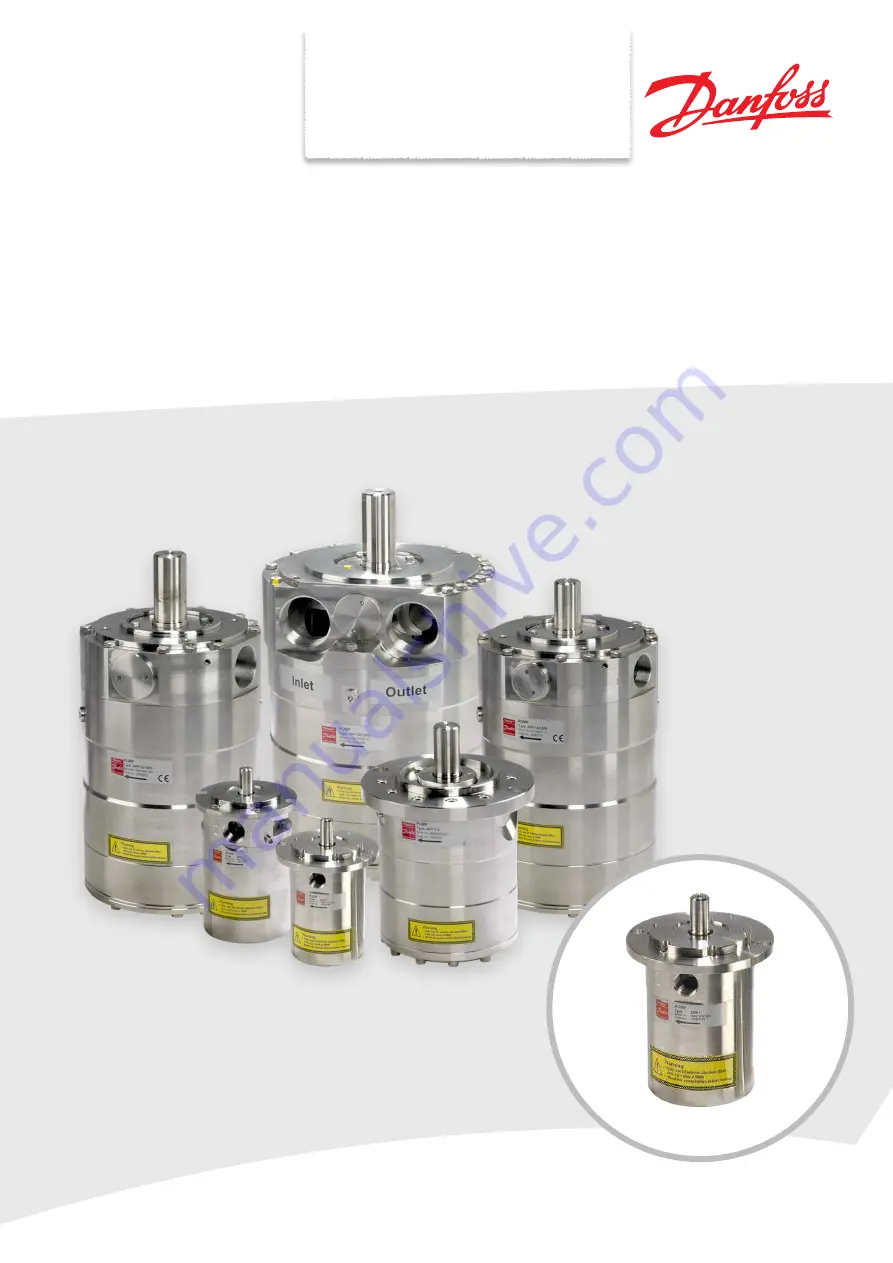
background image

APP 0.6-1.0

User manual

Installation, Operation and 
Maintenance Manual

APP pumps (APP 0.6-1.0)

MAKING MODERN LIVING POSSIBLE

Lenntech

LQIR#OHQQWHFKFRP

   Tel. +31-152-610-900

ZZZOHQQWHFKFRP

   Fax. +31-152-616-289

LQIR#OHQQWHFK

FRP

    Tel. +31-152-610-900

ZZZOHQQWHFKFRP

   Fax. +31-152-616-289

Lenntech

Summary of Contents for APP 1.0

Page 1: ...ion and Maintenance Manual APP pumps APP 0 6 1 0 MAKING MODERN LIVING POSSIBLE Lenntech LQIR OHQQWHFK FRP Tel 31 152 610 900 ZZZ OHQQWHFK FRP Fax 31 152 616 289 LQIR OHQQWHFK FRP Tel 31 152 610 900 ZZ...

Page 2: ...inspection transportation handling lifting and storage 9 4 1 Arrival inspection 9 4 2 Warning 9 4 3 General safety information 9 4 4 Transport and handling 9 4 5 Return to supplier 10 4 6 Storage 10 5...

Page 3: ...7 4 Disassembling and assembling the pump unit 15 7 5 Assembling the pump unit 16 7 6 Procedure for mounting pump back onto electric motor 16 7 7 Getting the pump unit back into operation 16 7 8 Stora...

Page 4: ...mps APP 0 6 1 0 4 180R9262 IOM APP Pumps v01 12 2012 This manual is valid for APP pumps with the following code numbers serial numbers Validity APP 0 6 Code no 180B3048 Serial no 02 APP 0 8 Code no 18...

Page 5: ...5 180R9262 IOM APP Pumps v01 12 2012 EU Declaration of Conform ity...

Page 6: ...It is the responsibility of the safety officer or the chief operator to assure compliance with all local regulations that are not taken into account in this manual Changing the pumps or motor pump uni...

Page 7: ...s must be verified and free flow from safety valves must be ensured All pipe and hose connections must be stress free mounted securely fastened to the pumps and well supported Improper installation wi...

Page 8: ...d replacement of the complete motor pump unit it is recommended having sufficient space around the unit For easy access to the unit at least 1 meter 40 inches available space should be kept free aroun...

Page 9: ...ved in lifting and transporting the equipment see Safety chapter 2 must be trained in handling and safety procedures when lifting heavy loads Many of the pumps and pump units weigh more than 20 kilos...

Page 10: ...at the unit load is balanced before attempting to lift as the centre of the mass is different from pump to pump and pump unit to pump unit How to mount the pump and the electric motor correctly togeth...

Page 11: ...be corroded If dirt or rust is not removed the pump and the valves can be damaged and in the worst case damaged beyond repair 5 3 Fluid temperature Before start up the fluid and pump housing temperat...

Page 12: ...in outlet CP13 Check piping for possible air gaps 5 7 Lifting and positioning Lift the pump unit onto base Remember vibration dampers if needed Fasten the motor to the base See also chapter 4 Arrival...

Page 13: ...he hole in the bell housing not available on all bell houses If the motor is turning the wrong direction switch two phases in the connection box of the motor or reprogram the direction in VFD 5 17 Com...

Page 14: ...Very high temperatures can indicate one or more damaged parts inside the pump The pump then needs to be stopped immediately and inspected before running again Contact the maintenance depart ment G Dr...

Page 15: ...For instructions on lifting the complete pump unit see chapter 4 Arrival inspection transportation handling lifting and storage H For the small pumps unscrew the bolts holding the pump to the bell hou...

Page 16: ...the coupling manufacturer Mount the flexible coupling and bell housing according to the Data sheet appendix 1 and APP pump instruction appendix 2 7 7 Getting the pump unit back into operation Find in...

Page 17: ...n the high pressure can lead to eye or skin damage Leaking can result in flooding which again can cause a risk of slipping tripping or falling If water is dripping into the electric motor it can lead...

Page 18: ...utor 6 8 Dimensions 8 11 Disassembling 15 16 E Electric motor 6 7 8 9 10 11 12 13 16 17 Electrical failure 17 Electrical hazard 6 Electrics 12 EU Declaration of Conformity 5 F Failure 8 17 Filter cond...

Page 19: ...ro solutions com Front page for Appendices User manual Appendices for Installation Operation and Maintenance Manual APP pumps APP 0 6 1 0 APP 0 6 1 0 MAKING MODERN LIVING POSSIBLE...

Page 20: ...2 2012 Table of Contents 1 Data sheet for APP 0 6 1 0 pumps 521B1136 3 2 APP pump instruction APP 0 6 3 5 180R9065 13 3 IOM Electric motors 180R9230 21 4 Recommended service intervals for APP pumps 18...

Page 21: ...1 Data sheet for APP 0 6 1 0 pumps 521B1136 ro solutions com Data sheet Data sheet APP 0 6 1 0 MAKING MODERN LIVING POSSIBLE...

Page 22: ...proportional to the number of revolutions of the input shaft and the pump displacement regardless of any counter pres sure The pumps are supplied with an integrated flushing valve that allows the salt...

Page 23: ...pm 2 6 3 5 4 4 Outlet min pressure 2 bar 20 20 20 psi 290 290 290 Outlet max pressure continuous 3 bar 80 80 80 psi 1160 1160 1160 Outlet max pressure intermittent 4 bar 100 100 100 psi 1450 1450 1450...

Page 24: ...different rpm Using the diagram shown below it is easy to select the pump which fits the application best if the flow required and the rotation speed rpm of the pump are known 0 0 2 0 4 0 6 0 8 1 1 2...

Page 25: ...16 7 x m3 h x bar 0 26 x gpm x psi Required power kW or kW or kW Calc factor Calc factor Calc factor 1 hp 0 75 kW 1 kW 1 34 hp 1 gpm 3 79 l min 1 l min 0 26 gpm 1 m3 h 4 40 gpm 1 gpm 0 23 m3 h 7 Temp...

Page 26: ...mp generates more noise than flexible mounting t Pipe mounting direct to the pump increases the noise level compared to a flexible hose 9 Filtration As water has very low viscosity the APP pumps have...

Page 27: ...0 20 0 78 F Bleeding M6 Hexagon AF 5 mm I Inlet connection BSP G 15 0 59 deep O Outlet connection BSP G 15 0 59 deep Pump mounting flange SAE A 2 10 2 Complete unit Pump A mm B mm C mm D mm E mm F mm...

Page 28: ...connected to the rest of the plant with flexible hoses 11 Installation Min 3 mm air gap between coupling parts C B A 11 2 Open ended system with direct water supply In order to eliminate the risk of...

Page 29: ...accumulator and will send flow backwards in case of the pump stops momentarily 8 A safety valve 8 can be installed in order to avoid system damage as the Danfoss APP pump creates pressure and flow imm...

Page 30: ...ter its products without notice This also applies to products already on order provided that such alterations can be made without subsequential changes being necessary in specifications already agreed...

Page 31: ...2 APP pump instruction APP 0 6 3 5 180R9065 ro solutions com Instruction APP pump instruction APP 0 6 1 0 APP 1 5 2 5 and APP 3 0 3 5 MAKING MODERN LIVING POSSIBLE...

Page 32: ...s for calculation of pressure losses 2 5 General comments on 3 Building up the pump unit 3 1 Mounting 3 2 Direction of rotation 3 3 Orientation 3 4 Protection from too high pressures 3 5 Connections 4...

Page 33: ...ump 2 Place the inlet filter before the tank 3 Dimension the inlet line to obtain mini mum pressure loss large flow area minimum pipe length minimum number of bends connections fittings with small pre...

Page 34: ...ing to below guidelines 2 5 General comments on Filtration A good filtration is vital to ensure a long and trouble free life of the pump When selecting a filter or strainer please note that filter mat...

Page 35: ...ll to separate the inlet from the outlet end of the tank Monitoring It is recommended to continuously monitor the following conditions t Water level in the tank t Filter contamination t Pressure inlet...

Page 36: ...s close to the pump as possible The opening characteristics of the valve must not result in peak pressures higher than 200 bar 2900 psi The valve outlet must not be connected directly to the pump suct...

Page 37: ...ressure gauge on the high pressure side 5 3 Dry running When running the pump must always be connected to the water supply in order to avoid damage if it should run dry In systems with water tank it i...

Page 38: ...Nordborg Denmark 6 1 Periodic maintenance The APP pump is designed so that lubrication follows from the water itself and there is thus no oil in the pump The pump requires no periodic replacements of...

Page 39: ...3 IOM Electric motors 180R9230 21 180R9262 IOM APP 0 6 1 0 Appendices v01 09 2012 Electric Motors Motor Manual hoyermotors com Manual 180R9230...

Page 40: ...oubled supply frequency Only mount or remove drive components pulley coupling etc using suitable tools never hit the drive components with a hammer as this will cause damage to the bearing The motor a...

Page 41: ...s will be found in agricultural areas and in industrial environments Only one electrical installation may be installed in one specified area zone Only certificated cable glands for category 2D may be...

Page 42: ...Svend Hoyer A S Over Hadstenvej 42 DK 8370 Hadsten T 45 86 98 21 11 F 45 86 98 17 79 svendhoyer svendhoyer com svendhoyer com Motor Manual...

Page 43: ...4 Recommended service intervals for APP pumps 180R9199 Instruction Recommended service intervals for APP pumps MAKING MODERN LIVING POSSIBLE...

Page 44: ...ds on pump size Pos Qty Description Material Service interval 1 1 Housing main bearing Duplex PEEK No need for service 11 125 211 1 Mounting flange end flange Wetted part Duplex Dry part AISI 316L No...

Page 45: ...pictures below is ment as a guideline for evaluating the wear of the sliding surface Cavitation of the piston shoes New inspection is required in 3 000 4 000 hours Cavitation of the piston shoes All p...

Page 46: ...s the right to alter its products without notice This also applies to products already on order provided that such alterations can be made without subsequential changes being necessary in specificatio...

Page 47: ...5 APP Parts list 521B0941 Parts list APP Pumps APP 0 6 38 APM 0 8 2 9 APPW 5 1 10 2 MAKING MODERN LIVING POSSIBLE APP 0 6 1 0 APP 0 6 1 0 Compact APM 0 8 1 2 APP 0 6 1 0...

Page 48: ...x x 36 1 O ring 53x1 5 NBR x x 61 1 Cylinder barrel Super Duplex PEEK x 62 1 Spring Duplex x 64 1 Retainer ball Super Duplex x 65 1 Retainer plate Super Duplex x 66 5 Piston Super Duplex PEEK x 67 1...

Page 49: ...31 180R9262 IOM APP 0 6 1 0 Appendices v02 12 2012 Parts list APP 0 6 38 APM 0 8 2 9 APPW 5 1 10 2 3 Exploded view APP 0 6 1 0 Compact Exploded view APP 0 6 1 0 Compact...

Page 50: ...uplex PEEK 2 1 Pin 4x14 AISI 316 x x 61 1 Cylinder barrel Super Duplex PEEK x 62 1 Spring Duplex x 63 1 Spring guide PEEK x 64 1 Retainer ball Super Duplex x 65 1 Retainer plate Super Duplex x 66 5 Pi...

Page 51: ...33 180R9262 IOM APP 0 6 1 0 Appendices v02 12 2012 Parts list APP 0 6 38 APM 0 8 2 9 APPW 5 1 10 2 5 Exploded view APP 0 6 1 0 APM 0 8 1 2 Exploded view APP 0 6 1 0 APM 0 8 1 2...

Page 52: ...DK 6430 Nordborg Denmark Designation 180B4188 Tool set APP 0 6 1 0 Compact 180B4142 Tool set APP 0 6 1 0 180B4148 Tool set APP 1 5 3 5 180B4162 Tool set APP 5 1 10 2 180B4230 Tool set APP 11 13 180B4...

Page 53: ...6 Trouble shooting guide Guideline Trouble shooting guide for APP pumps MAKING MODERN LIVING POSSIBLE...

Page 54: ...pumps Trouble shooting guide for APP pumps Table of Contents Trouble shooting fish bone chart 1 No flow no pressure 2 Reduced flow reduced pressure 3 High torque on electric motor 4 Noise from pump 5...

Page 55: ...filtration 2 1 Wear in pump internal leakage 2 1 9 Type of fluid 2 1 11 High fluid temperature 4 1 Air in fluid 4 2 Bleeding conditions of pump 4 3 Min max nominal inlet pressure 4 4 Pump reversing 4...

Page 56: ...t pump from electric motor and check that the motor is capable of running with no load If motor type relay or the electrical fuse is blown check that electric motor is sized correctly 1 4 No rotation...

Page 57: ...de is polished See index 6 3 If the ring is missing the piston is very worn The filters can be bypassed even if they are correctly mounted Some filters can create channelling where particles can pass...

Page 58: ...k that electric motor is correctly sized 3 2 2 Check internal parts see item 2 1 3 2 3 Systems with more than one electric motor installed Start motors simultaneously Pumps run in parallel with cascad...

Page 59: ...ow item 1 2 Pump reversing WARNING The pump must not run without water for more than a few seconds If the pump takes in water from the high pressure outlet line it builds up pressure and will eventual...

Page 60: ...many bends may create too fast flow turbulence through the pipes and thus increase the noise level 5 3 Hose stiffness 5 3 1 Use amore flexible hose Danfoss A S can provide flexible hoses Please conta...

Page 61: ...scratches and or a polished surface Even small scratches will give a loss of flow Picture 3 A good way to identify a worn valve plate is to hold a straight knife edge over the valve plate When holdin...

Page 62: ...rademarks of Danfoss A S All rights reserved Danfoss A S High Pressure Pumps DK 6430 Nordborg Denmark Picture 1 If the port plate has scratches level differences or both between the arrows the port pl...

Page 63: ...7 Right and wrong 180R9042 MAKING MODERN LIVING POSSIBLE danfoss high pressurepumps com 180R9042 Right and wrong Trouble shooting guide for water hydraulic systems...

Page 64: ...ter upstream of the final load may damage the pump Pump location 4 Pump always to be placed below water surface level Pump location above water surface level will cause damage Water supply 7 System to...

Page 65: ...f grease prevent seizing Too much grease may develop biofilm causing operational failures Water supply 13 Fill system with water before starting to ensure lubrication and cooling Starting without wate...

Page 66: ...e self bleeding 2 Start and bleed the system without pressure by opening the bypass valve 3 Add the cleaning agent to give 3 agent water solution 4 Run the system for 60 min and activate all component...

Page 67: ...or provide better cooling Is the control light for low pump suction pressure on The filter is clogging Is the power supply ok Are control lights on Is the filter clogged Is the filter control light o...

Page 68: ...control lights on Is the filter clogged Is the filter control light on Replace filter element Contact serviceman Stamp Fill water into the system Trace leakage if any A blown fuse or short circuit Ch...

Page 69: ...User manual Appendices for IOM APP Pumps APP 0 6 1 0 51 180R9262 IOM APP 0 6 1 0 Appendices v02 12 2012...

Page 70: ...roducts already on order provided that such alterations can be made without subsequential changes being necessary in specifications already agreed All trademarks in this material are property of the r...

Reviews: