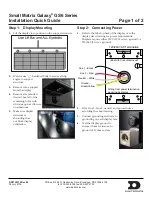
Small Matrix Galaxy
®
GS6 Series
Installation Quick Guide
Page 2 of 2
DD3125374 Rev 02
08 July 2016
PO Box 5128 201 Daktronics Drive, Brookings, SD 57006-5128
tel: 800-325-8766 fax: 605-697-4700
www.daktronics.com
Step 3: Communications Installation
1.
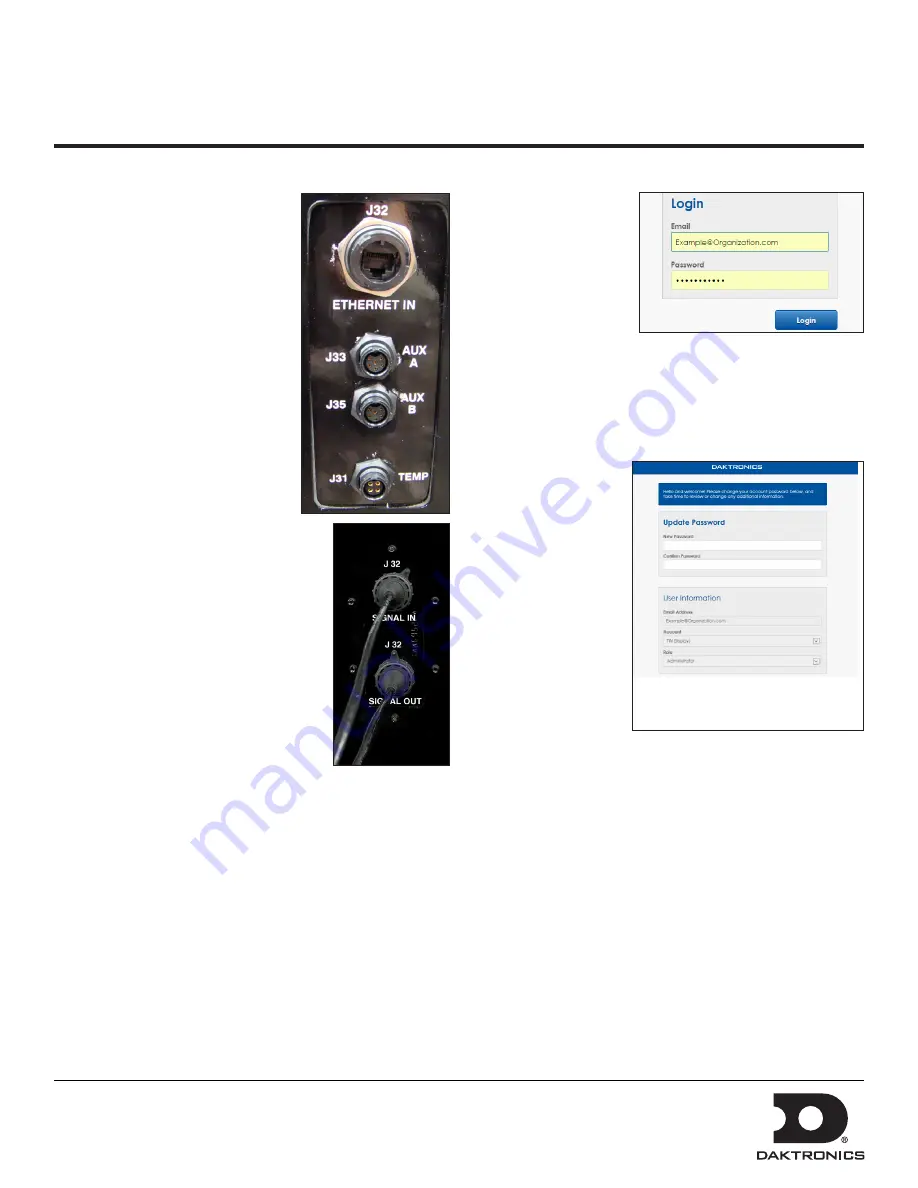
Connect the signal cables to the
proper Quick-Connect Jacks on
the back of the display.
2.
If this display is a two-sided
primary/mirror display,
two quick-connect cables are
provided to connect the signal
between the two faces.
3.
Connect a cable from the Signal
Out jack on primary face to
Signal In jack on mirror face.
Connect a second cable from the
Signal Out jack on the mirror
face to the Signal In jack on the
primary face.
4.
Secure the excess cable to the
support structure to prevent damage
from weather or vandalism.
Step 4: Turn Display On
1.
Turn on power to the display.
2.
Observe boot sequence shown on
the display to get the IP Address or
DHCP name. The boot time lasts
about three minutes.
Step 5: First-Time Venus Login
Before first-time login,
ensure that the Venus
computer uses either
the Chrome
®
browser
or Internet Explorer
®
version 11 (or later)
browser. Also, review
the Venus computer’s
properties and take note of the computer name.
Logging In - Local Server
1.
Navigate to
https://ComputerName:44300
(entering the
actual computer name for ComputerName).
2.
Enter the user
name and
password into
the
and
Password
text
boxes.
3.
Change the
password in the
Update Password
text boxes.
4.
Update the account
information in the
User Information
and
Additional
Information
sections.
Logging In - Hosted Server
1.
Navigate to
https://venus.daktronics.com
.
2.
Follow steps 2-4 above.
Venus Assistance
For further assistance, contact Daktronics Customer Ser-
vice.
U.S. and Canada: 1-800-DAKTRON (1-800-325-8766)
Outside the U.S. and Canada: +1-605-697-4000
Online
http://www.daktronics.com


