Control Options Setup
22
FLXR3 Client Radio Set Up
By default, each client defaults to SU #1 and Network #1. Configure each client radio in
sequence by completing the following steps:
1�
Change the client radio number by pressing the reset
button, shown in
configuration mode.
The LCD shows display “SU #X” where X represents the
current client number.
2�
Press the button to increment the client radio number.
3�
Repeat as necessary until reaching the desired client
radio number.
• Client radios automatically roll over from 8 to 1.
• Currently, client radios can be numbered 1–4 only.
4�
Wait about 15 seconds until the LCD shows “SU ID set to X”. This message remains on
the LCD for about five seconds.
After five seconds, the LCD shows “NET #Y” where Y represents the current network
number.
Note:
A Network Number is a unique channel for each installation site and prevents
networks located close to one another from interfering with each other. For
example, if two installations are across the street from one another, one site
could be set to network 1 and the other site set to network 2.
5�
Press the reset button to increment the network number.
6�
Repeat as necessary until reaching the desired network number.
7�
Wait about 15 seconds until the LCD shows “NET # set to Z”.
8�
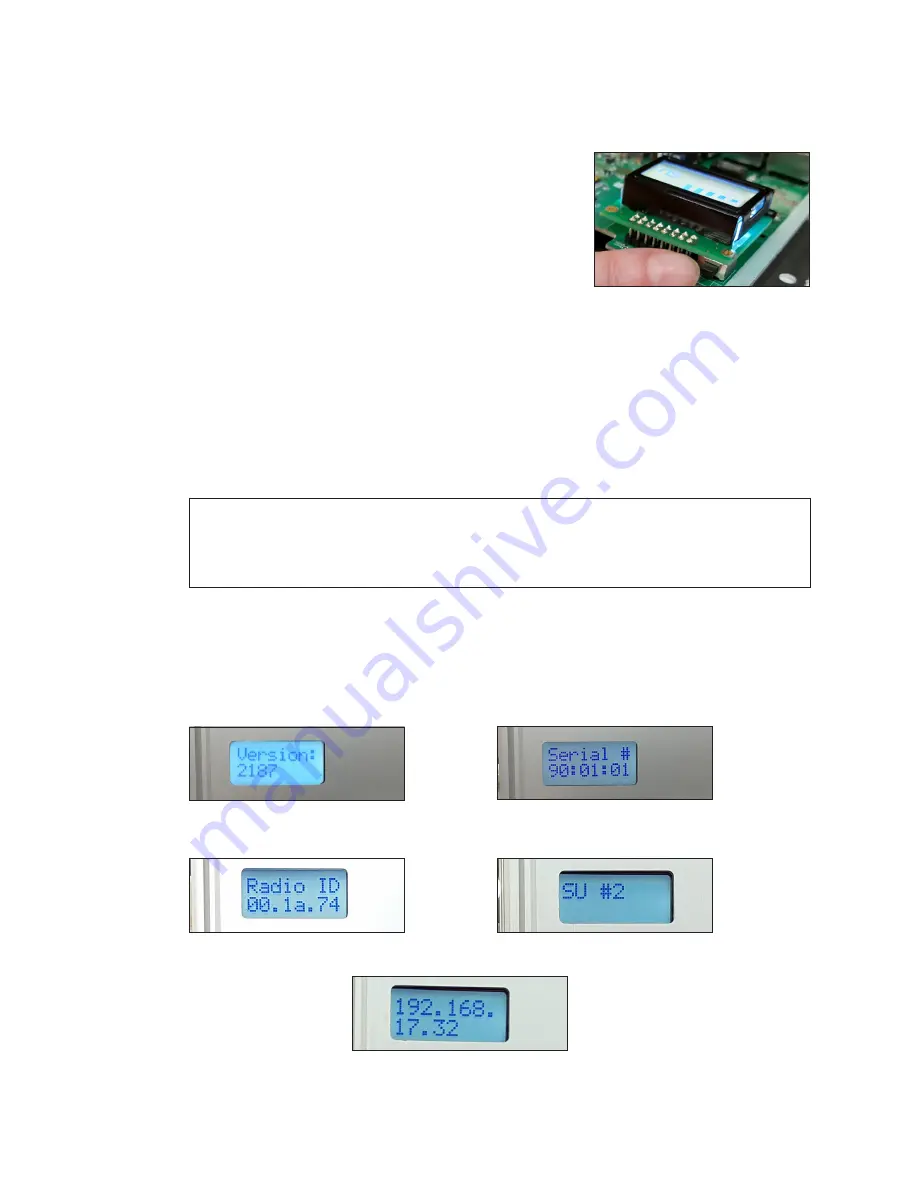
While the radio reboots, use the following table to note the firmware version, IP
address, radio ID number, and serial number for each client unit.
Figure 47:
Setting Client Radio
Number
Figure 48:
Client Radio Firmware
Version
Figure 49:
Client Radio Serial
Number
Figure 50:
Client Radio ID
Figure 51:
Client Radio Number
Figure 52:
Client Radio IP Address


