REMOVAL
PROCEDURE
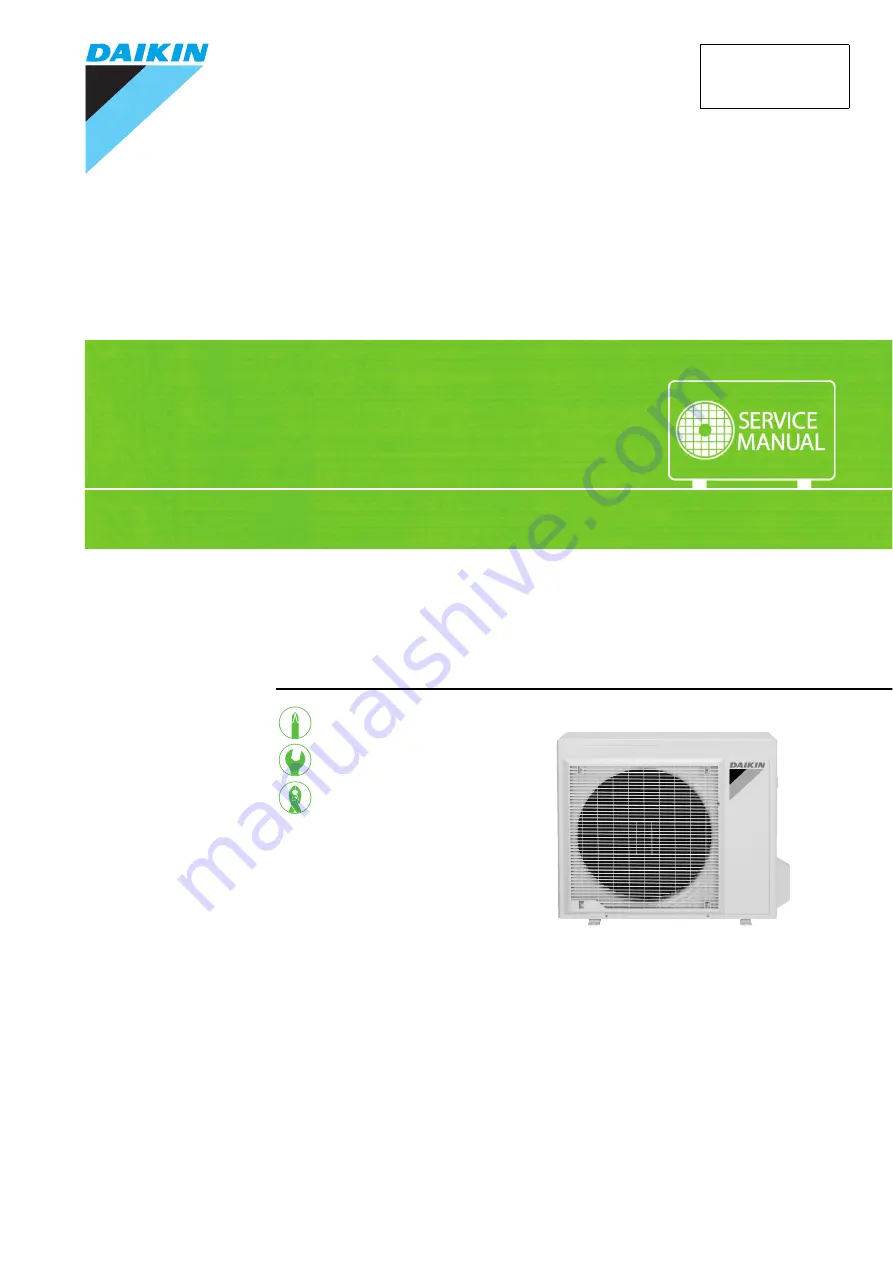
S E R V I C E M A N U A L
18000 Btu/h Class
Outdoor Unit
Inverter
Pair Type
Si001419E
Page 1: ...REMOVAL PROCEDURE S E R V I C E M A N U A L 18000 Btu h Class Outdoor Unit Inverter Pair Type Si001419E...
Page 2: ...Service Manual Removal Procedure Outdoor Unit zHeat Pump RX18N5VL...
Page 3: ...edure 1 Table of Contents 1 Outer Panels 2 2 Outdoor Fan Fan Motor 4 3 Electrical Box 7 4 PCB 11 5 Thermistor ASSY Partition Plate 14 6 Sound Blankets 17 7 Electronic Expansion Valve Coil Four Way Val...
Page 4: ...turning off all power supplies before disassembling work Step Procedure Points 1 Remove the 6 screws and remove the top panel 2 Remove the 8 screws of the front panel 3 Slide the fan motor fixing pla...
Page 5: ...ten the 2 hooks on the right side Remove the front panel 6 Remove the 4 screws of the discharge grille 7 Unfasten the 6 hooks and remove the discharge grille Step Procedure Points Hook Front panel R20...
Page 6: ...after turning off all power supplies before disassembling work Step Procedure Points 1 Remove the drip proof cover 2 Remove the 2 screws of the terminal cover 3 4 Open the terminal cover and pull down...
Page 7: ...fan motor 6 Unfasten the clamp of the fan motor lead wire on the outer side of the electrical box 7 Release the fan motor lead wire from the groove and unfasten the 2 hooks Step Procedure Points S70 R...
Page 8: ...frame When reassembling fit the lower hooks into the bottom frame 10 Unfasten the 3 hooks on the fan motor fixing frame and release the fan motor lead wire 11 Remove the 4 screws and remove the fan mo...
Page 9: ...f all power supplies before disassembling work Step Procedure Points 1 Remove the 3 screws and remove the wire fixture 2 Remove the 7 screws on the terminal board and disconnect the connecting wire an...
Page 10: ...order Be sure to insert the wiring clamps of lead wires into the appropriate holes 1 S90 Hole No 15 14 13 7 3 2 S40 Hole No 16 2 3 S20 Hole No 10 4 S80 Hole No 5 5 Disconnect the connector S20 and pul...
Page 11: ...or S90 and pull out the 4 clamps Hole No 15 13 7 and 3 8 Pull out the clamp from the Hole No 14 and release the outdoor temperature thermistor harness from the groove Step Procedure Points Clamp S40 C...
Page 12: ...Remove the outdoor temperature thermistor 10 Disconnect the relay connector for compressor 11 Remove the screw and remove the electrical box Step Procedure Points Outdoor temperature thermistor R2092...
Page 13: ...disassembling work Step Procedure Points 1 Pull out the 3 terminals from the terminal board Before pulling out the terminals confirm the terminal locations 1 black front 2 white front 3 red front 2 Pu...
Page 14: ...and release the relay harness from the groove 5 Remove the 3 screws of the mounting plate for terminal board 6 Remove the 7 screws of the PCB Step Procedure Points Clamp Groove Relay harness R20933 M...
Page 15: ...Si001419E PCB Removal Procedure 13 7 Unfasten the 6 hooks 8 Remove the PCB Step Procedure Points Hook Hook R20936 PCB R20937...
Page 16: ...wer supplies before disassembling work Step Procedure Points 1 Remove the right side panel 1 Remove the screw of the stop valve cover 2 Slide the stop valve cover downward and remove it When reassembl...
Page 17: ...he thermistor 1 Cut the clamp and pull out the outdoor heat exchanger thermistor 2 Open the sound blanket top and detach the discharge pipe thermistor Be careful not to lose the fixture for the thermi...
Page 18: ...3 Remove the thermistor ASSY 3 Remove the partition plate When reassembling fit the lower hook into the bottom frame 1 Remove the 2 screws and remove the partition plate Step Procedure Points Thermist...
Page 19: ...10 minutes or more after turning off all power supplies before disassembling work Step Procedure Points 1 Remove the sound blanket top 2 Open and pull up the sound blanket outer 3 Remove the sound bl...
Page 20: ...the gaskets affected by heat Keep below 120 C 248 F For the sake of this wrap the four way valve with wet cloth and provide water so that the cloth does not dry Note Before working make sure that the...
Page 21: ...nd remove the four way valve coil 3 Remove the terminal cover 4 5 Remove the protection bushing Disconnect the compressor lead wires and the overload protector Step Procedure Points Four way valve coi...
Page 22: ...Electronic Expansion Valve Coil Four Way Valve Si001419E 20 Removal Procedure 6 Heat up the 4 brazed parts and remove the four way valve Step Procedure Points Four way valve Brazed part R20955...
Page 23: ...store the piping by non oxidation brazing Note Before working make sure that the refrigerant gas is empty in the circuit Be sure to apply nitrogen replacement when heating up the brazed part Do not us...
Page 24: ...brazed part of the discharge side pipe and disconnect it Heat up the brazed part of the suction side pipe and disconnect it Remove the 2 nuts Lift up the compressor and remove it Step Procedure Points...
Page 25: ...Revision History Month Year Version Revised contents 01 2015 Si001419E First edition...
Page 26: ...ries supplied or specified by Daikin Ask a qualified installer or contractor to install those parts and accessories Use of unauthorised parts and accessories or improper installation of parts and acce...